Planting Willow

At the start of the New Year, I placed an order for a variety pack of willow cuttings from Wild Rose Basketry. This pack came with 120 willow cuttings; 12 each of the 10 different heritage varieties that she offers. These different willow varieties give the grower different colours, textures, and sizes of willow rods and are each ideal for different kinds of basket making and garden structures.
Over January, I read the Willow Planting Guide that Rosemary sends out with every order and I tried to prepare for when we would be planting the cuttings out in our field. I ordered a giant, 50 meter long roll of weed suppressant membrane, a dibber and a widger tool (which are hilarious names for the little tools that make uniform holes in the ground), and rock phosphate and seaweed powder to help encourage growth and prevent diseases as the willow establish roots in their new home. I walked all over our field and staked out where I thought would be the best spots to plant our new trees. And I made a paper map to help ensure that we planted each variety where we wanted it to go, and would know in future years where we had planted each type. When choosing where each variety would be planted, I considered the height of each plant and the required spacing between them, but also the colours and how they would look planted next to each other. I love the idea of looking over the field and seeing the rods of orange, purple, brown, and yellow, each clearly different and unique. Now that everything is planted, I've put my maps of each variety into the computer on simple grids with written out landmarks to mark orientation. This should ensure that I won't lose track of where things are planted in the future.
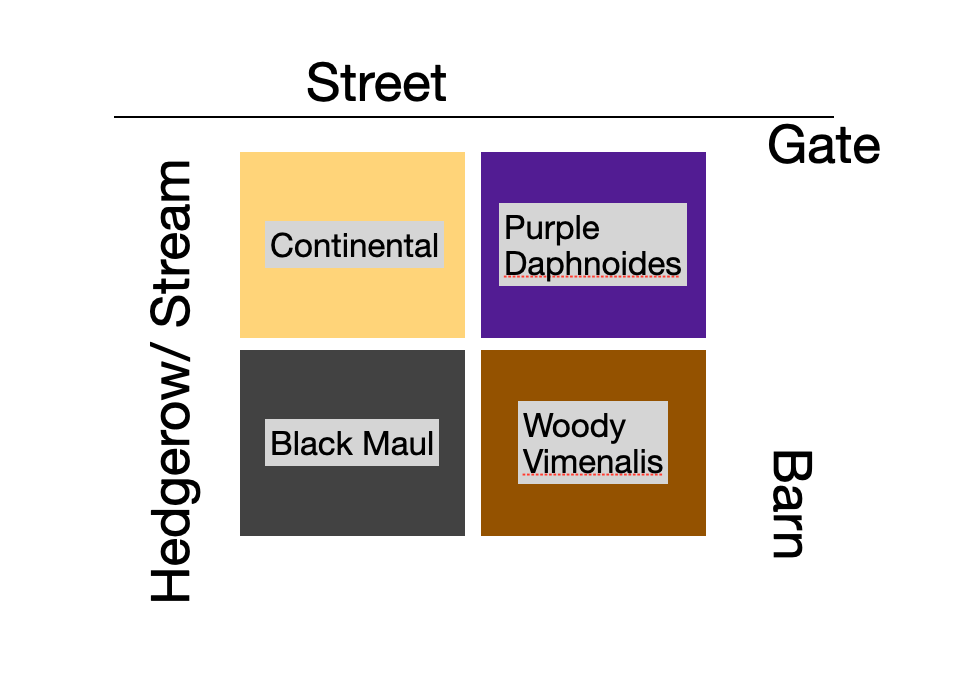
Large varieties on the left, small varieties on the right. Colour-coded to represent the colours of each variety.
Our willow arrived in early February in the middle of the week, and we quickly adjusted our weekend plans to ensure we could spend the Sunday working out in the field, getting the willow in the ground. We were incredibly fortunate to have a warm, dry day! On Sunday, we prepared the land where we were going to plant by first strimming the grass and cutting any reeds, then sprinkling the rock phosphate and seaweed powders, and finally rolling out the weed suppressant membrane. The weed suppressant is a very lightweight fabric that blows around in the wind unless you secure it in some way. We started by weighing each strip of fabric down with rocks and tools. Then, we went around the perimeters digging a small trench and then pushing the edge of the fabric down into the soil with a square-edged shovel. This mostly worked, although we found that the fabric ripped as often as it pushed securely into the ground. It stayed in place well enough while we did all of our planting, and then we further weighed it down the next day by layering some mulch on top of it. Now that it's been about a week, we can see that it's not being pulled up by the wind, thankfully. If we were to prepare plant beds like this in the future, I would purchase the wider roll of fabric, instead of laying several narrow strips side by side. That would have saved us an enormous amount of work trying to secure all the fabric in place. Live and learn.
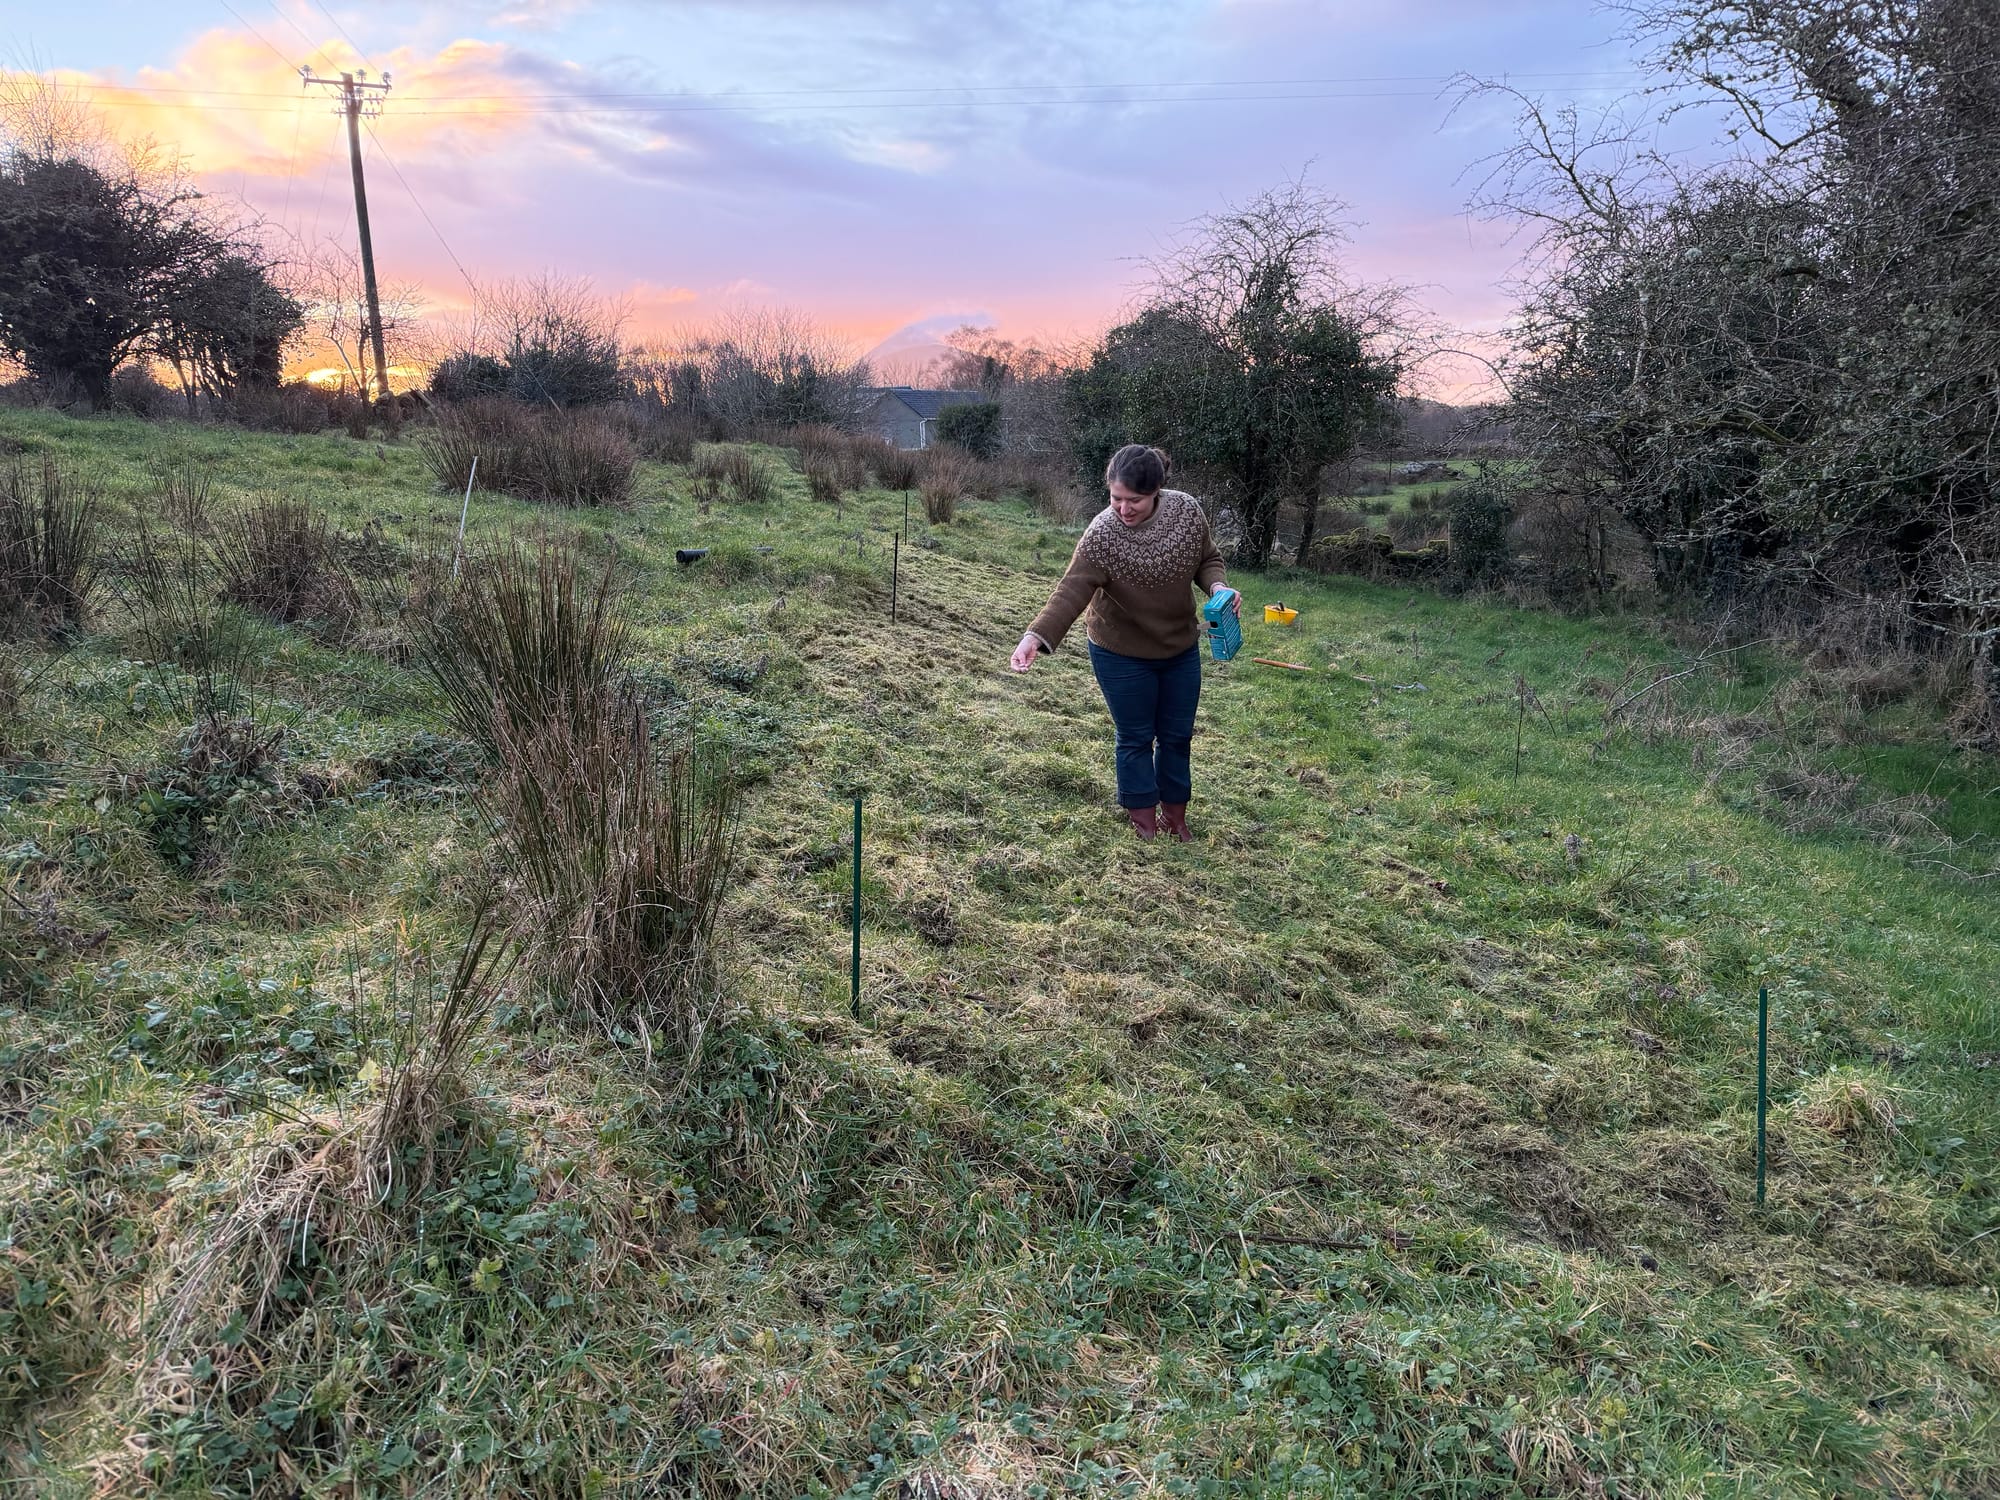
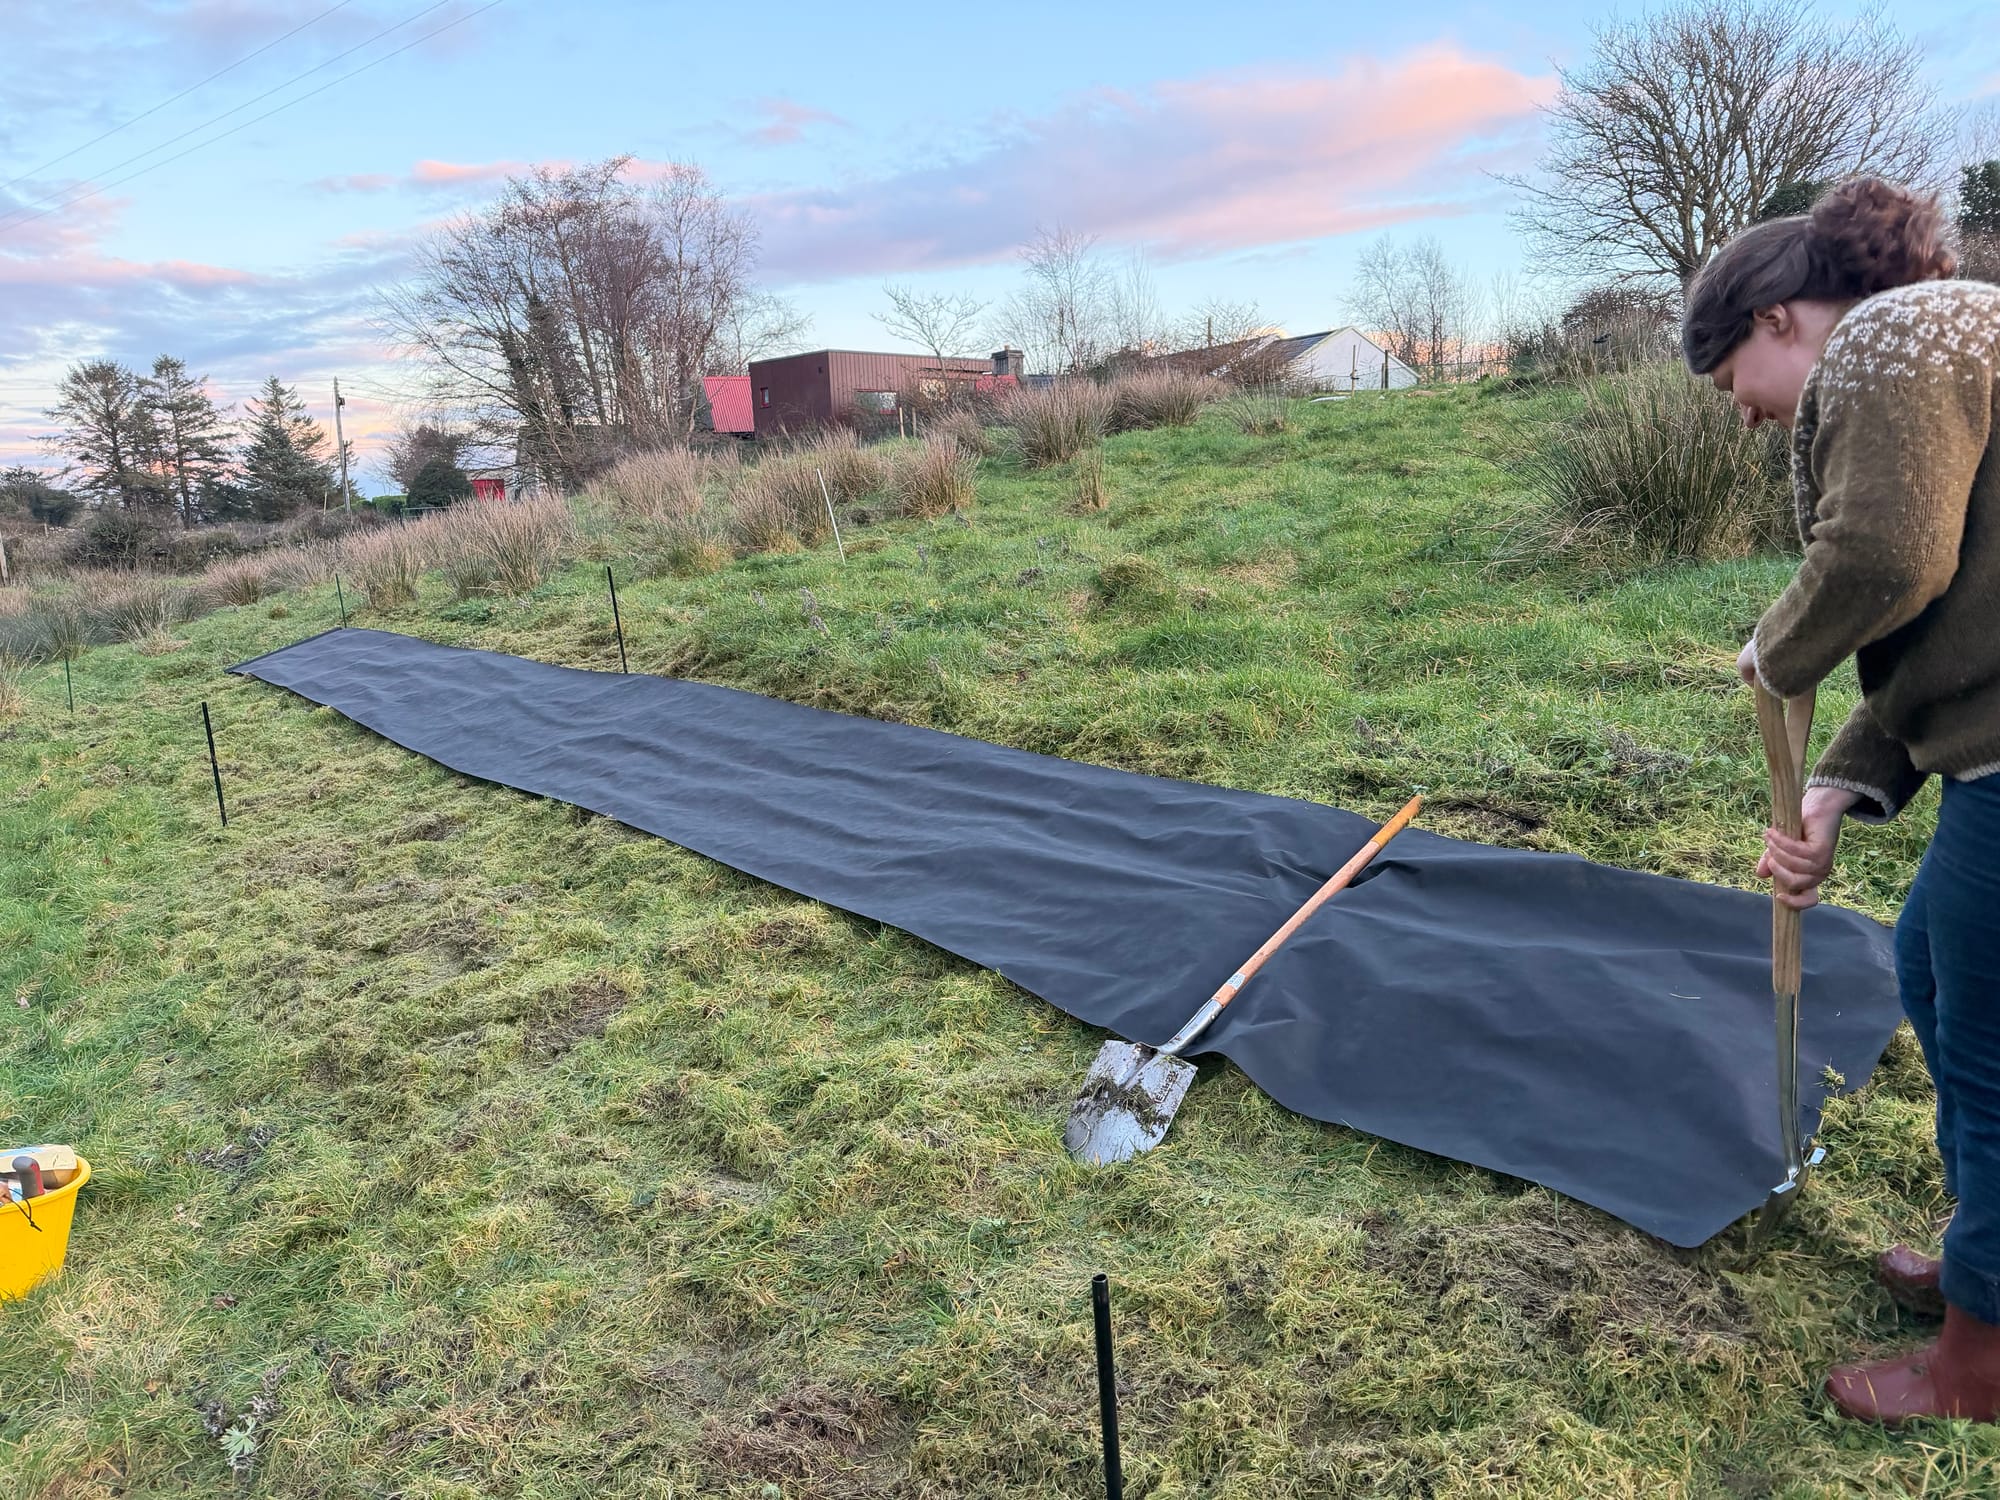
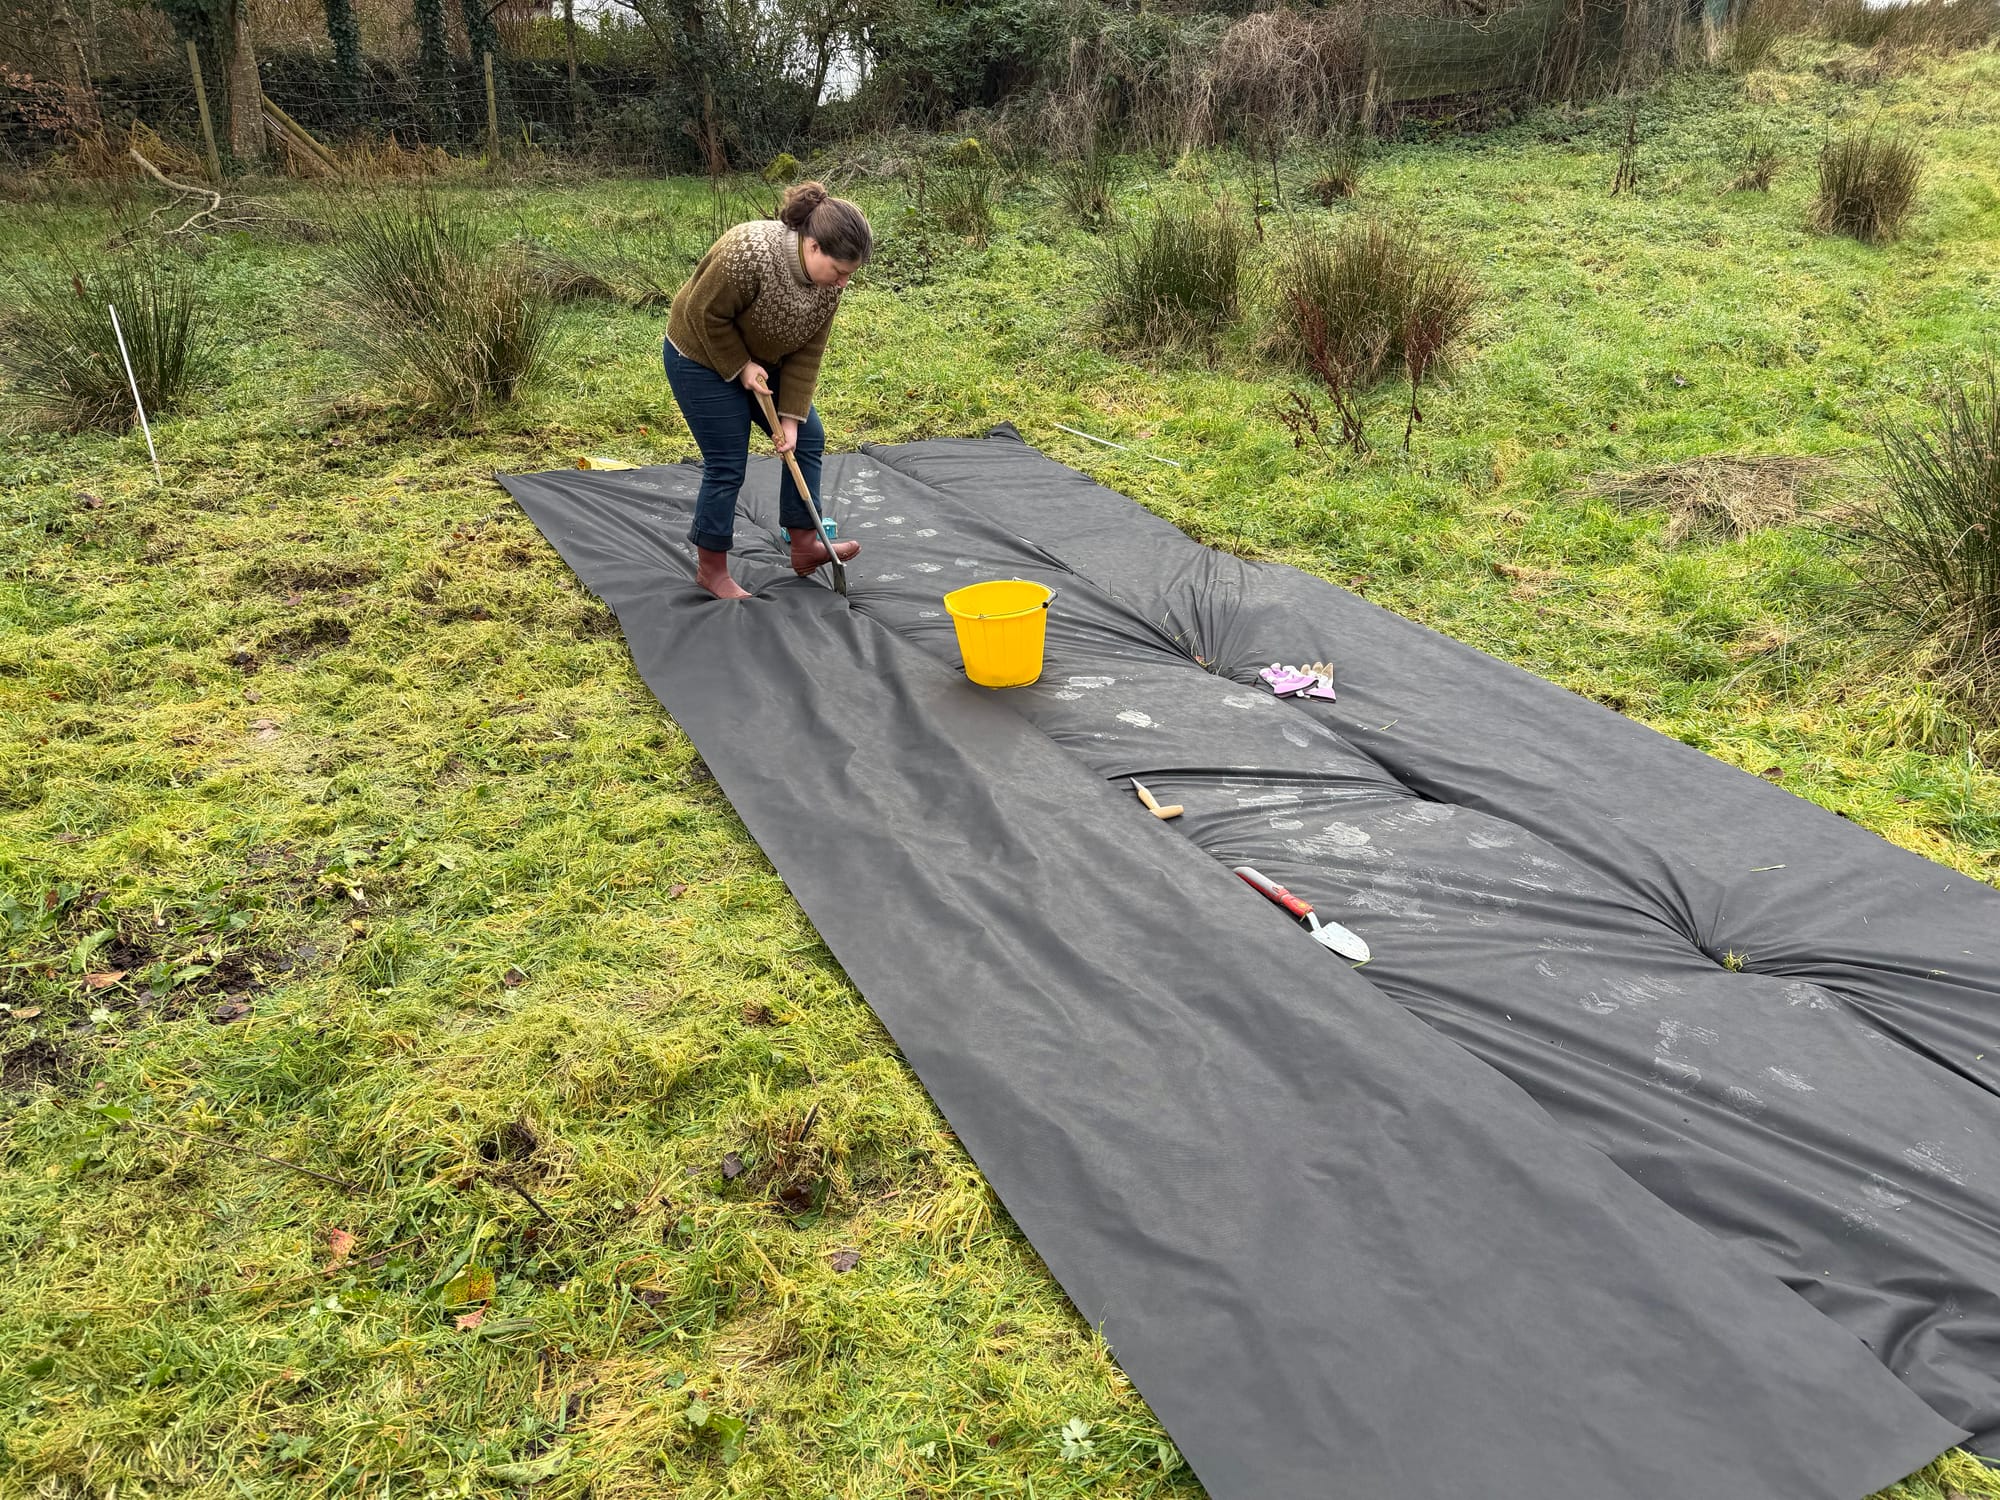
Stakes to mark the future plot; spreading rock phosphate after the area has been strimmed; laying out and then securing the weed suppressant fabric.
I chose to put all of the larger varieties of willow in one plot, and all of the smaller varieties in a second plot. There are four types of the larger varieties, and they are all are supposed to be planted 24 inches apart from each other in all directions. They grow quite large, anywhere from 6-14 feet tall in just one year's growth. I decided to put this plot down near the road and make it a large square shape. This spot gets a good amount of sun throughout the summer, is fairly sheltered from the wind, and is one of the flatter portions of our very hilly field. The only thing about this spot that doesn't seem ideal, according to Rosemary's instructions, is that this spot holds a lot of water in the soil, being downhill from the rest of our field. After doing some more research about willow online though, I think that they should survive in this wet soil, potentially even drying out the damp conditions and improving the boggy corner over time. They may not grow perfectly in this corner, but I think they are one of the only plants we plan to grow that might be able to survive, and potentially even thrive, there.
The four large varieties that we purchased are:
Continental - bright yellow in colour, can grow to be up to 14 feet tall, ideal for plant supports and hoops
Purple Daphnoides - dark purple colour, grows 8-10 feet tall, fluffy white buds look pretty in winter flower arrangements, creates a beautiful dark purple accent colour in woven baskets
Black Maul - silvery grey colour, grows 6-9 feet tall, strong rods are perfect for garden supports and uprights in strong baskets
Woody Vimenalis - grows in a light brown colour but can be steamed to a darker chocolate colour, grows 6-9 feet tall, ideal for weaving frame baskets
While we were preparing the plot for the larger varieties and planting the willow cuttings, we experienced an unexpected amount of community engagement. Because the weather was nice on Sunday many of our neighbours were out walking with their families and pets. They saw us working near the road and all stopped to chat and ask after what we were planting. Everyone seemed genuinely interested and excited to see how the willow would grow.
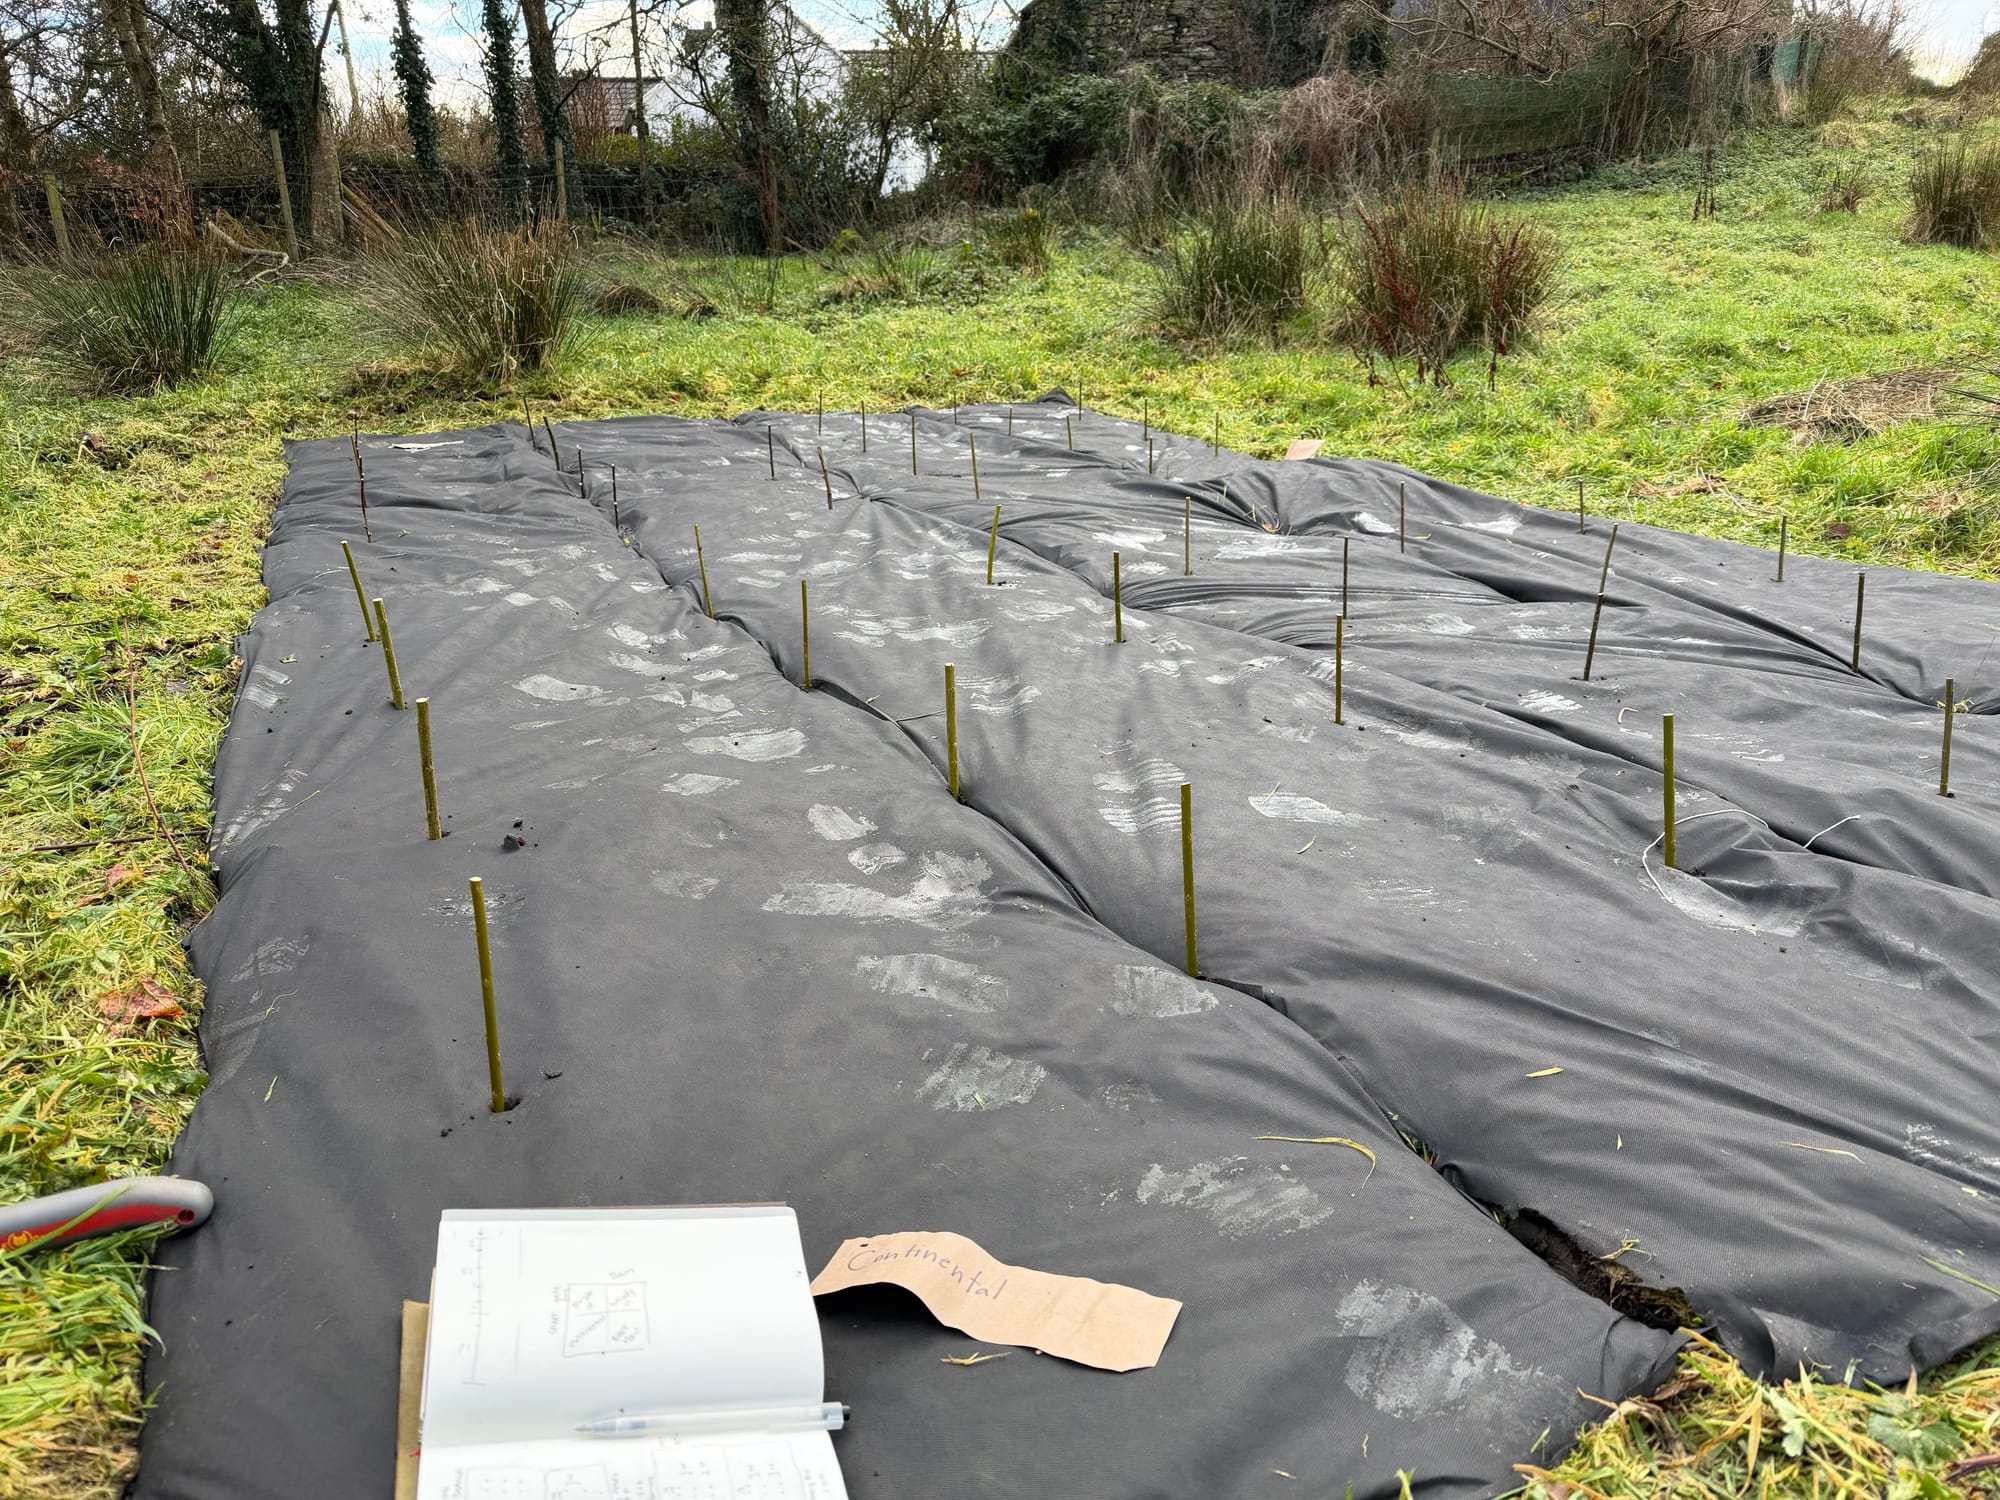
Planting the first cutting; all the large varieties planted.
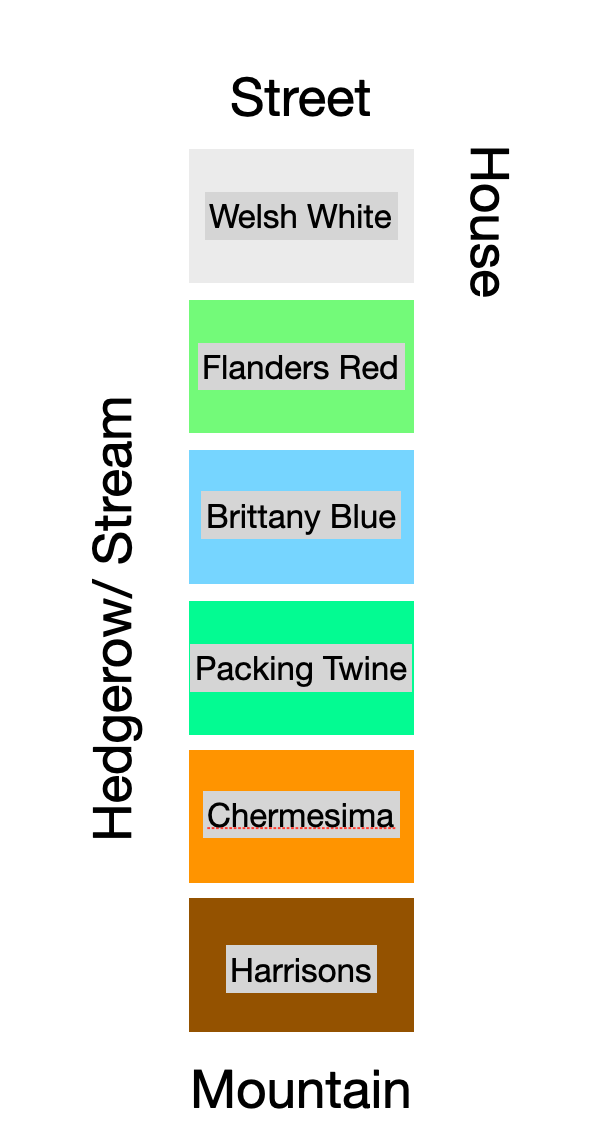
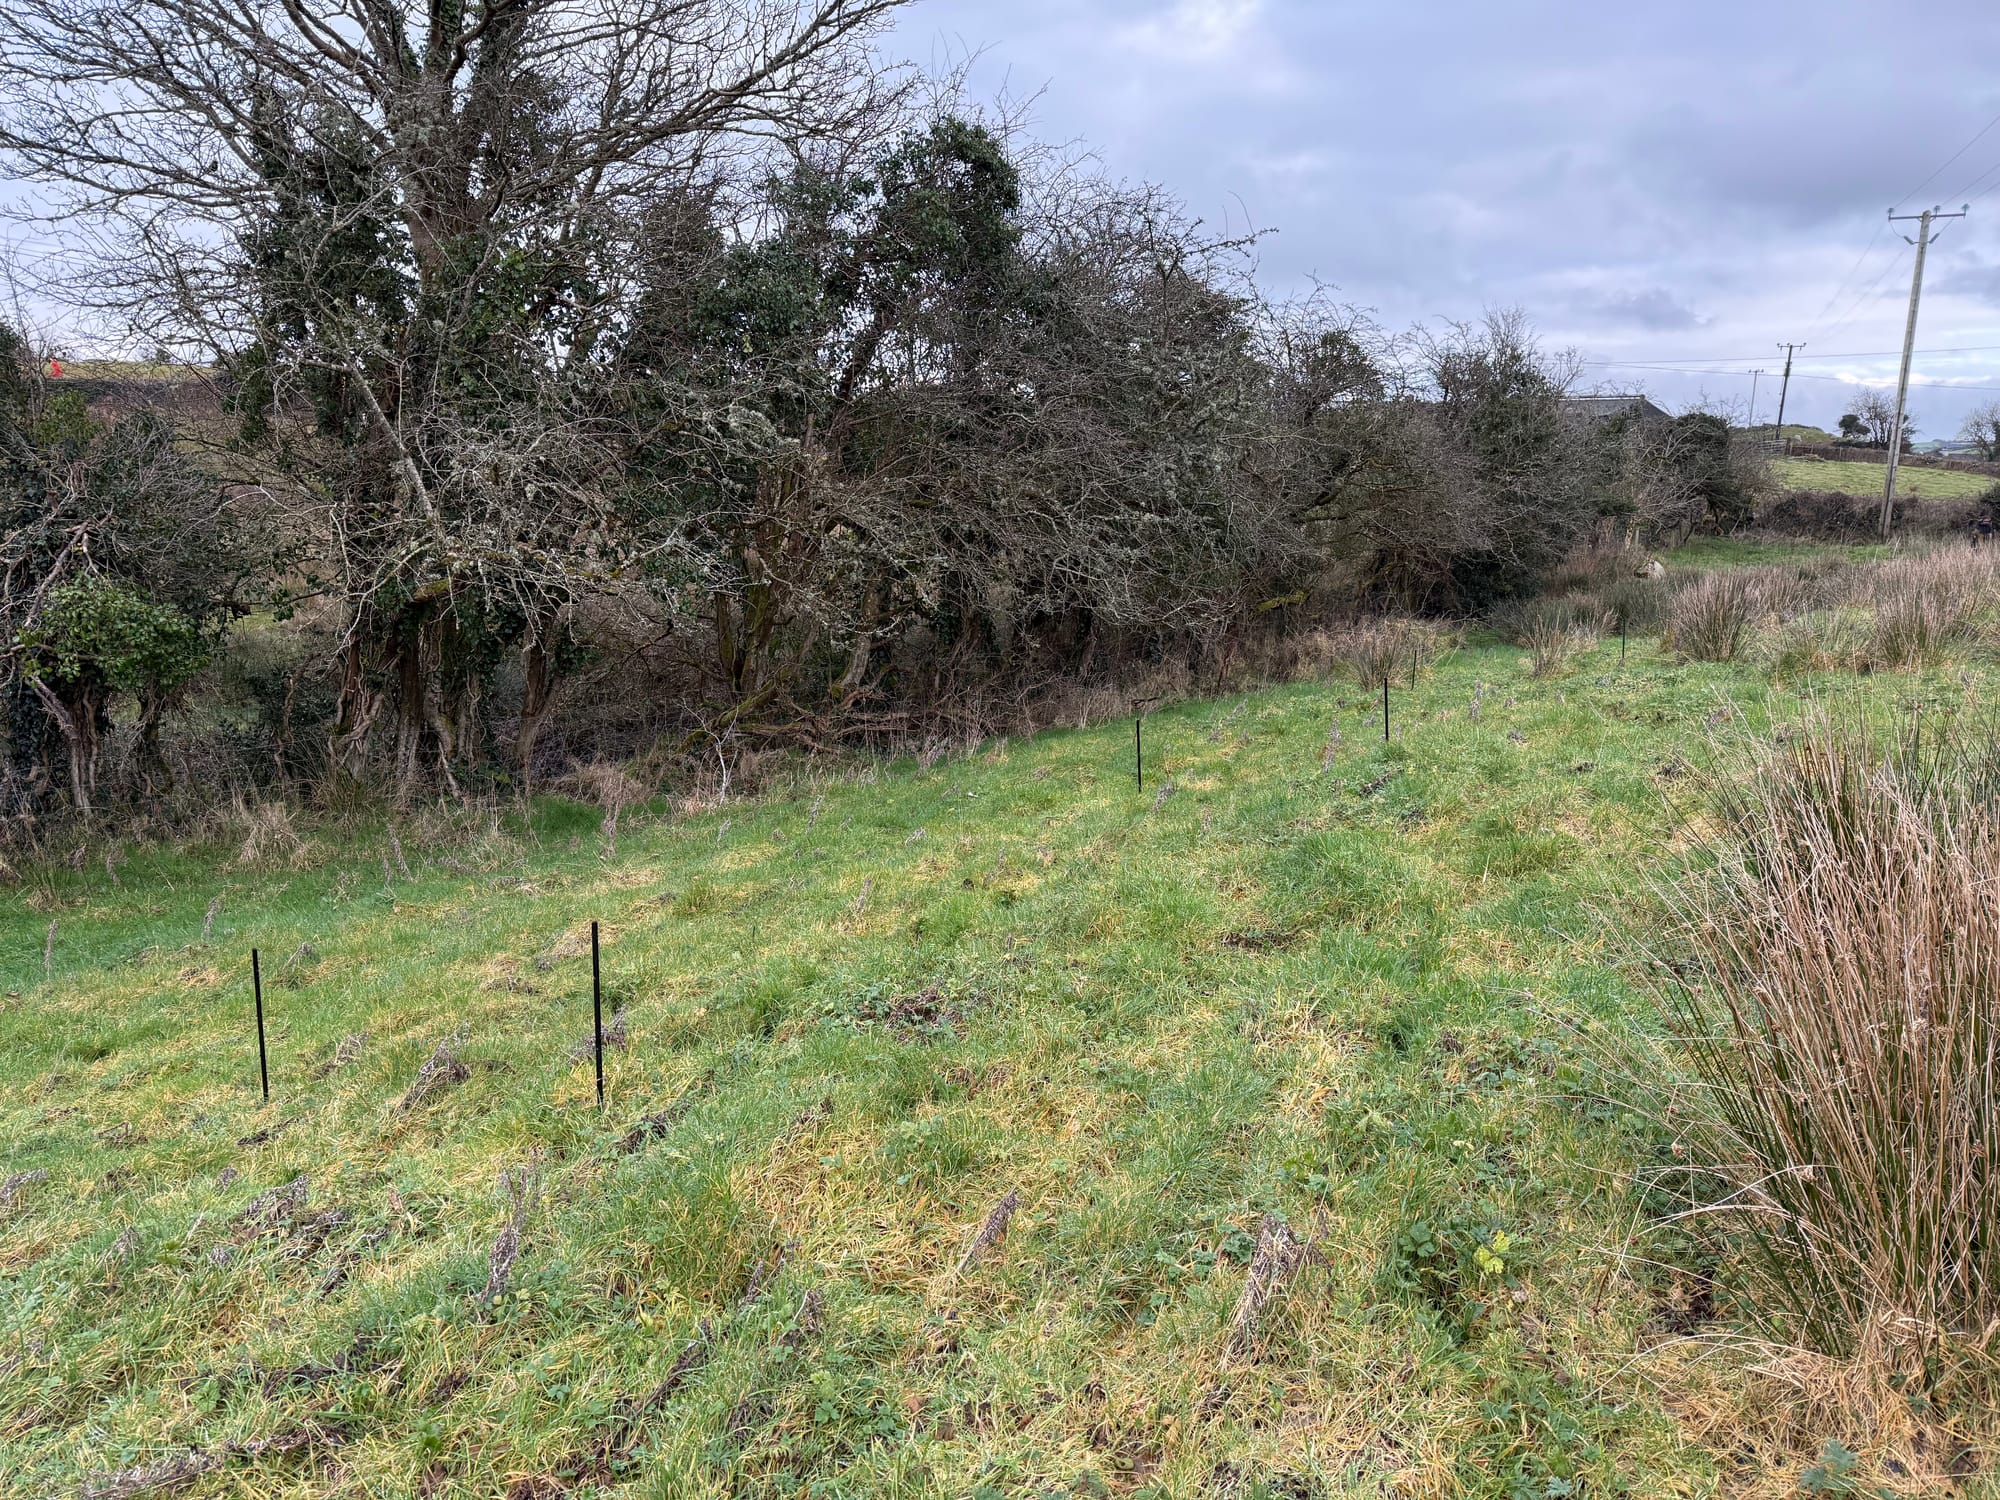
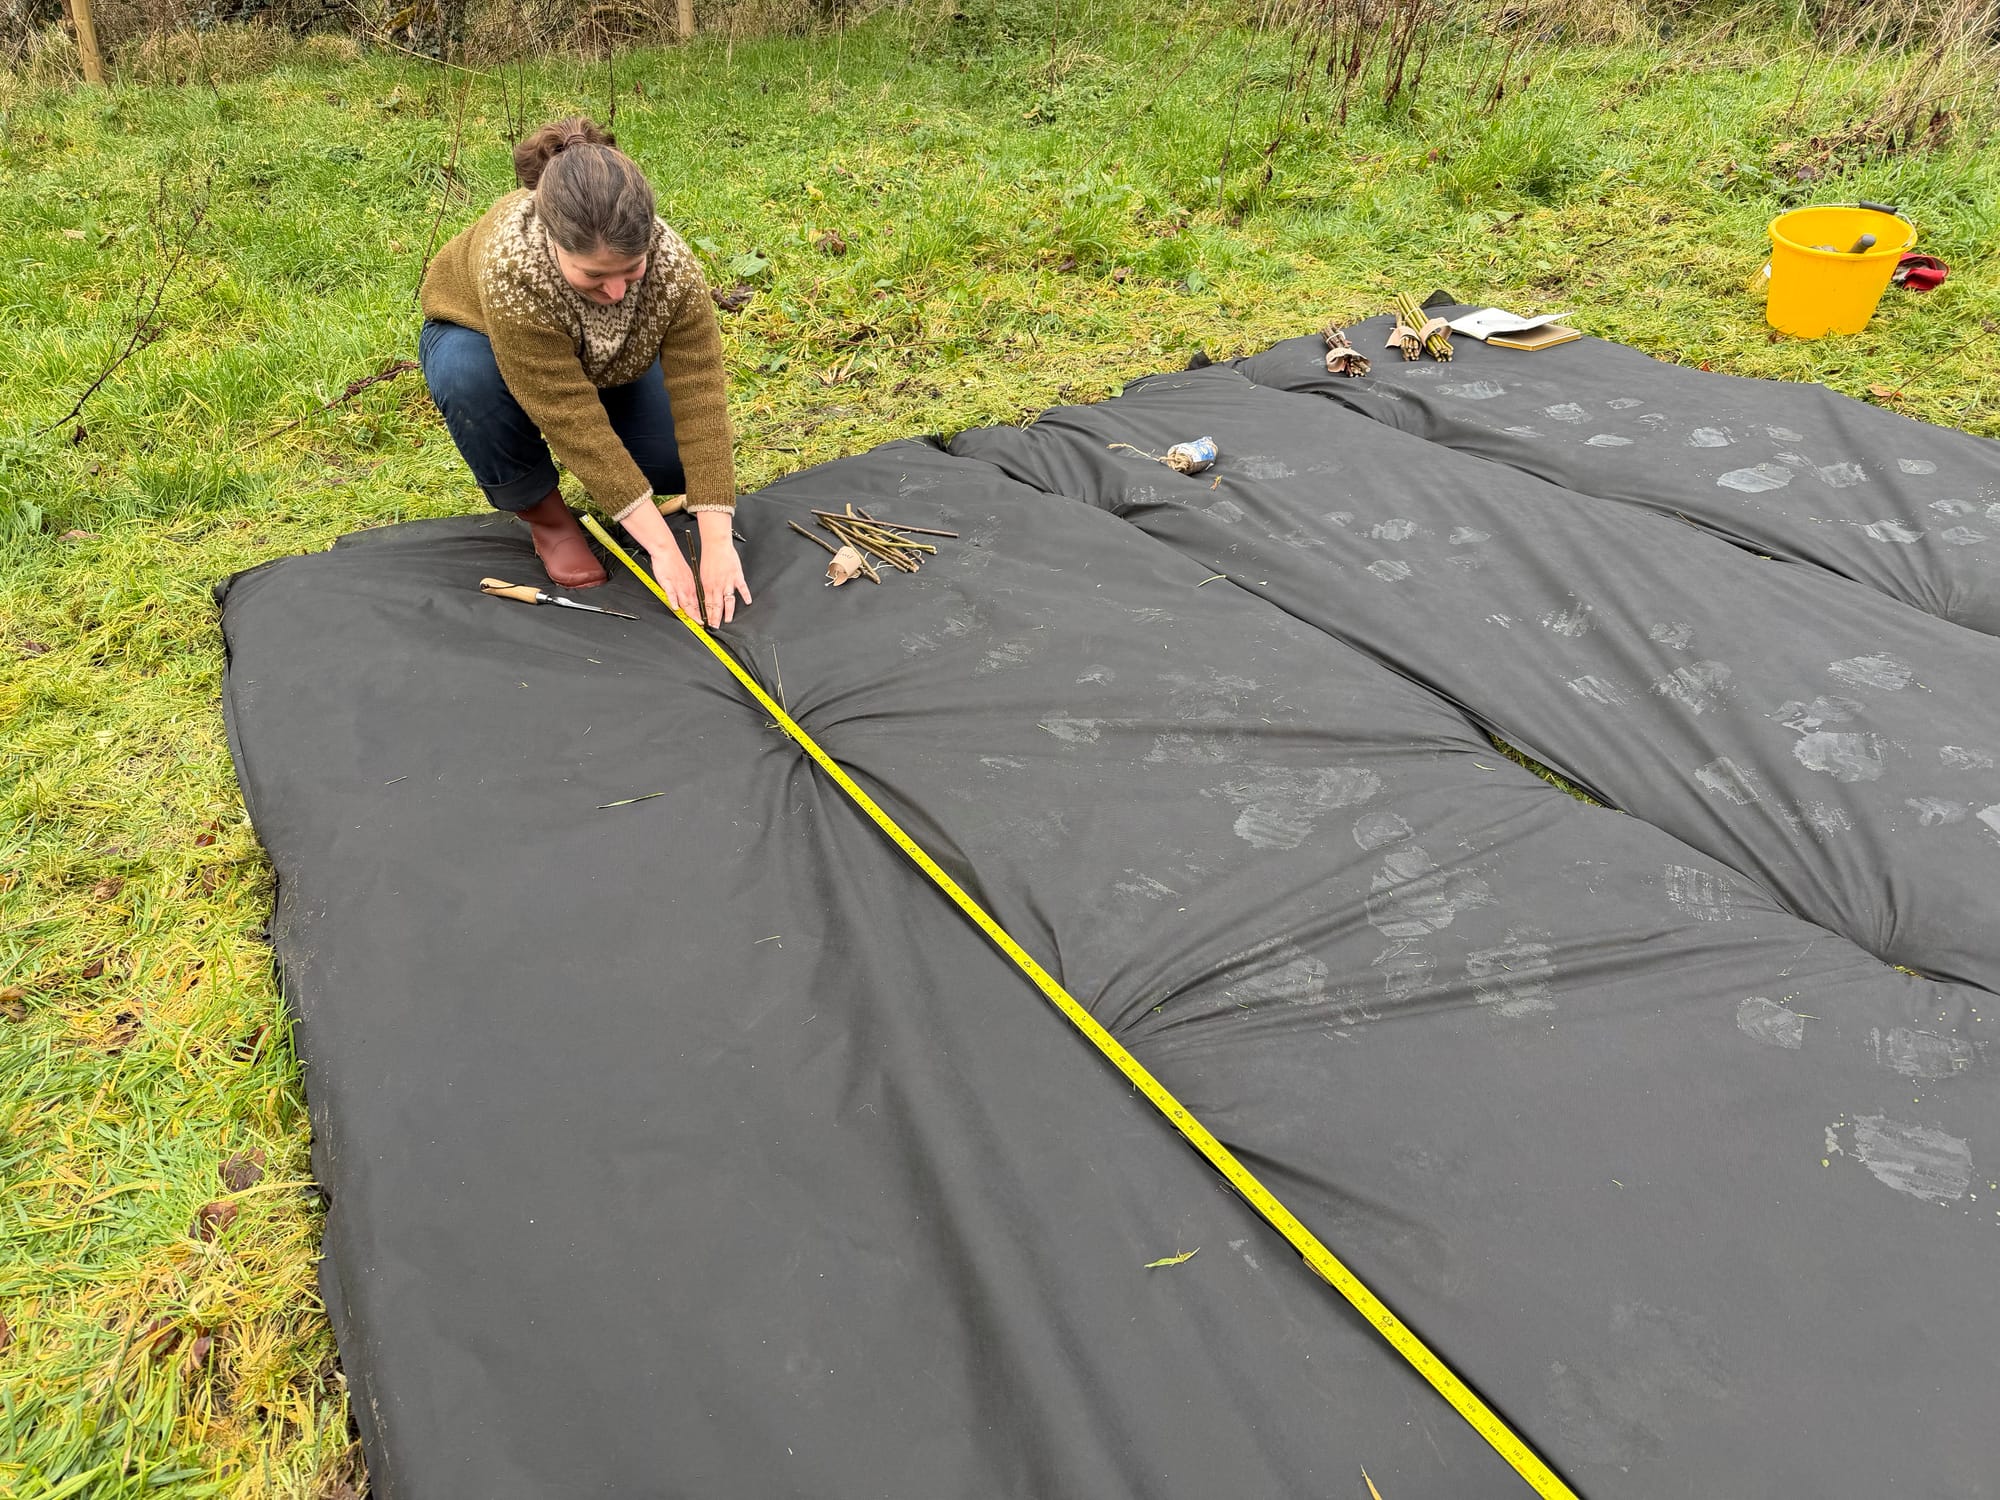
The smaller varieties of willow that we purchased are supposed to be planted 12 inches apart from each other with 24 inches between rows. I chose to plant these varieties in a long, narrow rectangular plot. This plot, I positioned near a hedgerow and stream, along the far side of our field. This placement puts the willow on a slope, with good drainage and many hours of sunshine during the summer months. This spot is also well protected from the harsh winds that we experience elsewhere in the field, thanks to the hedgerow acting as a windbreak. Although it's a good spot for the willow environmentally, it's a tricky place to work because of the incline of the hill. We found ourselves crouched over and slipping downhill in the mud several times. We were able to make it work though, and since the willow plants don't require too much maintenance throughout the year aside from weeding and then cutting once in the winter, we decided we could live with the difficulty.
The six small varieties that we purchased are:
Welsh White: creamy white colour, grows 3-6 feet tall, narrow branches are ideal for small baskets
Flanders Red: grows a yellow-green colour but dries to a dark red, grows 3-7 feet tall, good for basket weaving and garden borders
Brittany Blue: silvery blue colour, grows 4-6 feet tall, narrow and flexible rods are good for horizontal weavers in baskets
Packing Twine: blue-green colour, grows 3-6 feet tall, high producer of easy to work with weaving rods for baskets
Chermesima: bright orange colour, grows 4-6 feet tall, pliable branches are good for basket making
Harrisons: blue-ish brown that steams to chocolate brown, grows 5-11 feet tall, good for all varieties of basket making, from uprights to weavers
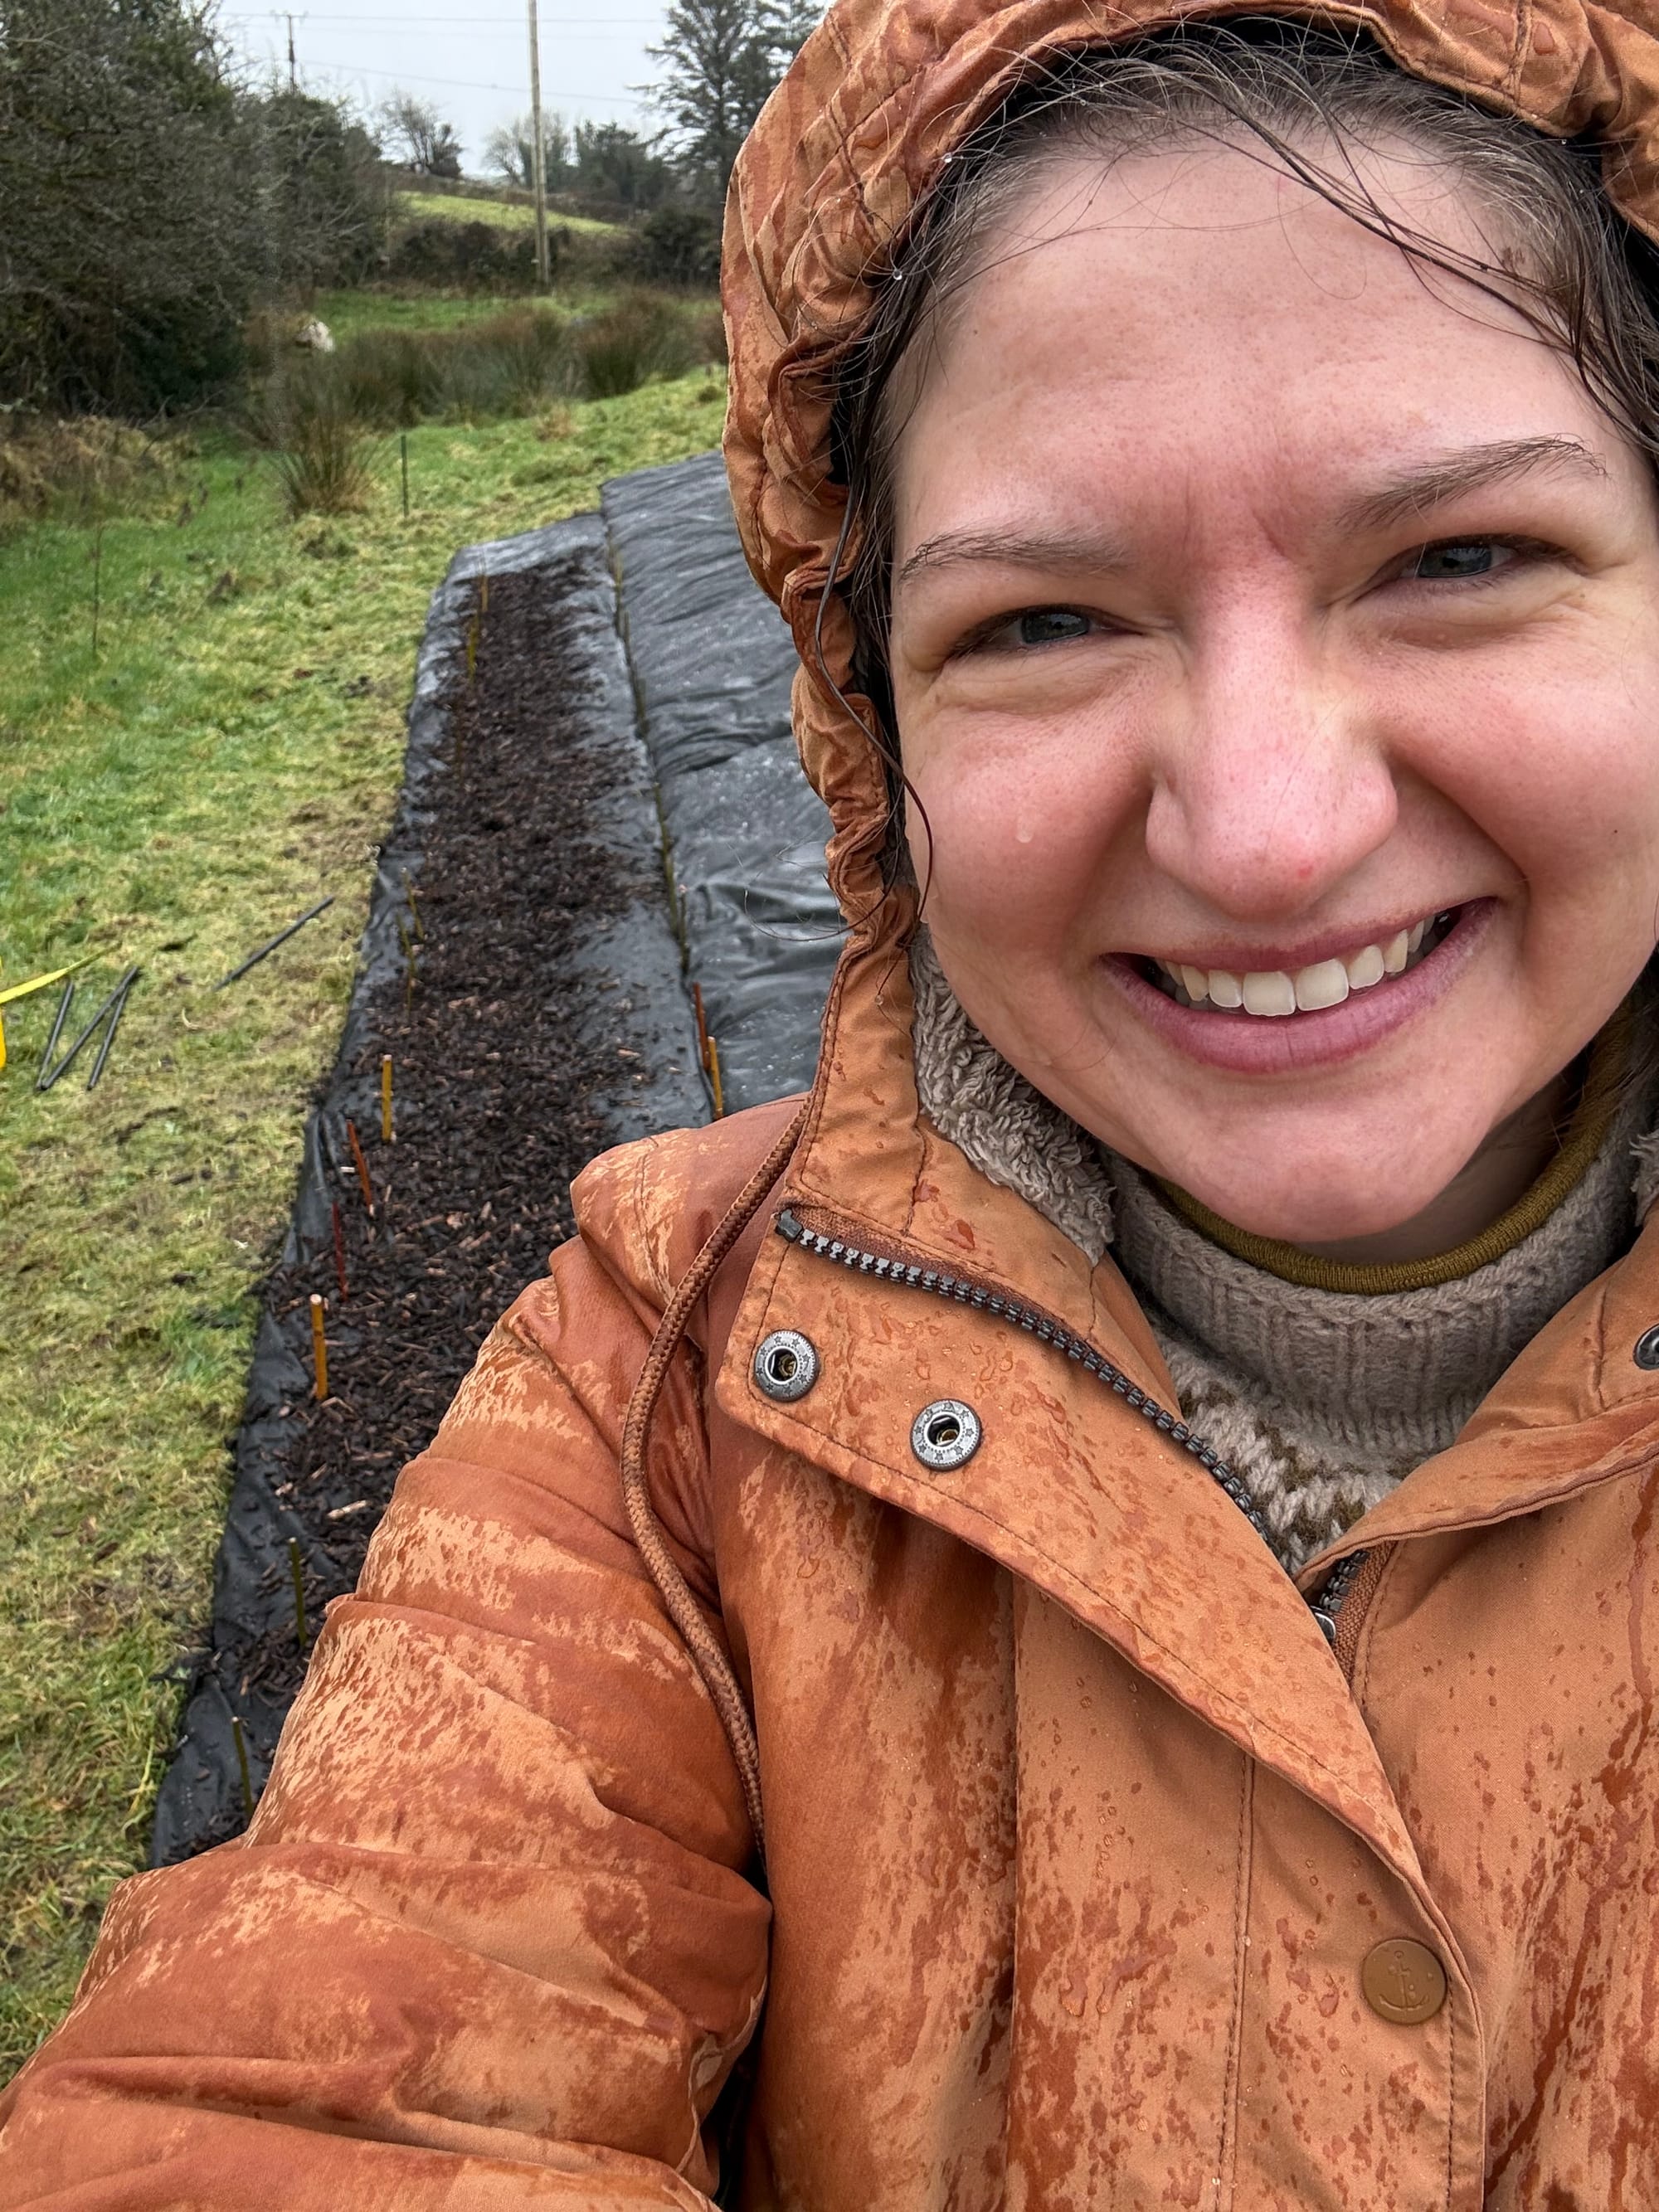
We were able to get all of the large varieties planted on the Sunday, but we ran out of light before we could get all the small varieties in the ground. (I miss the long, bright days of summer. It's so hard to get anything done outside when the sun sets by 5:30pm.) We woke up the next morning to rain and grey skies, but wanted to get the rest of the willow in the ground, so we put on our rain gear and headed out into the mud to finish the planting. To finish up the process, we spread mulch over the plots to help weigh down the weed suppressant and keep moisture in the ground once we get into the warm summer days.

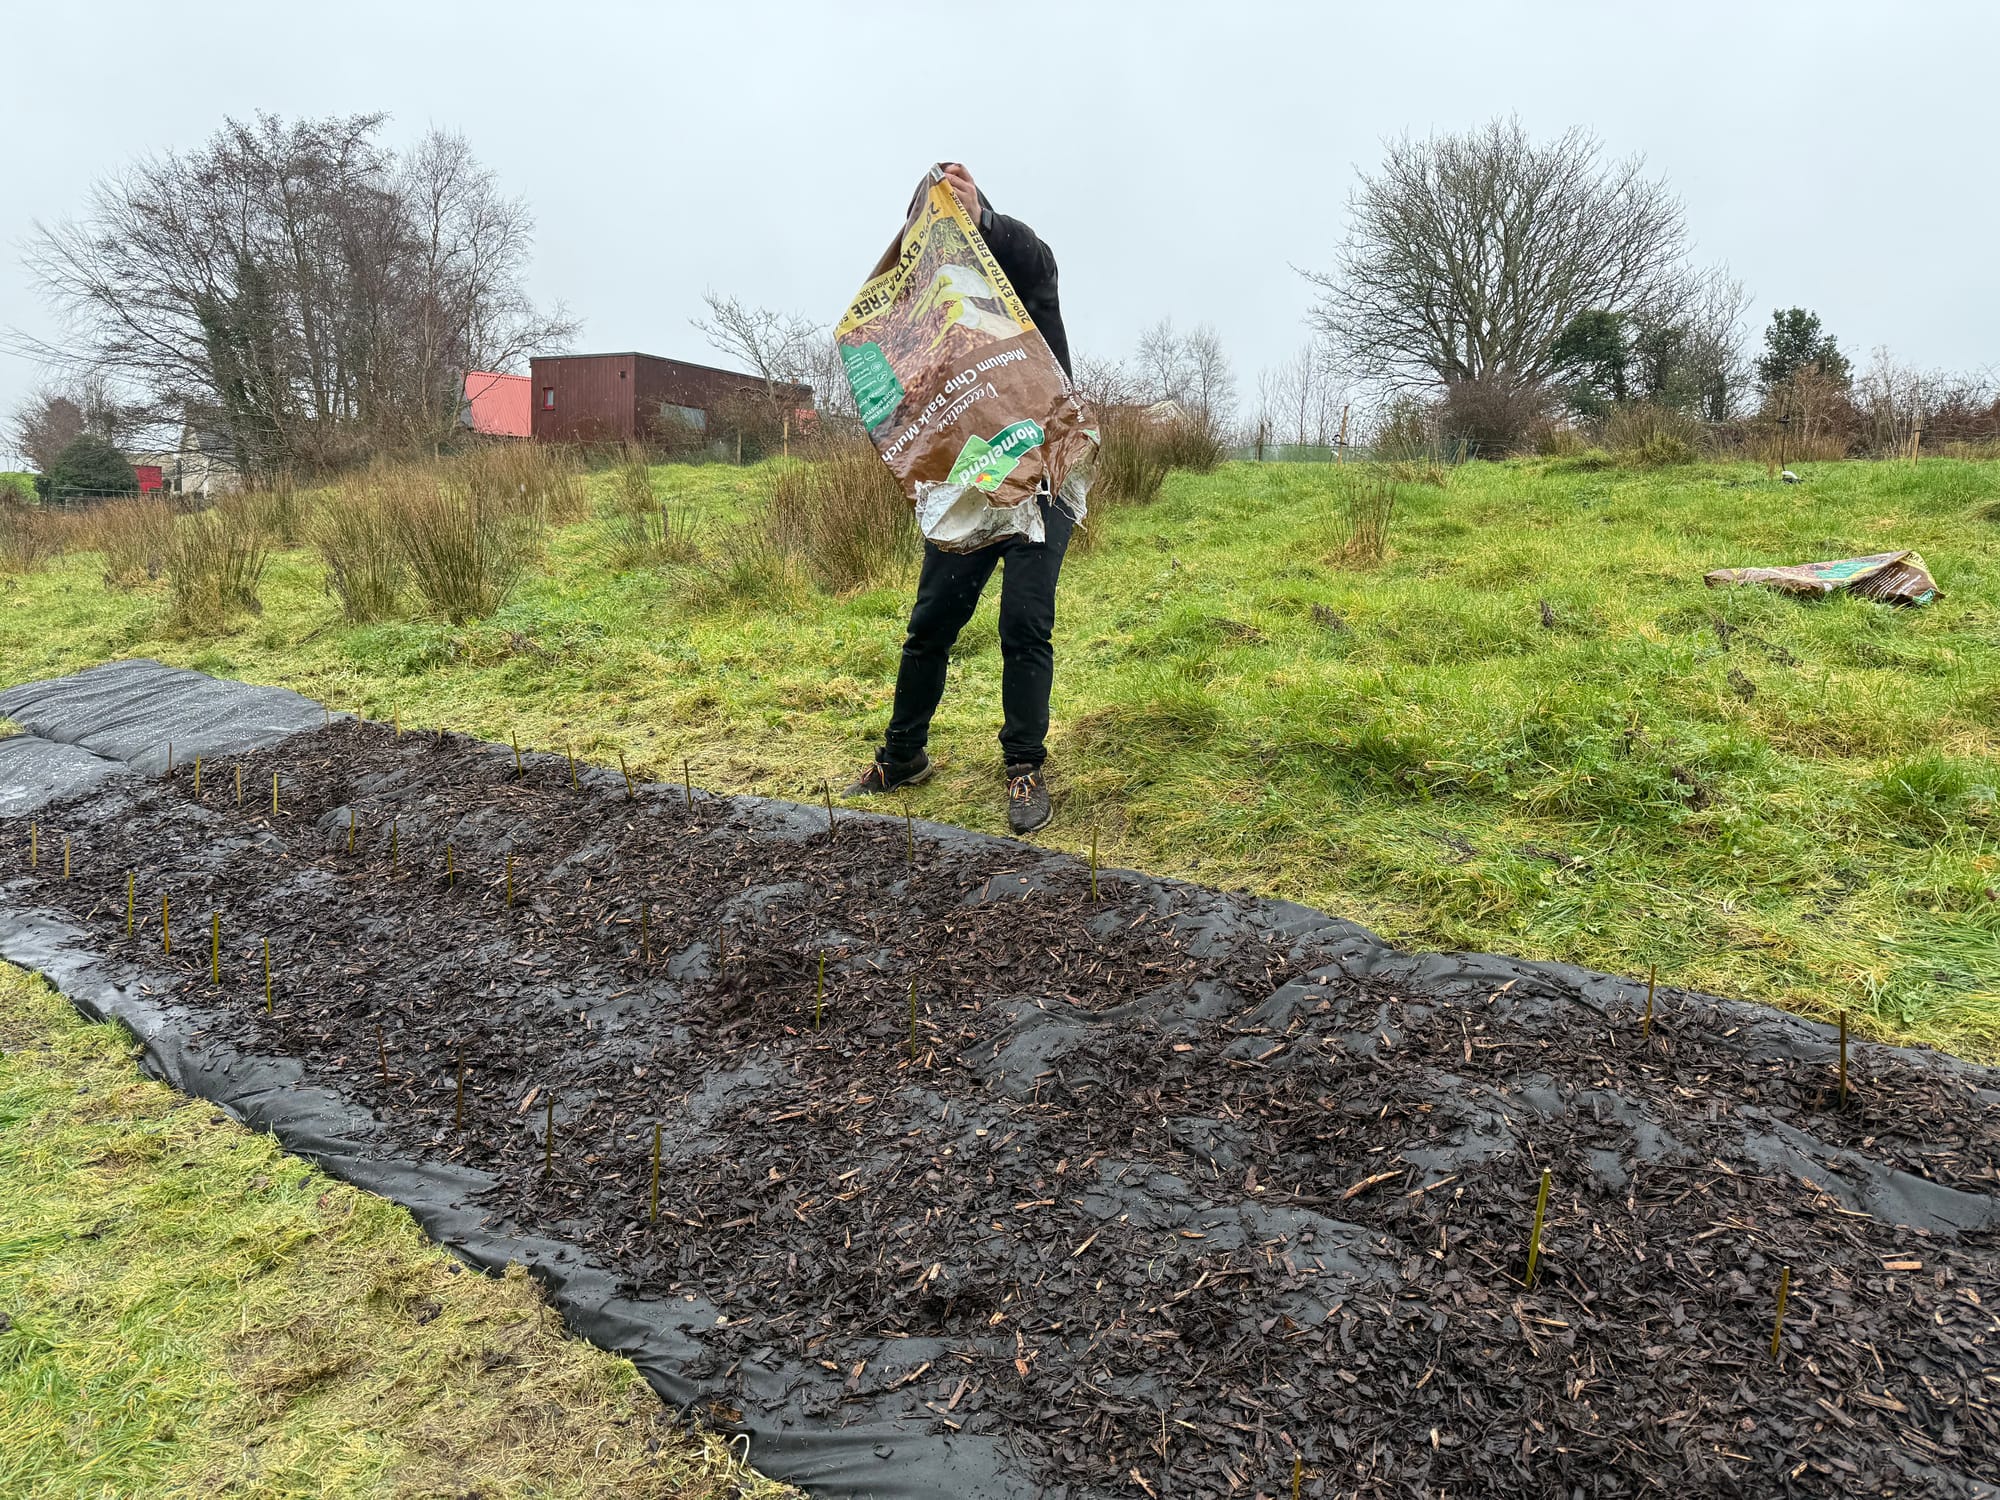
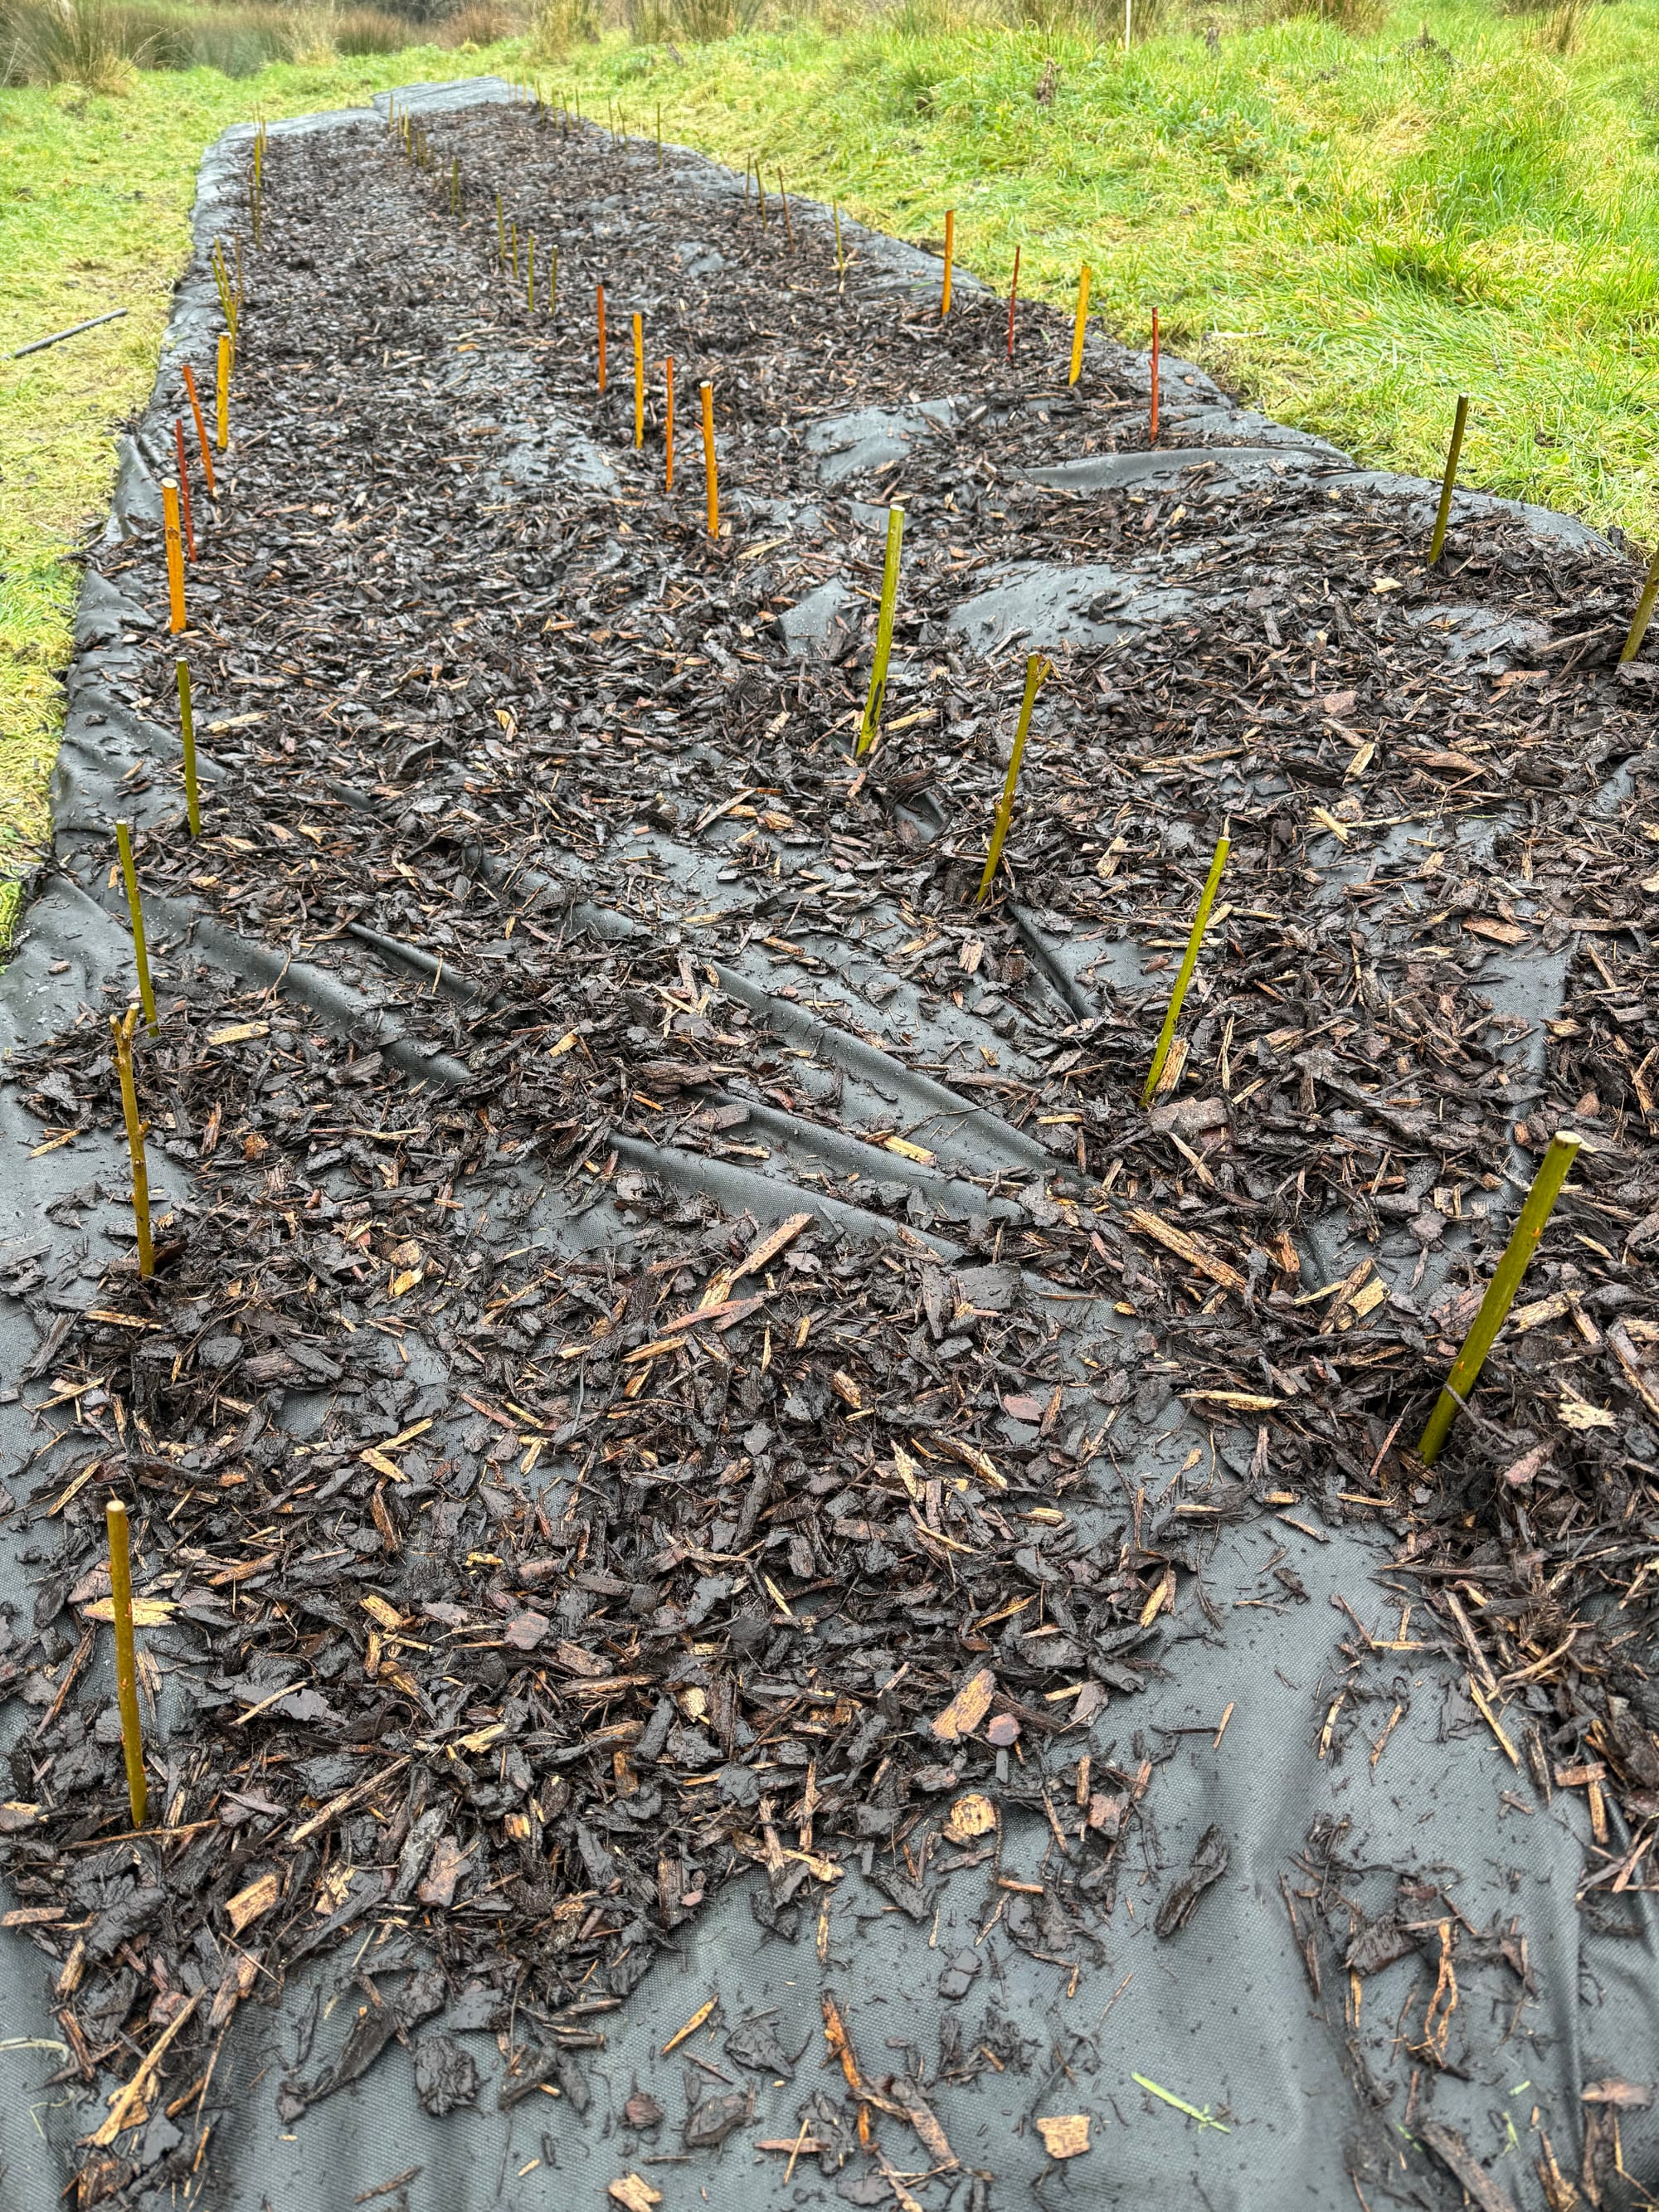
Planting the small varieties in the rain; spreading mulch; you can already see the different colours of each variety!
Comments ()