Knitting a Sweater, Step by Step
Quick project details
Cast on: 15 January
Bind off: 5 February
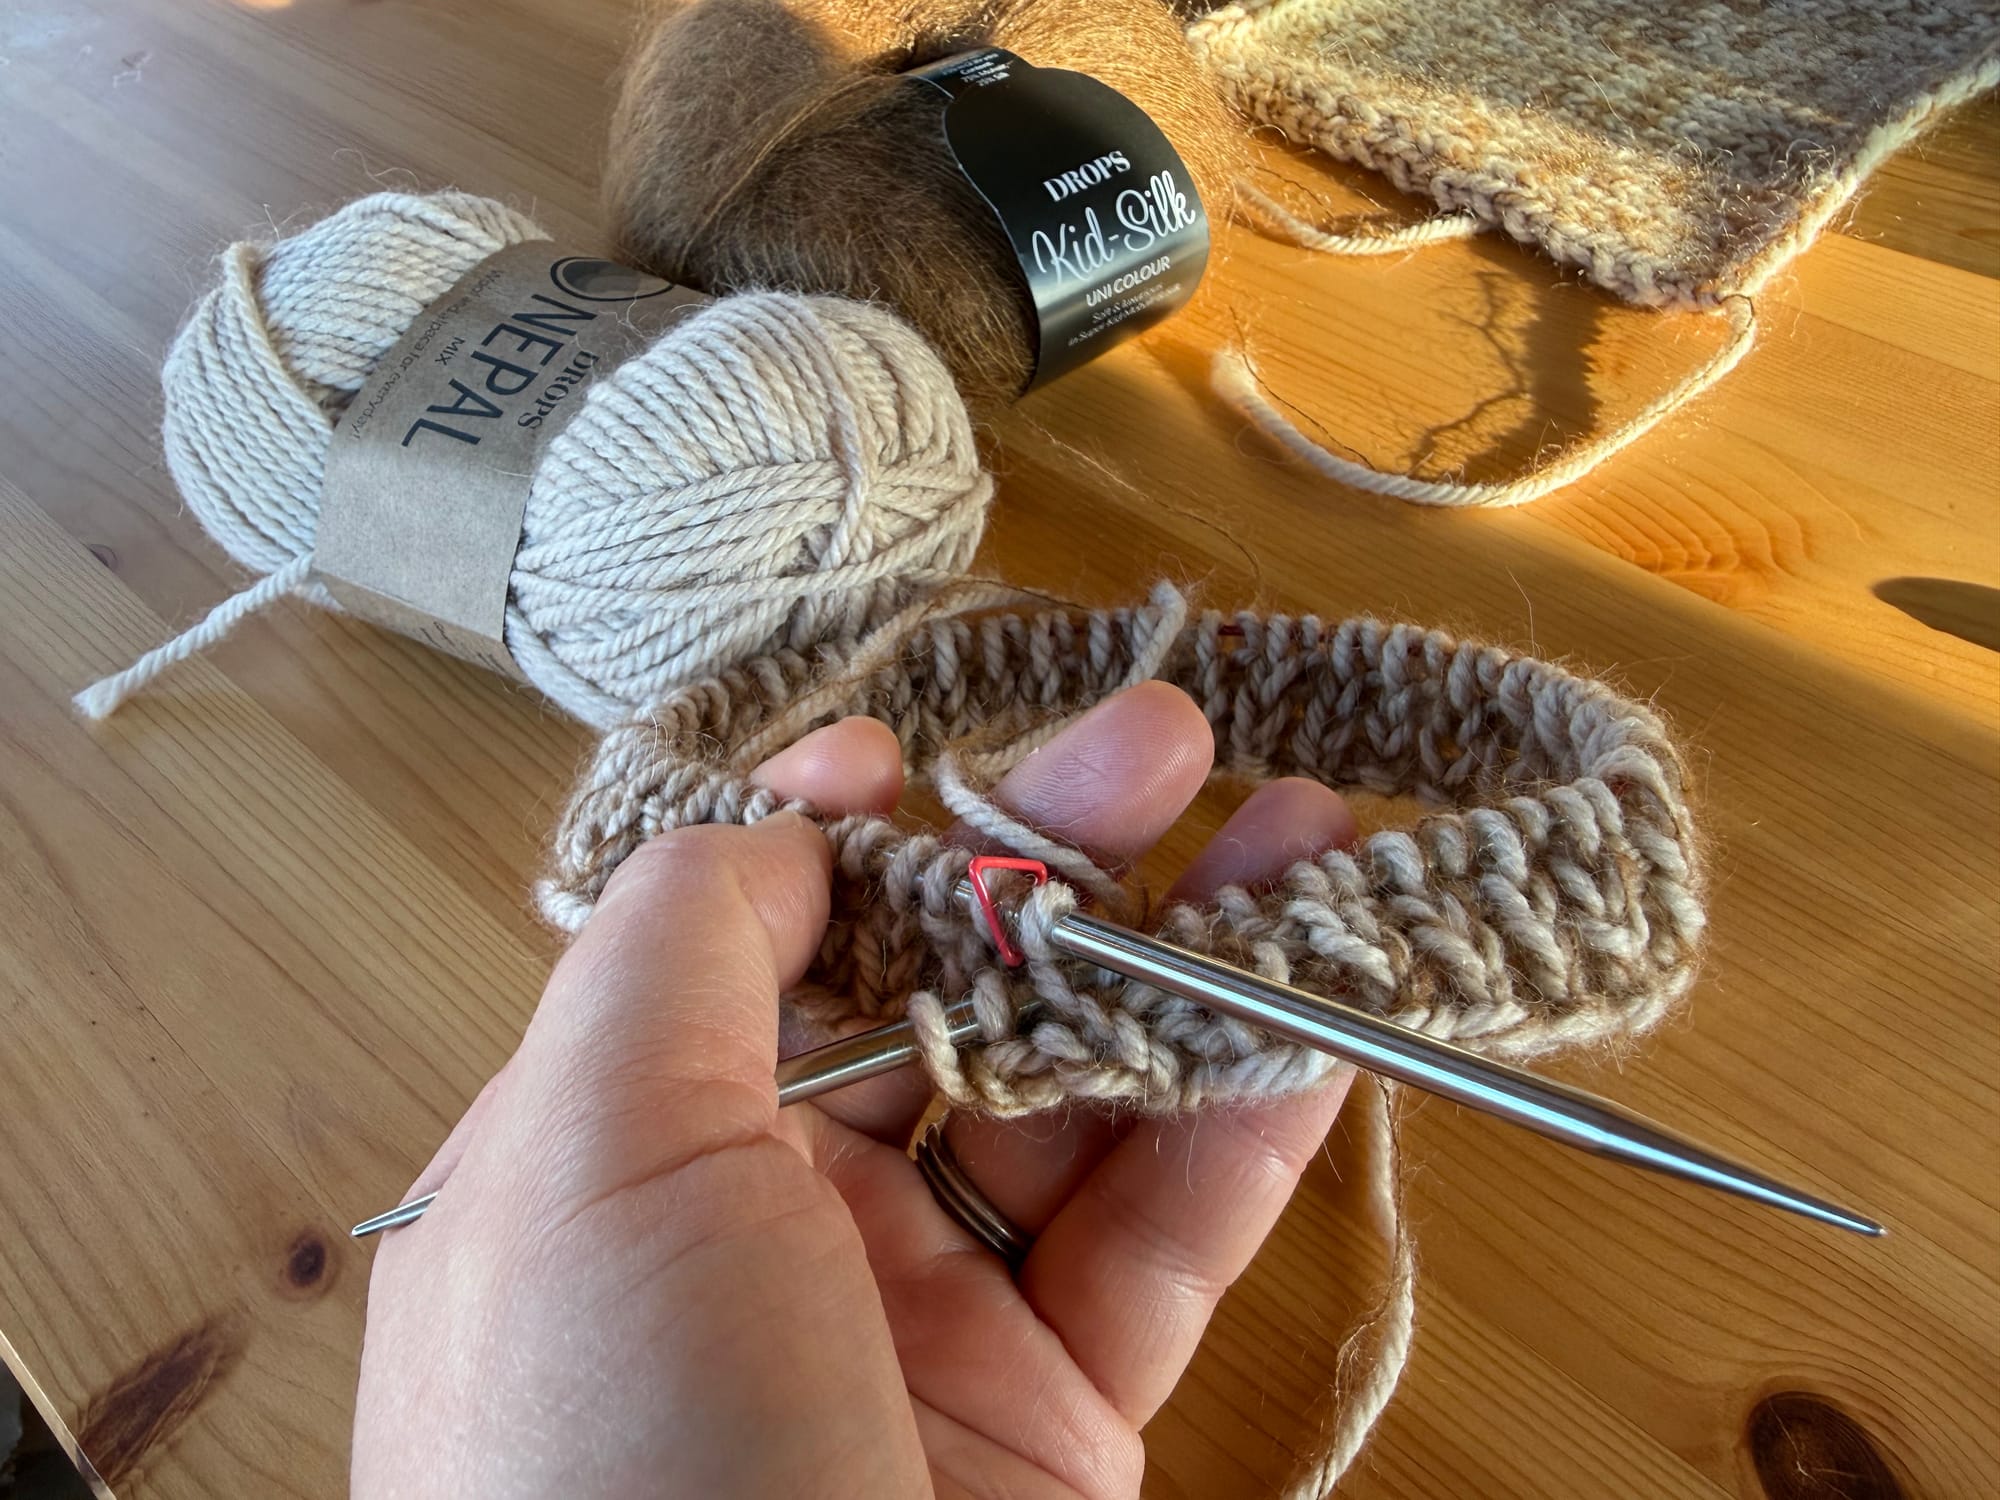
Yarn: Drops Nepal in the colourway 206 Light Beige, aran weight, 65% wool, 35% alpaca. Held together with Drops Kid-Silk in the colourway 51 Toffee, lace weight, 75% mohair, 25% silk.
Needles: 4.5mm and 5.5mm Chiaogoo interchangeable needles
Pattern: Step by Step Sweater by Florence Miller

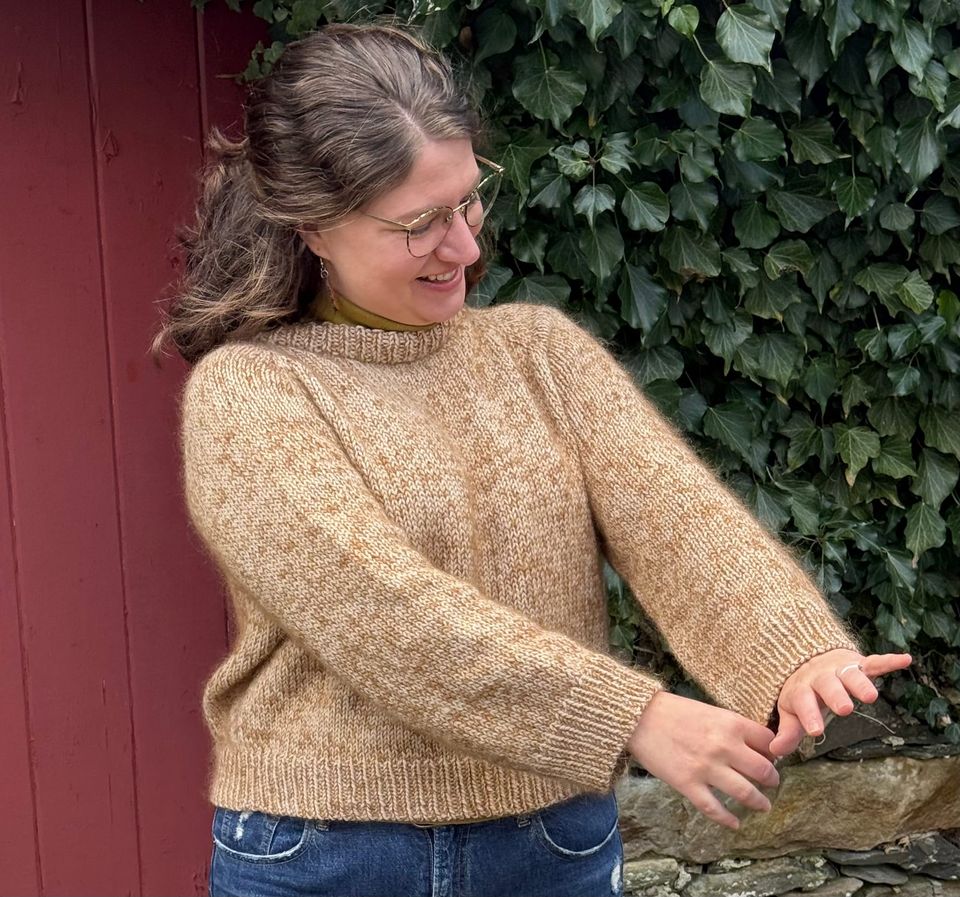
I HAVE KNIT MY FIRST SWEATER!
You guys, I absolutely loved this process and I'm a little bit sad that I'm not working on it anymore. I have other projects on my knitting needles already, but I'm starting to look for another sweater to work on because I loved having a large, sometimes difficult, sometimes mindless project to pick up in the evenings.
To start, before I even bought yarn, I spent a lot of time on Ravelry browsing sweater patterns and trying to find one with lots of good reviews, clear instructions, and a sweater shape that I liked and would be excited to wear when it was finished. The Step-by-Step Sweater by Florence Miller ticked all of those boxes. This pattern has more than 15 thousand projects on Ravelry, and many of the people posting say that it's their first knit sweater. The photos of their sweaters look great, so it gave me hope! This pattern is also free, so I was able to read through the directions without spending any money and make sure that the writing style is clear and understandable to me. And on top of that, Florence has made an in-depth YouTube video showing how to knit the tricky spots, like the German short rows, stretchy bind-offs, and more. I found myself rewatching parts of the video over and over again so I could follow her movements exactly, but it worked really well for me!
Once I was sure that this was the sweater I wanted to try first, I bought yarn. I chose to use Drops Nepal, which is the suggested yarn in the pattern. But, I wanted the sweater to be a little bit more fluffy and squishy, so I also bought skeins of Drops Kid-Silk to knit along with the wool. There were a few people on the Ravelry project page who had knit a strand of mohair in with their sweater too, and it seemed like their gauge wasn't significantly impacted, so I decided to give it a try. When I made my gauge swatch, I found that my gauge was incredibly close, but one stitch larger than called for. Instead of the suggested 16 stitches x 2o rows in a 4 inch square, I ended up with 15 stitches x 20 rows. I decided that was close enough! I picked the size C, which would allow for 10cm of positive ease around my bust if I was knitting exactly to gauge. Since the pattern called for 15 cm of positive ease, and my gauge was ever so slightly big, I hoped this size would end up fitting exactly right.
During this process, I learned that I should have measured my gauge swatch before AND after washing and blocking it so I could see how much the size changed through the blocking process. I didn't measure before blocking, so I had to kind of guess when I was deciding on the length of the body and sleeves later. Now I know.
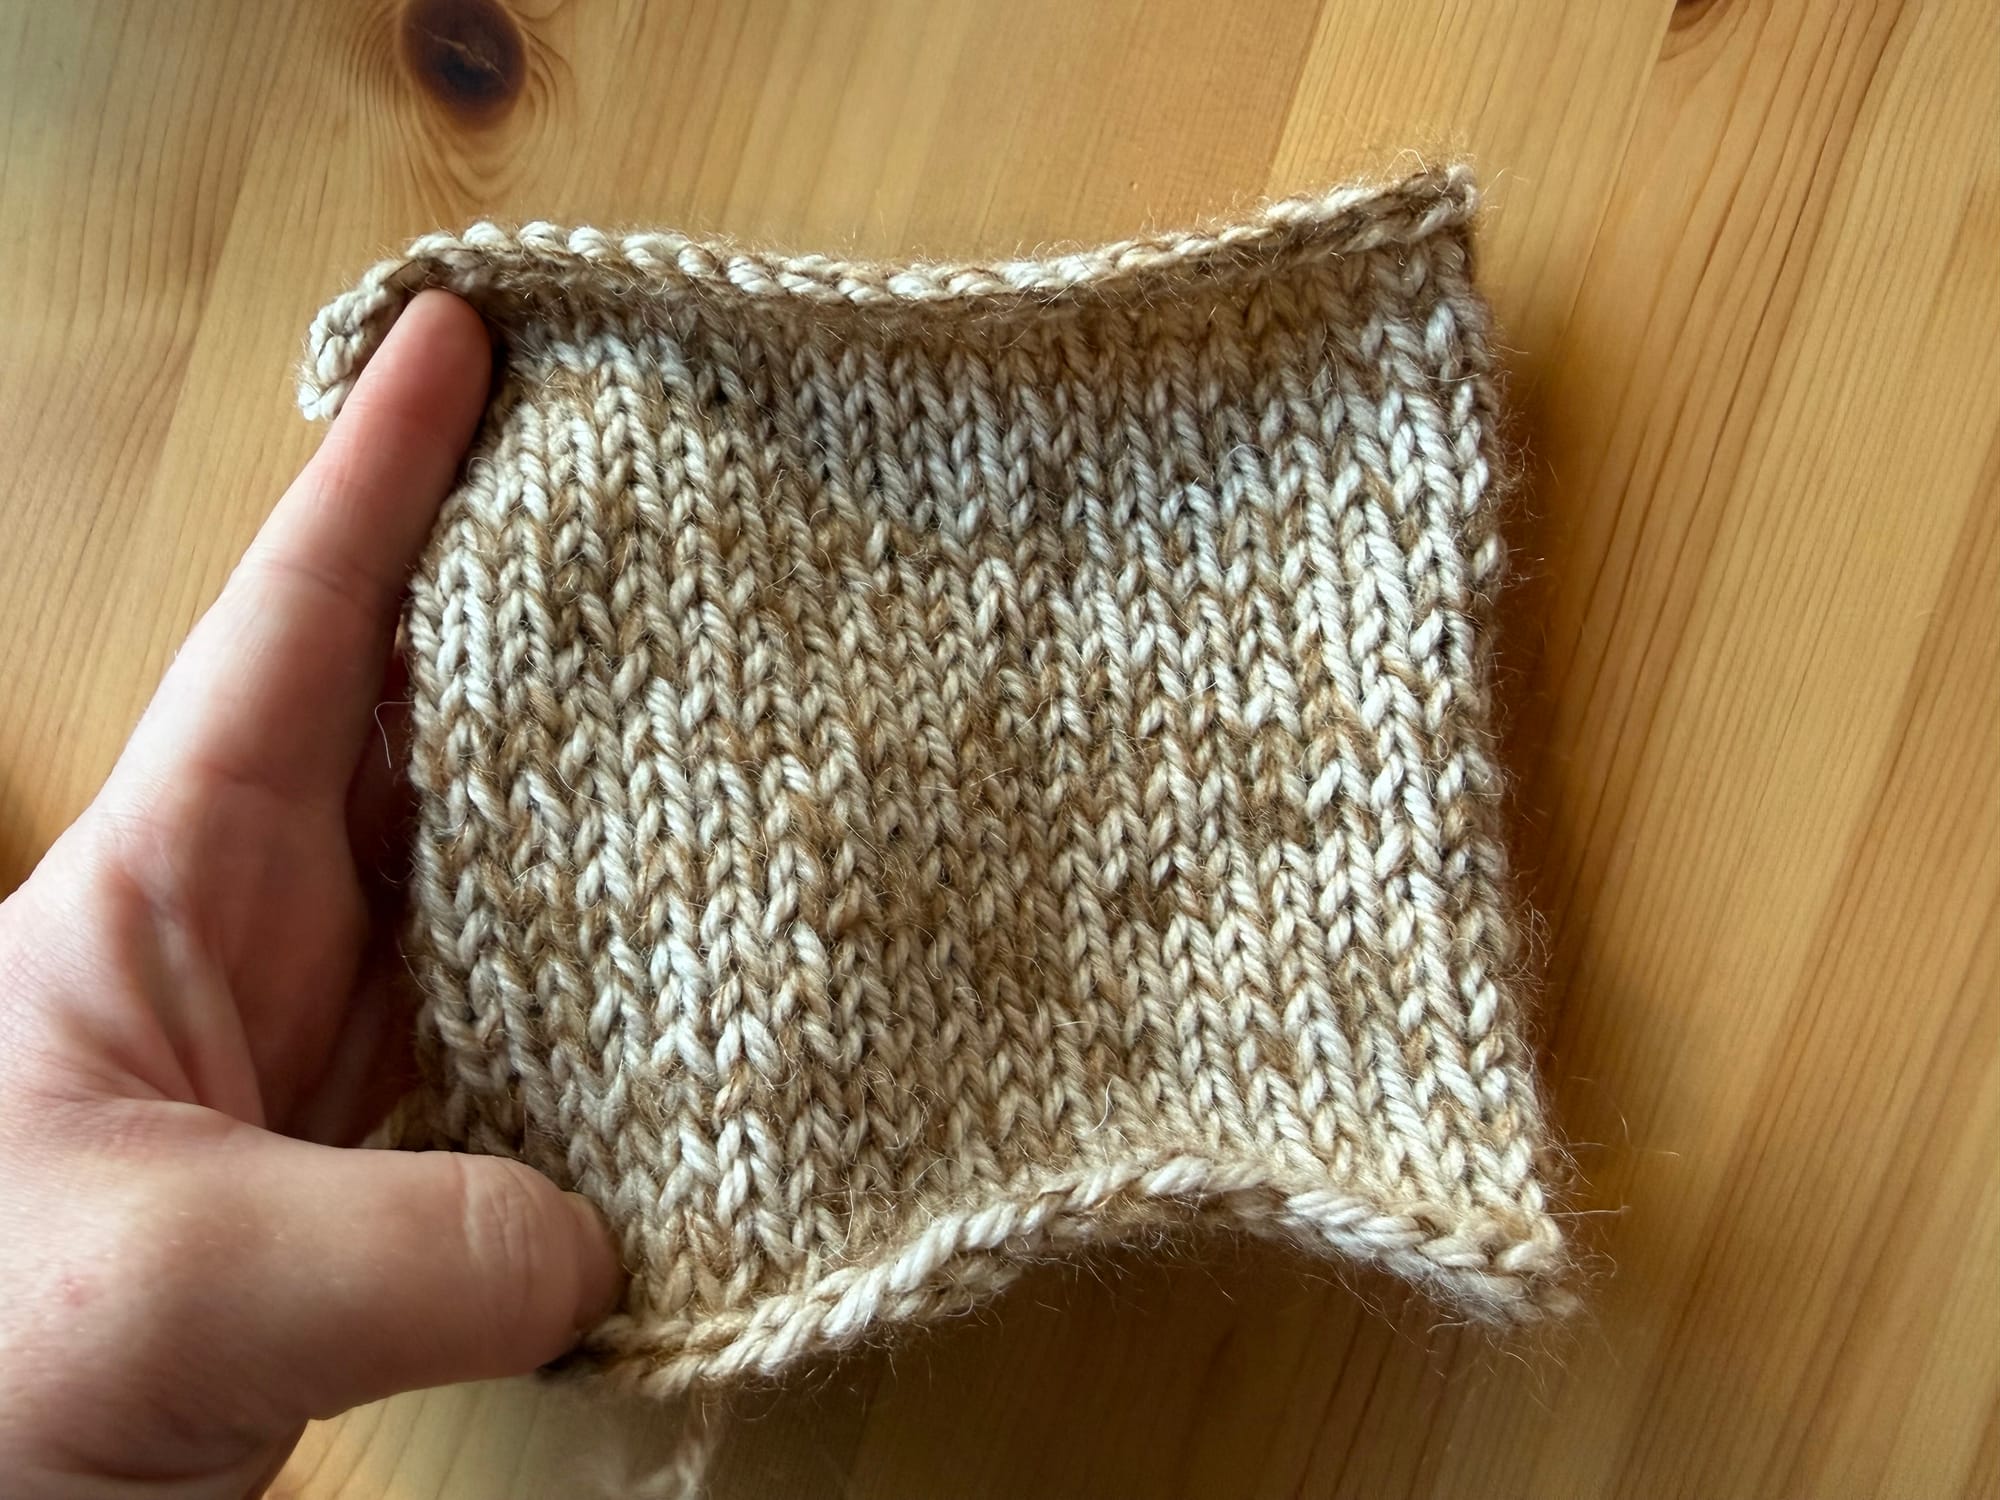
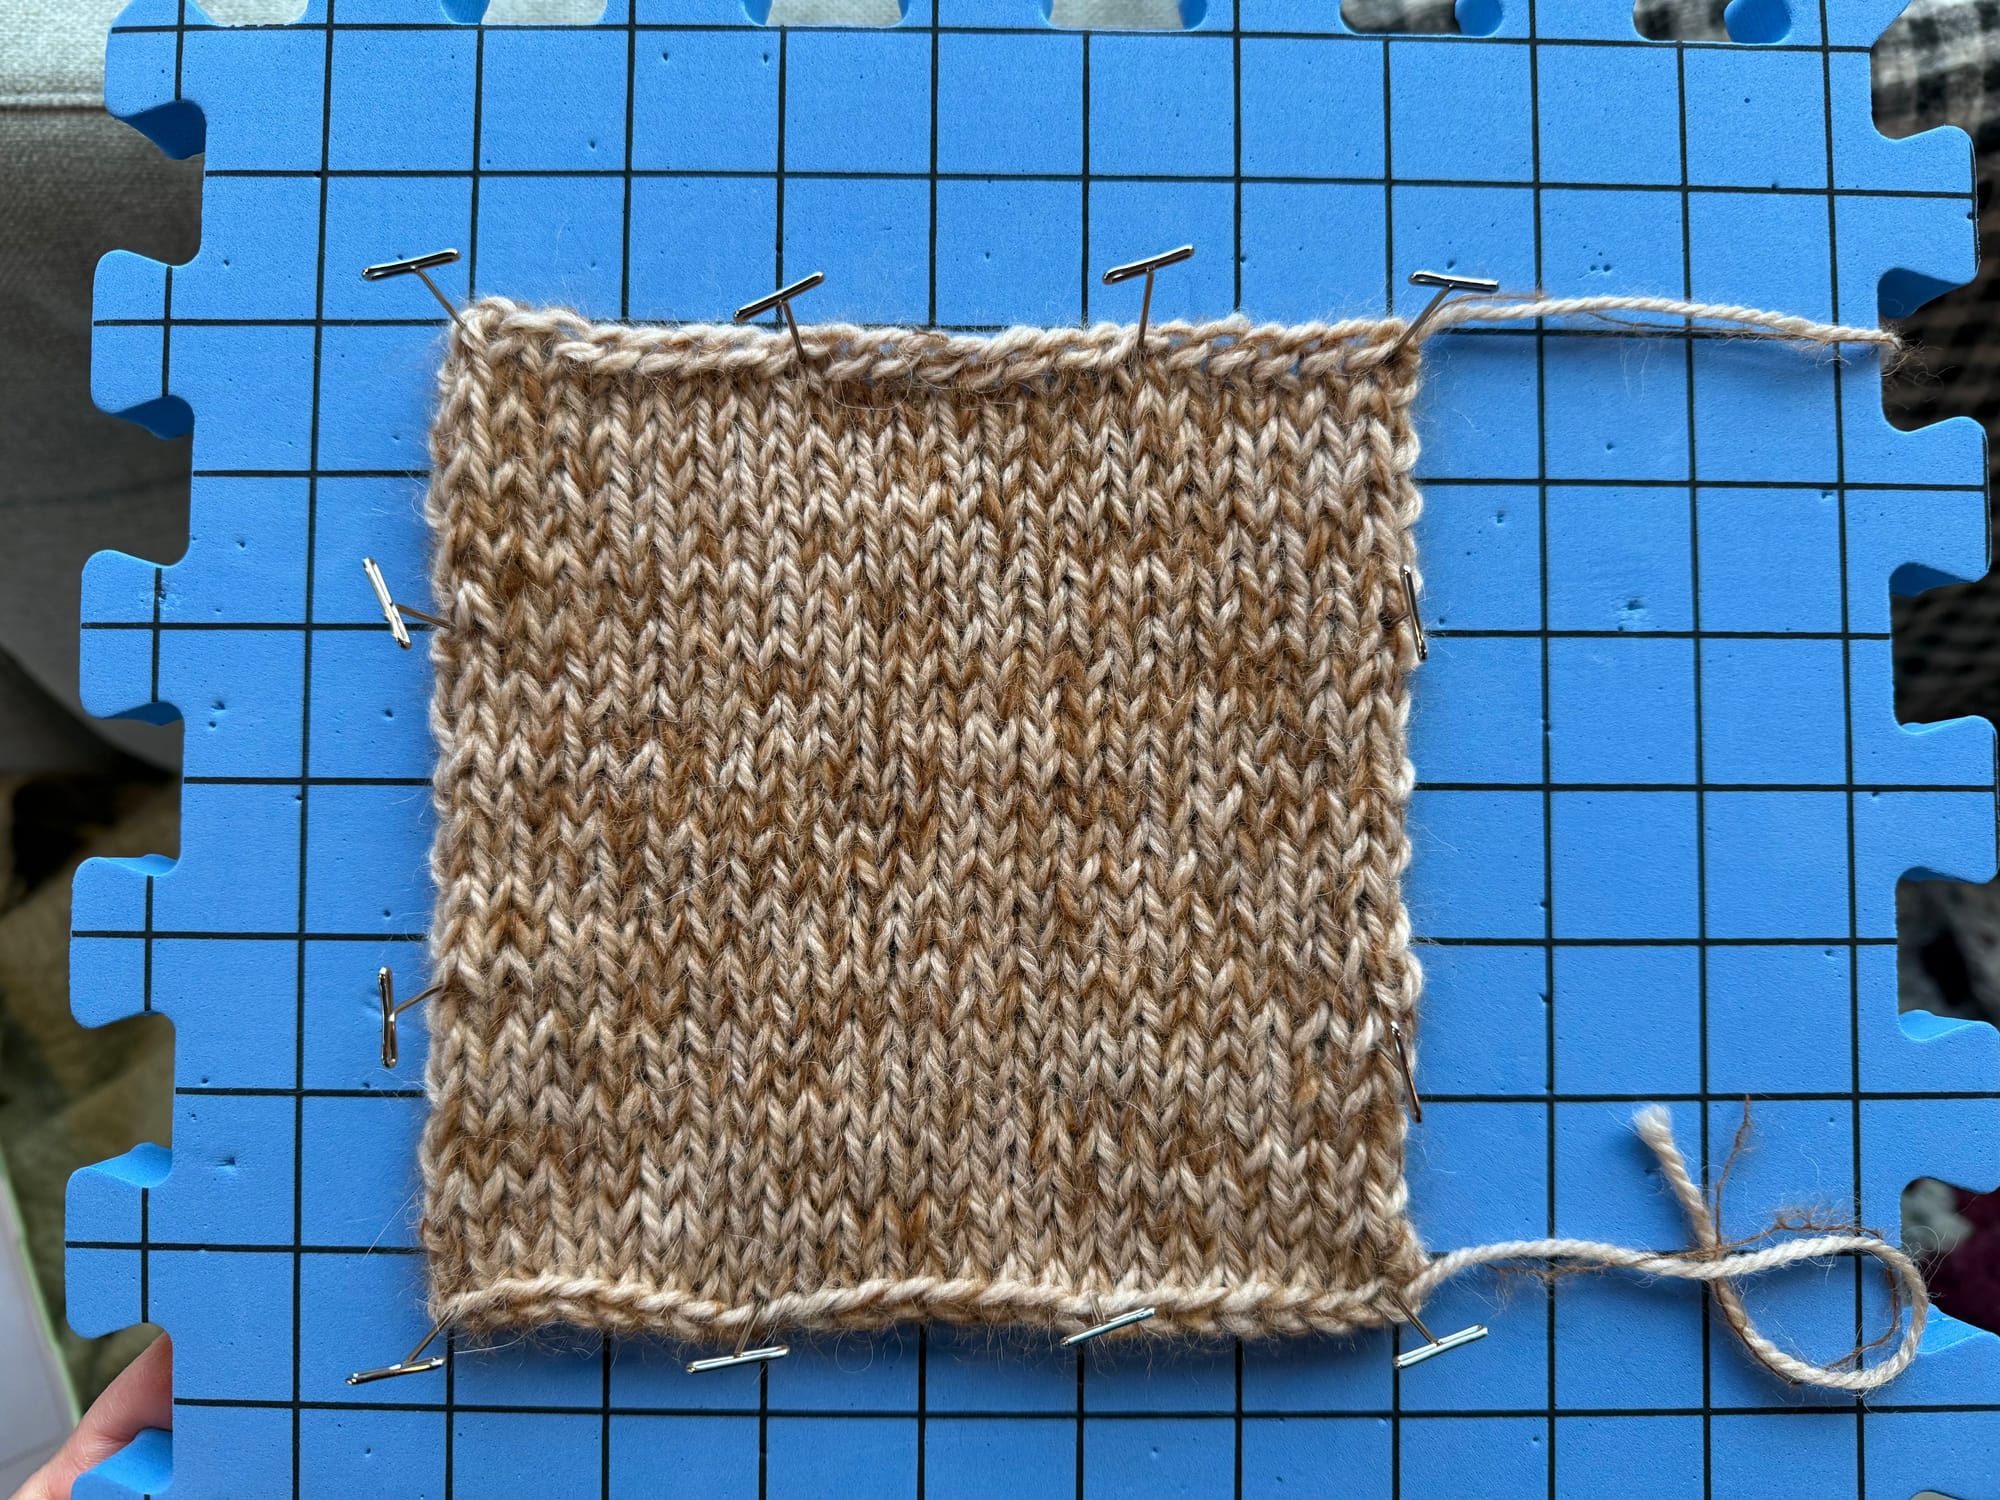
My swatch stitched, and then drying on a blocking mat.
After blocking, I could finally cast on! The sweater is worked from the top down, starting with a ribbed collar. I chose the folded-over, double thickness collar style. The instructions were very clear, and I didn't have any problems knitting the ribbing. I found it somewhat tricky to make sure that I wasn't twisting my ribbing when I was folding the collar in half and knitting it to itself, but I took my time, used a lot of stitch markers, and it came out evenly spaced in the end. I did get slightly annoyed trying to knit in such a small circumference with my 5" knitting needles; I felt like I was stretching out the work and fighting with the cable through the entire collar. I ended up buying a set of interchangeable shortie needles so that I wouldn't be annoyed by this when it came time to knit the sleeves.
The German short rows followed immediately after the collar section. I had heard a lot of people complaining about how difficult and confusing German short rows were before I started this project, so I went into this section worrying that I would get overwhelmed. Now, the pattern does have an option to leave out the short rows, and just move straight to the regular raglan increases, but I knew that I would be happier with the finished product if it fit more snugly around my neck and shoulders. I followed Florence's YouTube tutorial, rewatching until the pattern stuck in my head. They really weren't that bad, and that section of the pattern went by pretty quickly. I'm glad that I pushed myself to try a new technique, especially since it's something that shows up in most sweater and tee patterns. Now I'll be a lot more confident about these when I start my next sweater.
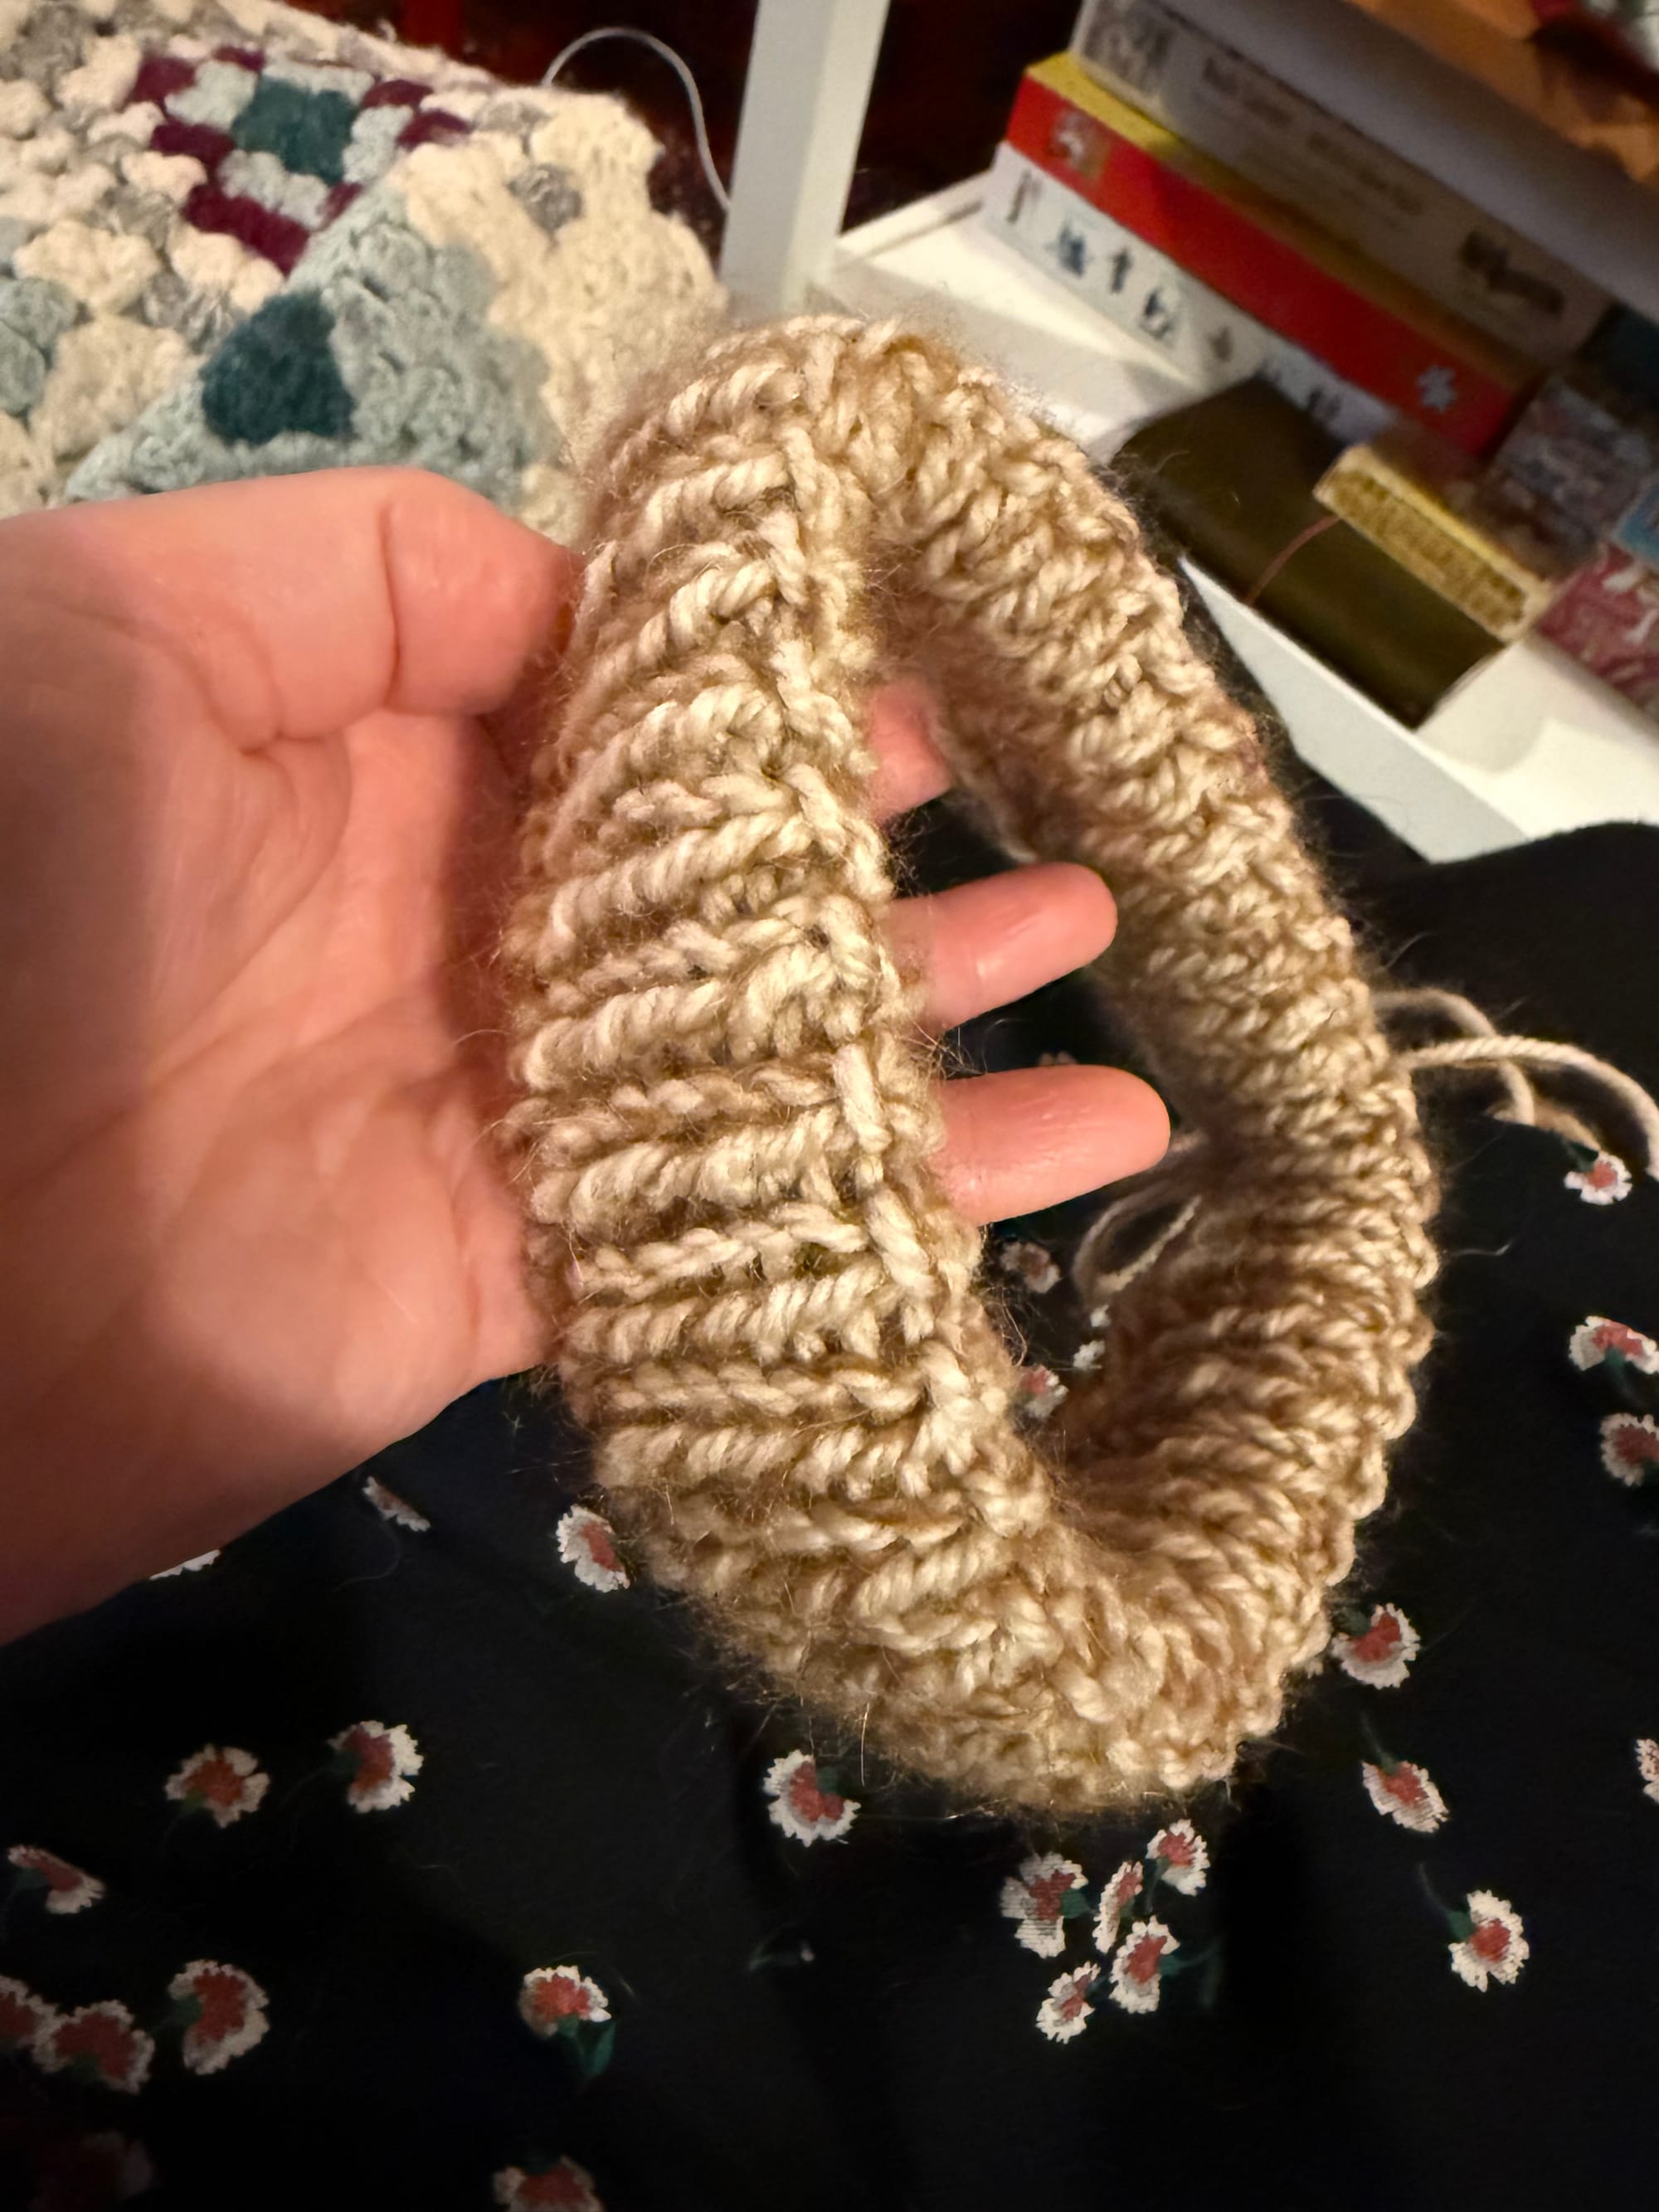
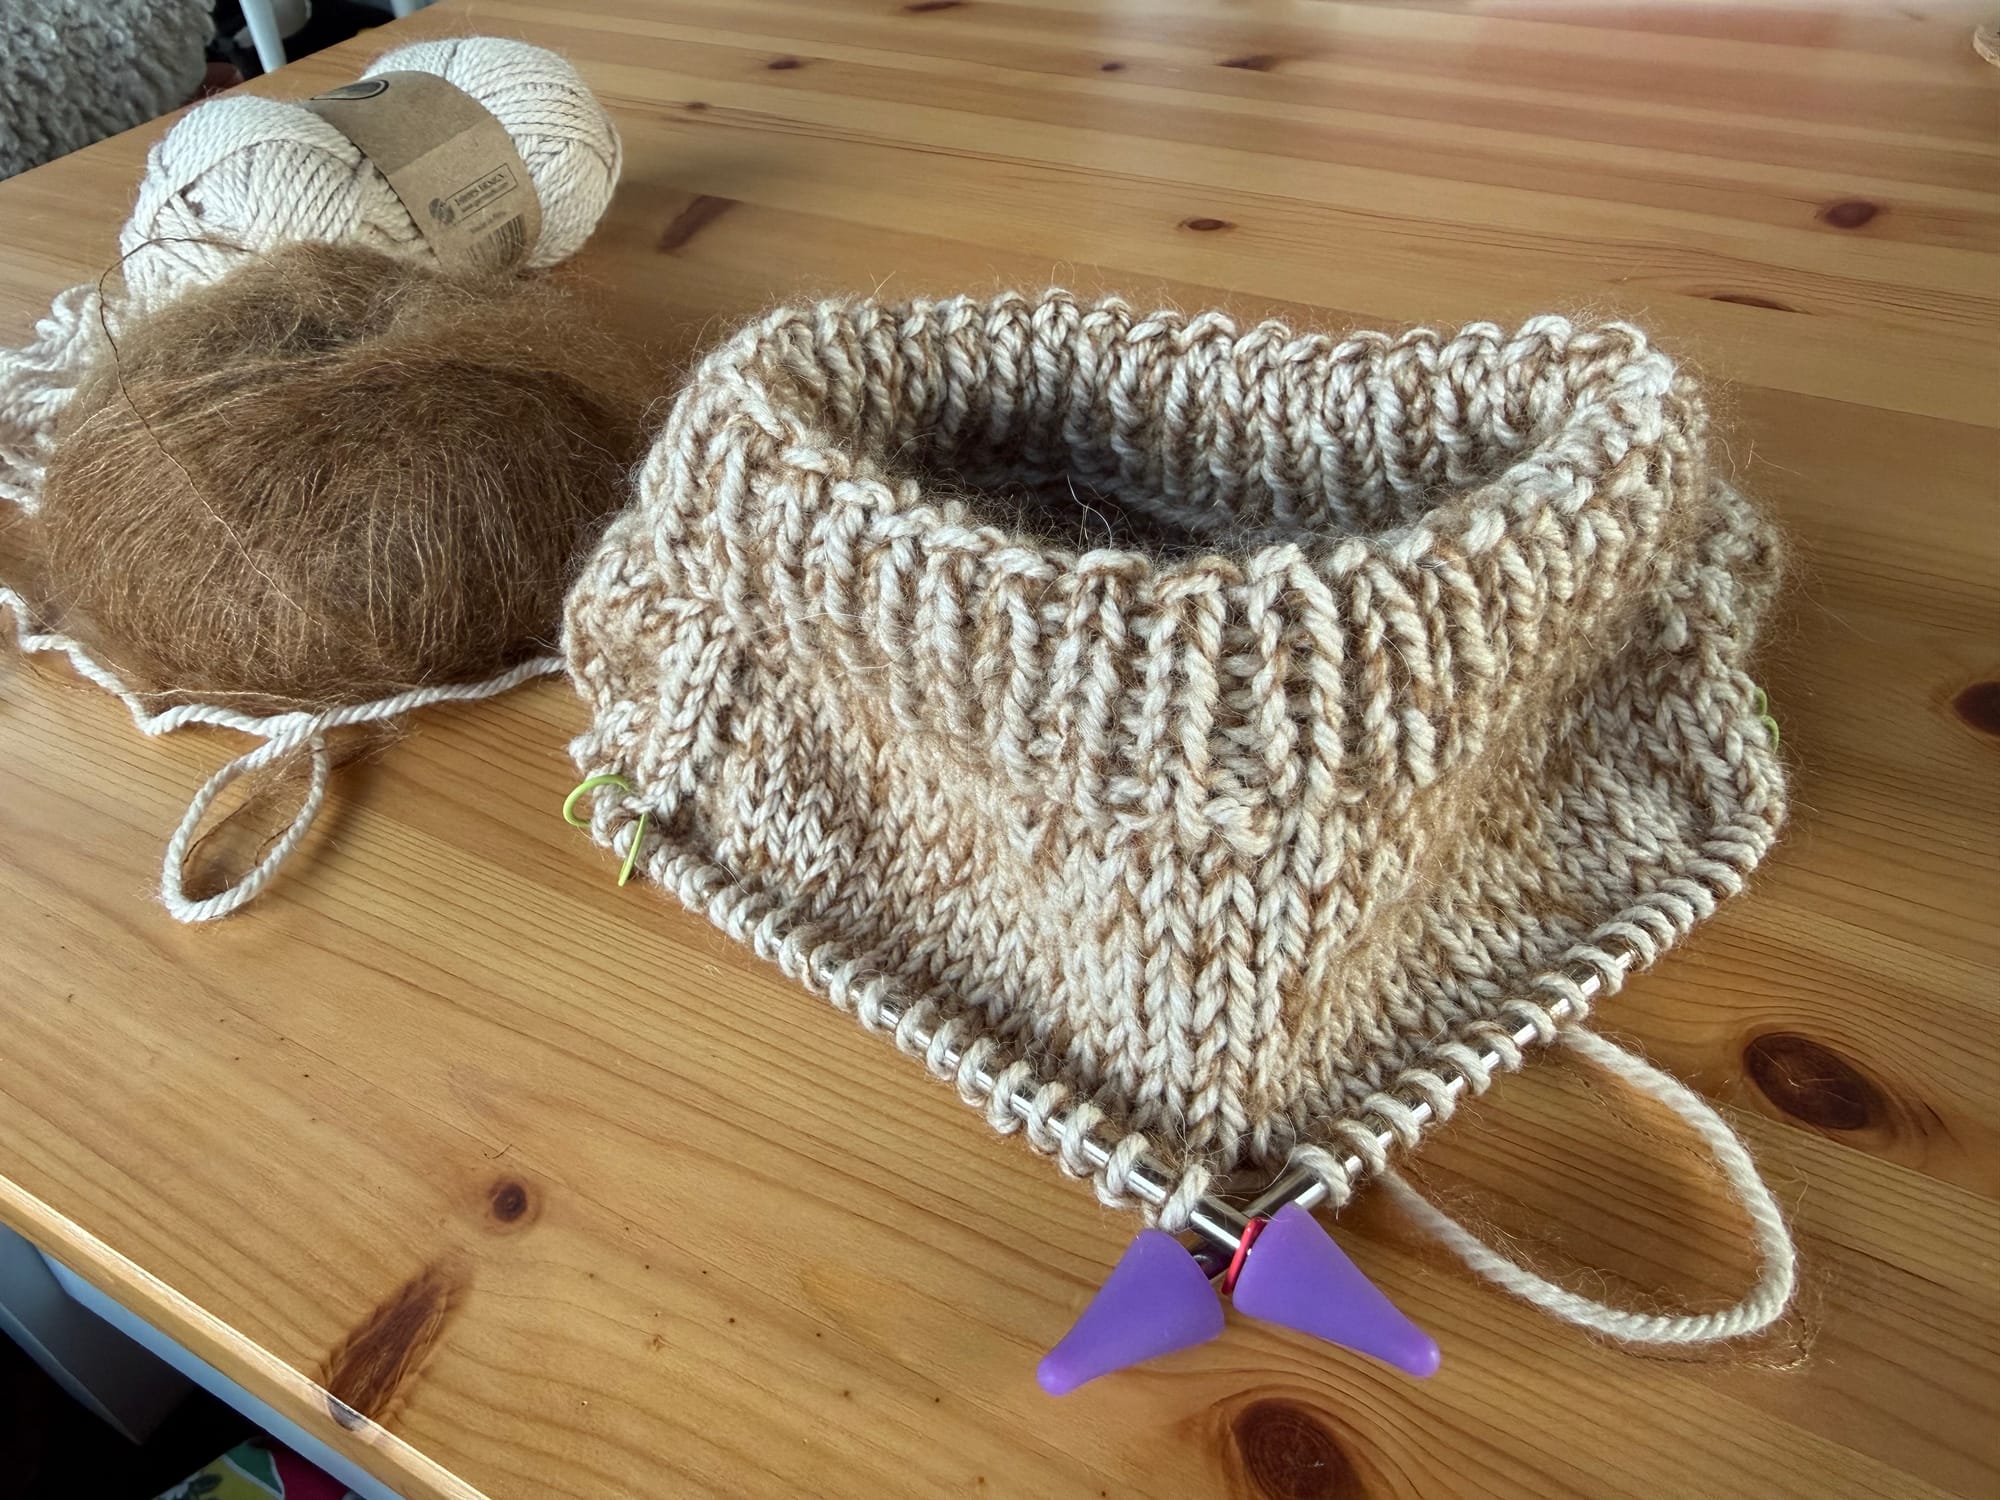
The first rows of a collar; the finished collar folded over and knit to itself; German short rows.
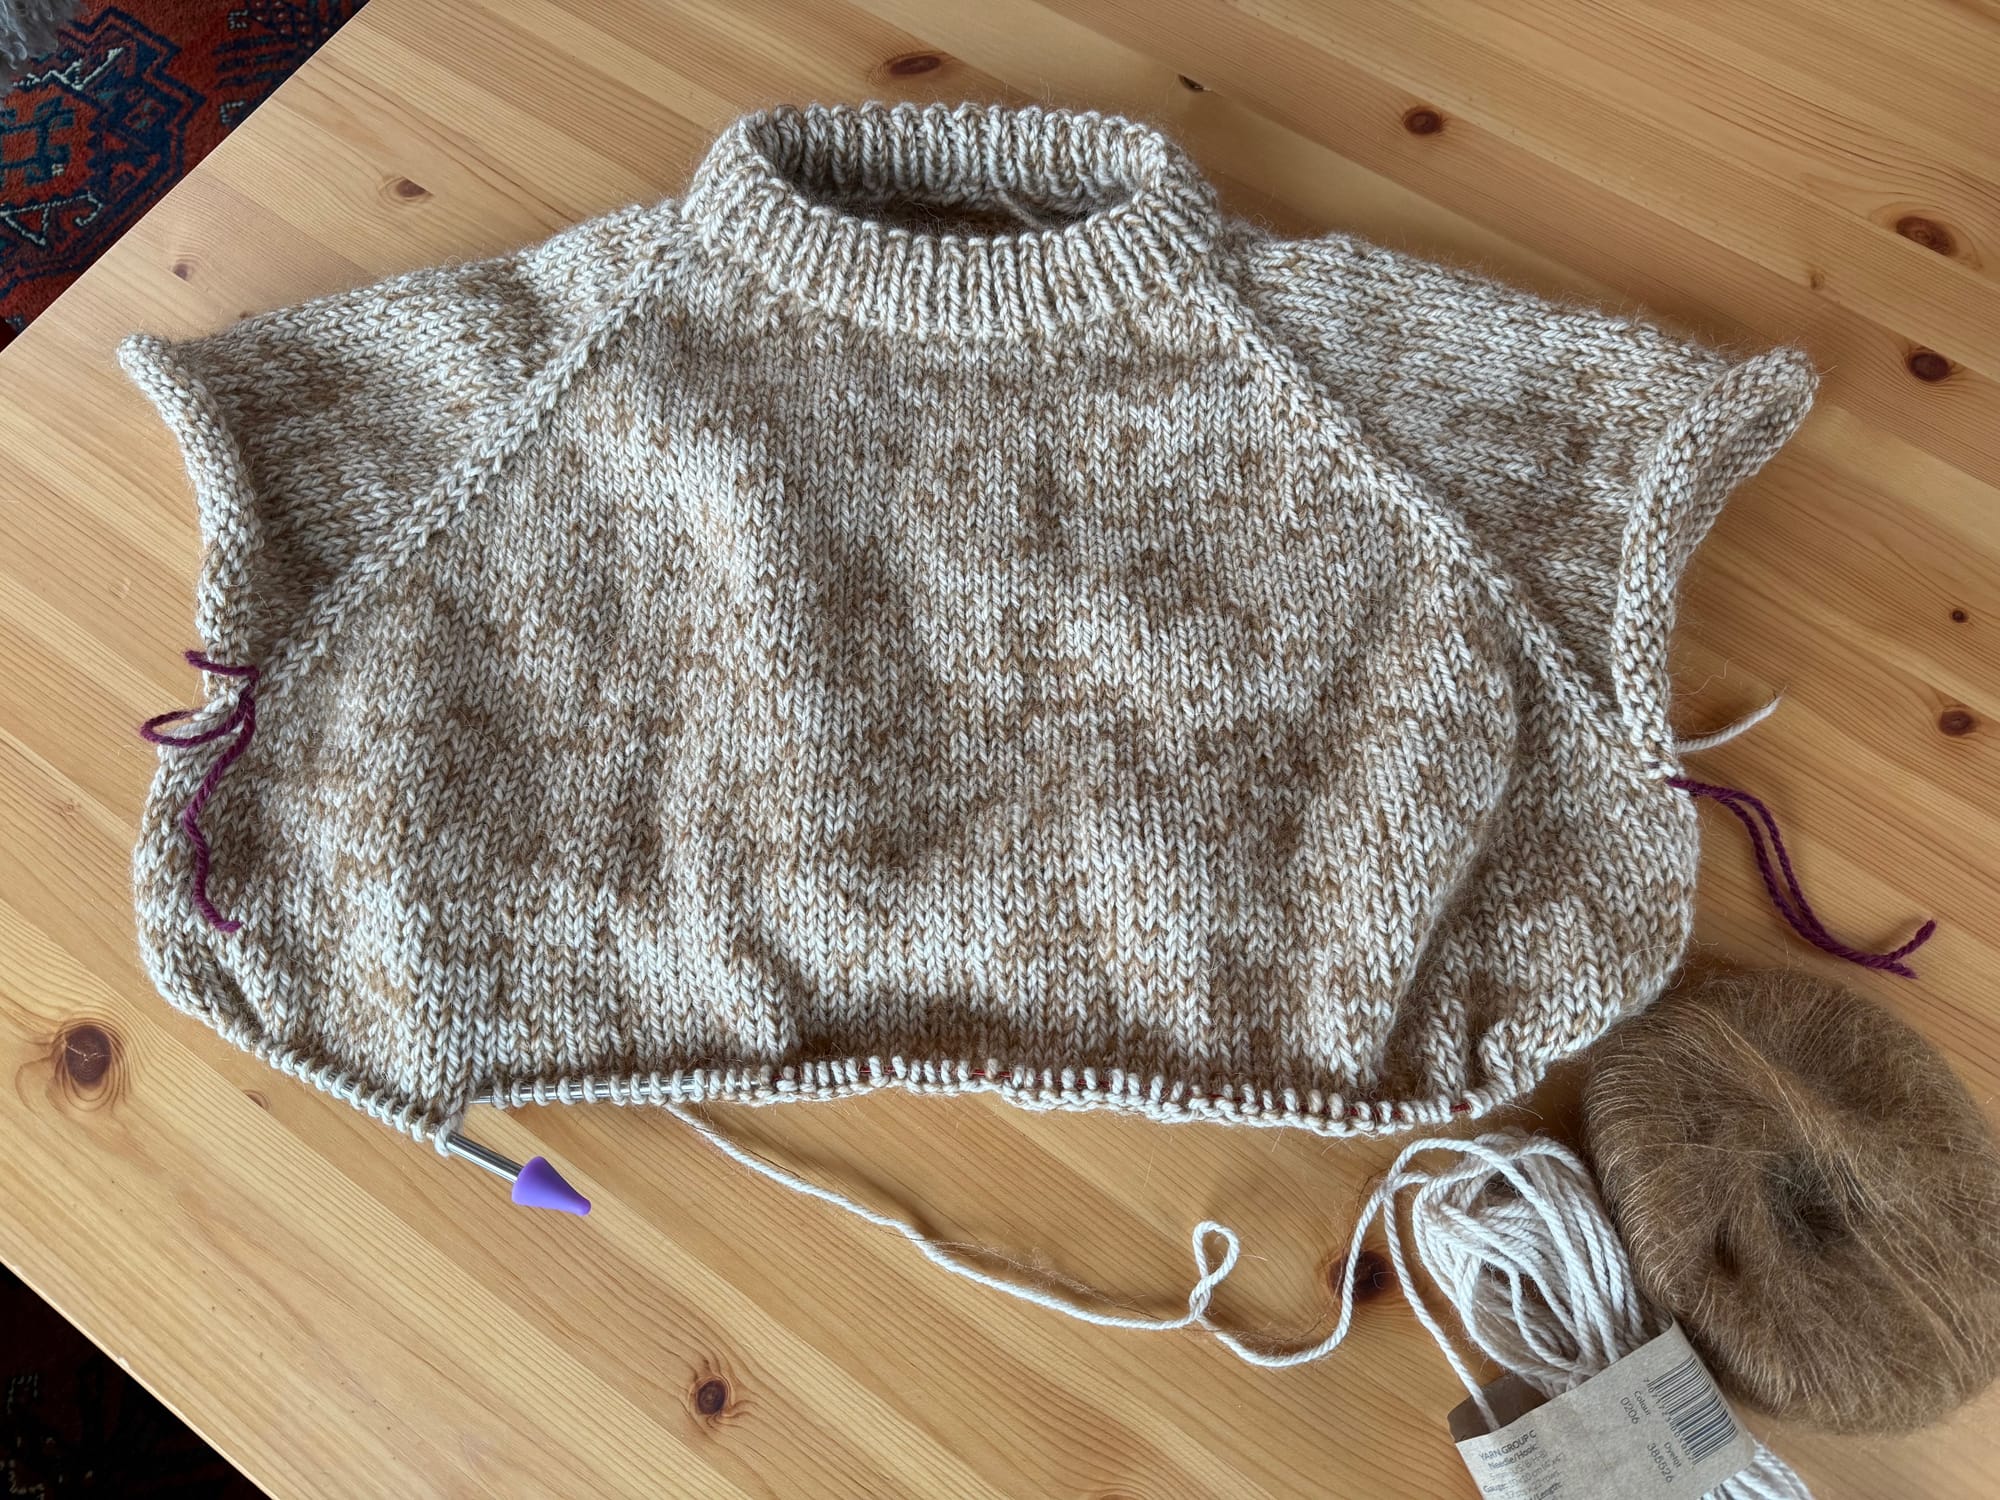
After the short rows, the pattern tells you to continue making raglan increases for several more rounds. I settled into the knitting during this section and loved seeing the sweater start to grow. I had to really trust the process here because it looked like it was going to be way too big and baggy for my shoulders and bust measurement; the sweater could almost lie flat, with little shaping. But, then I separated out the stitches that would later become the sleeves onto pieces of waste yarn, and BOOM, it suddenly looked like the top half of a sweater. That was an incredibly exciting moment for me!
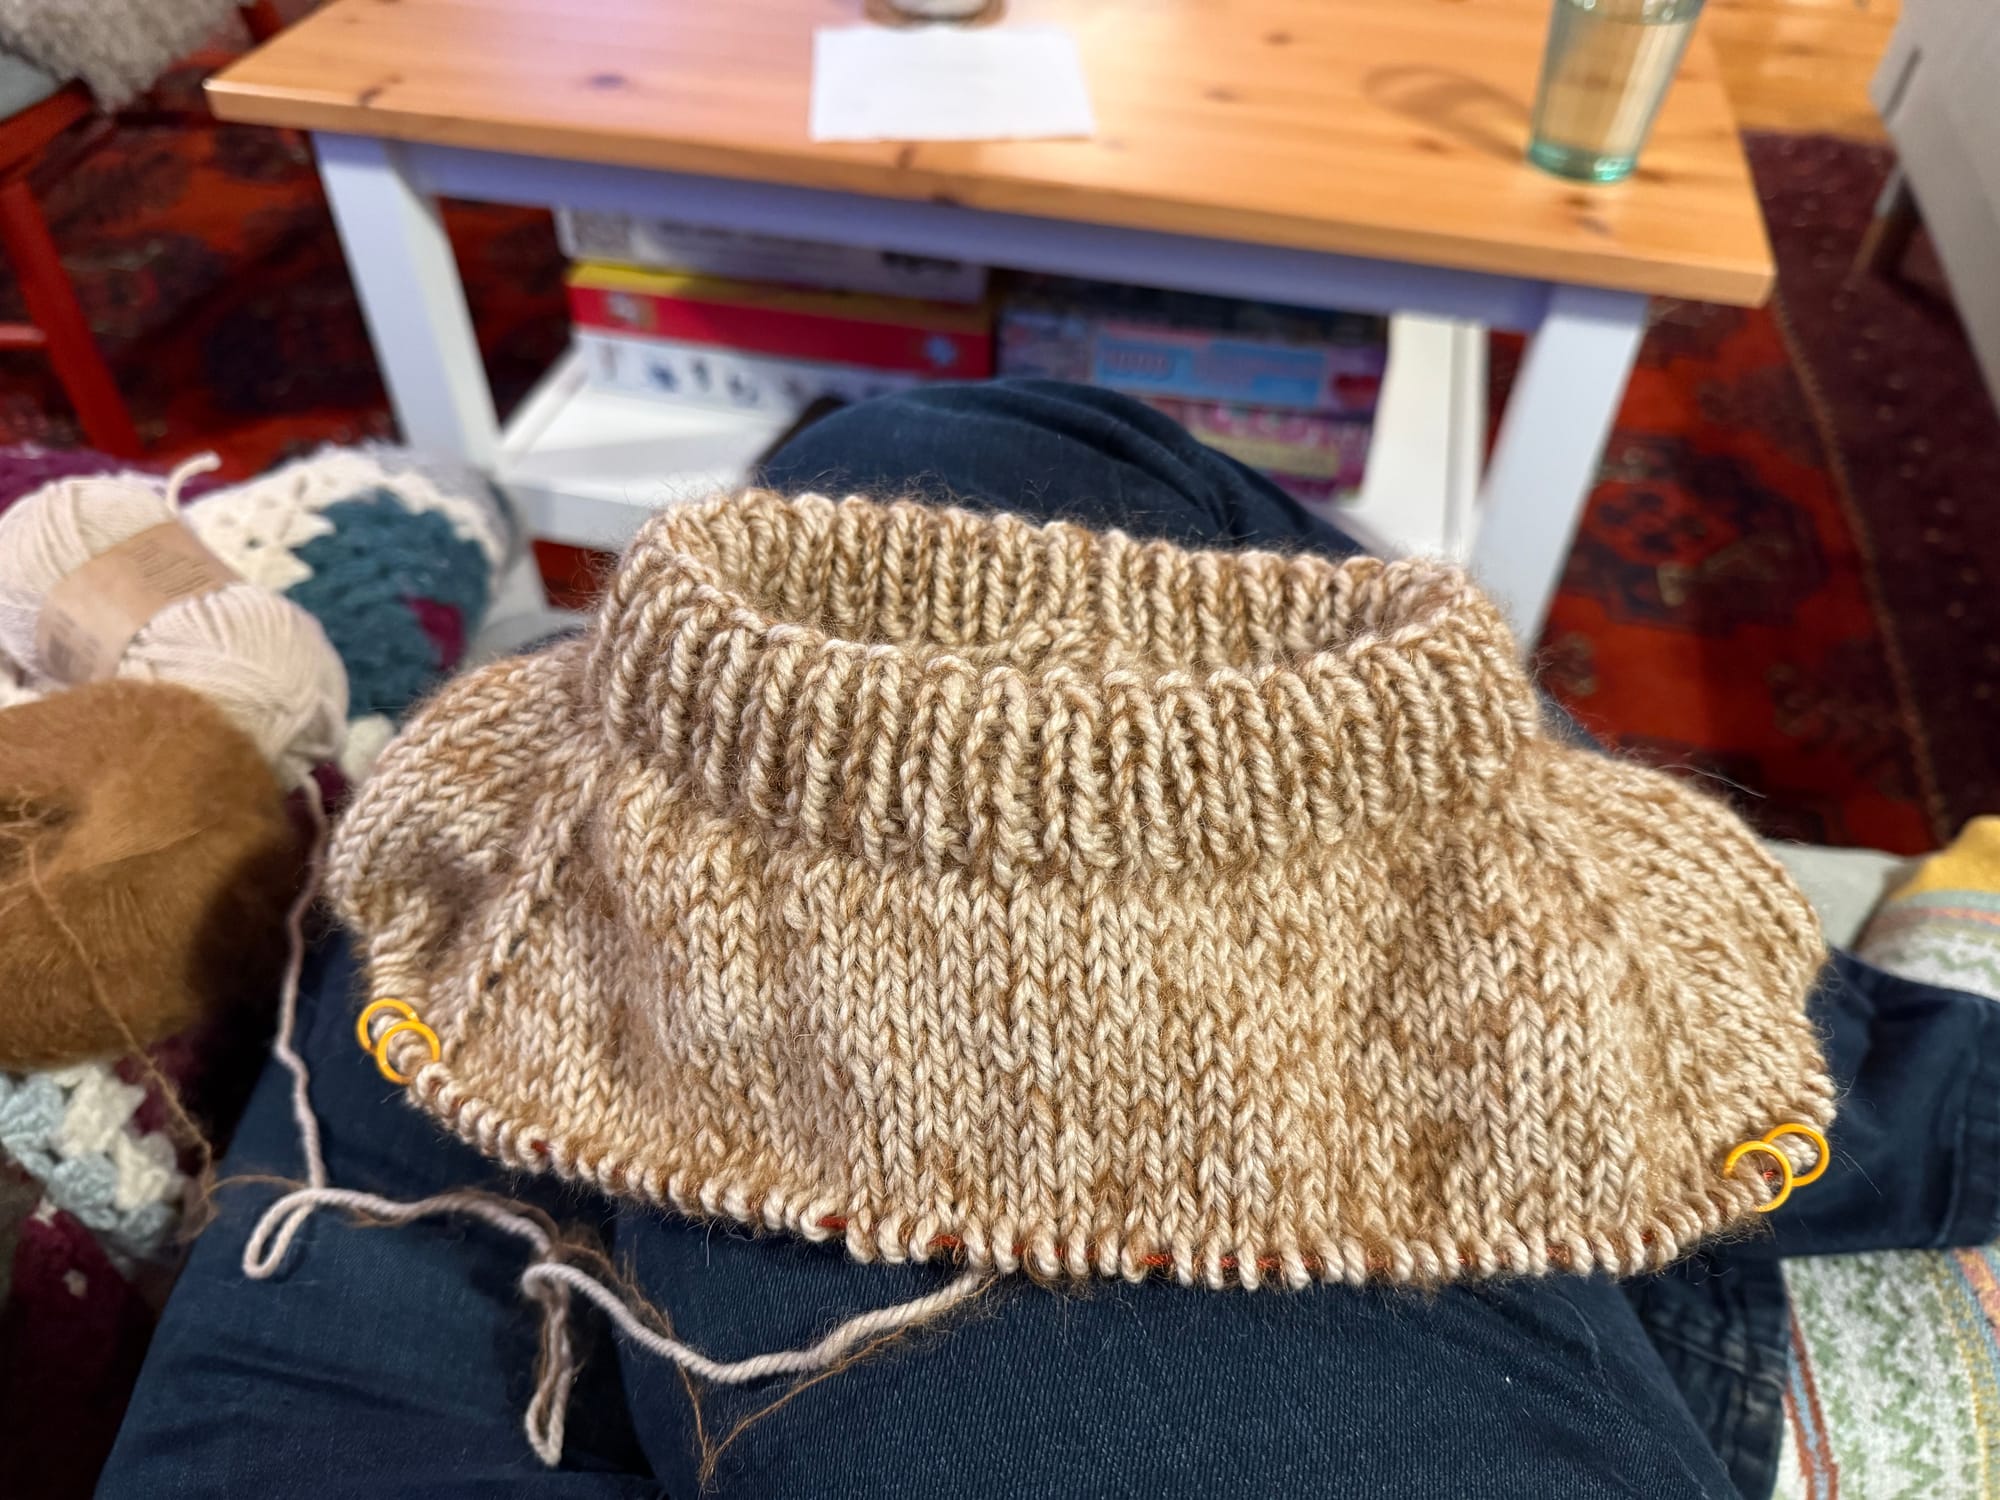
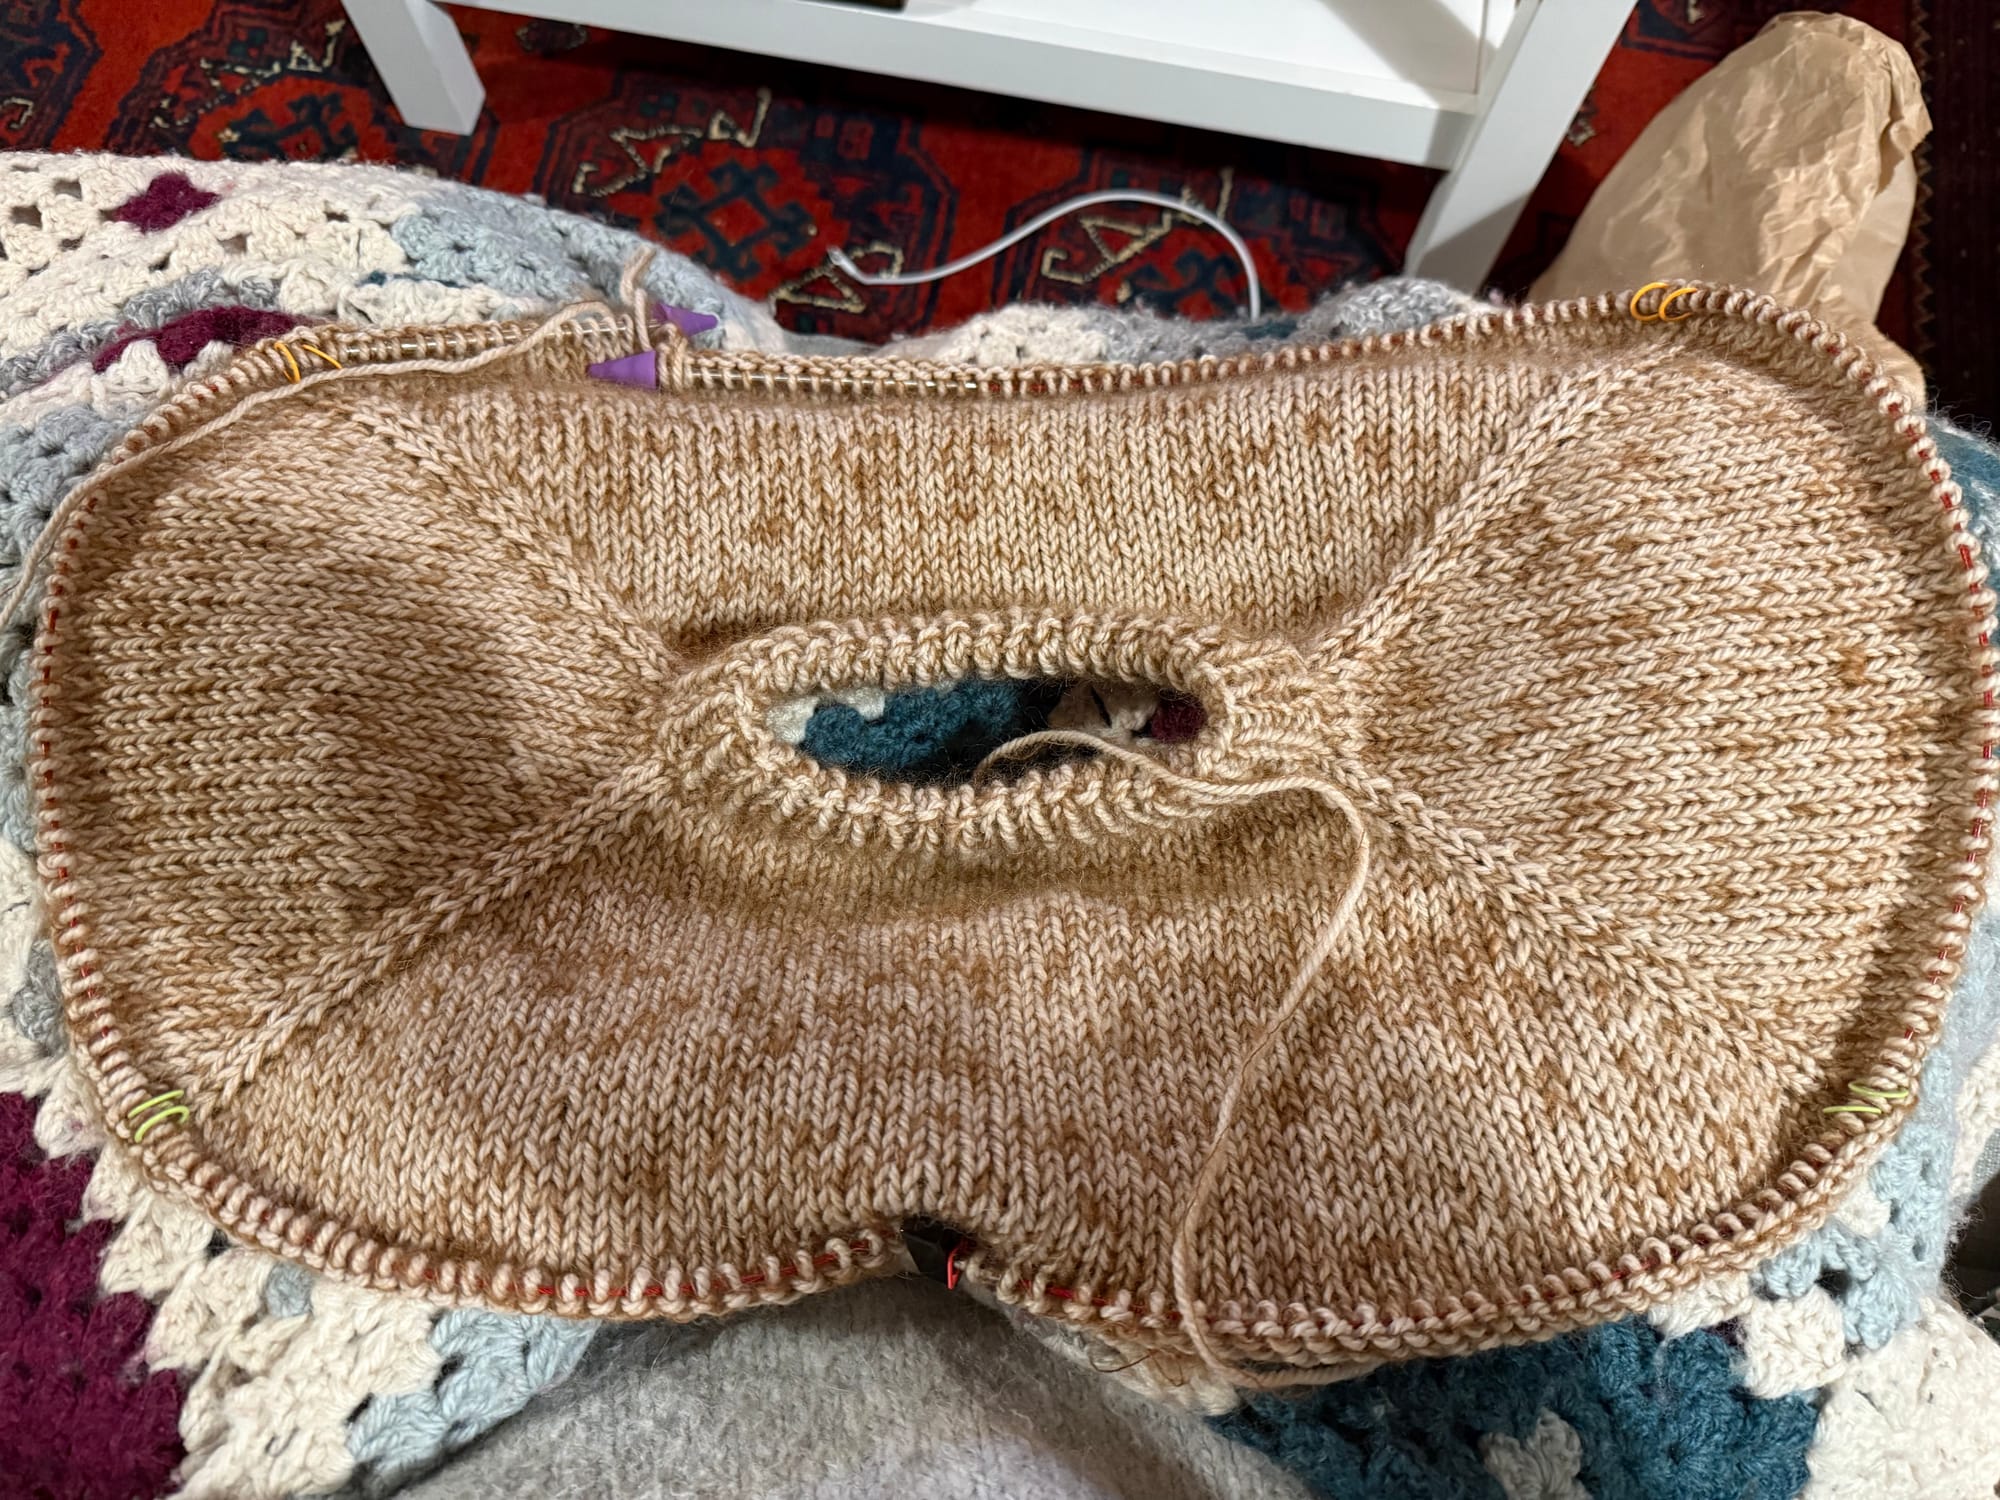
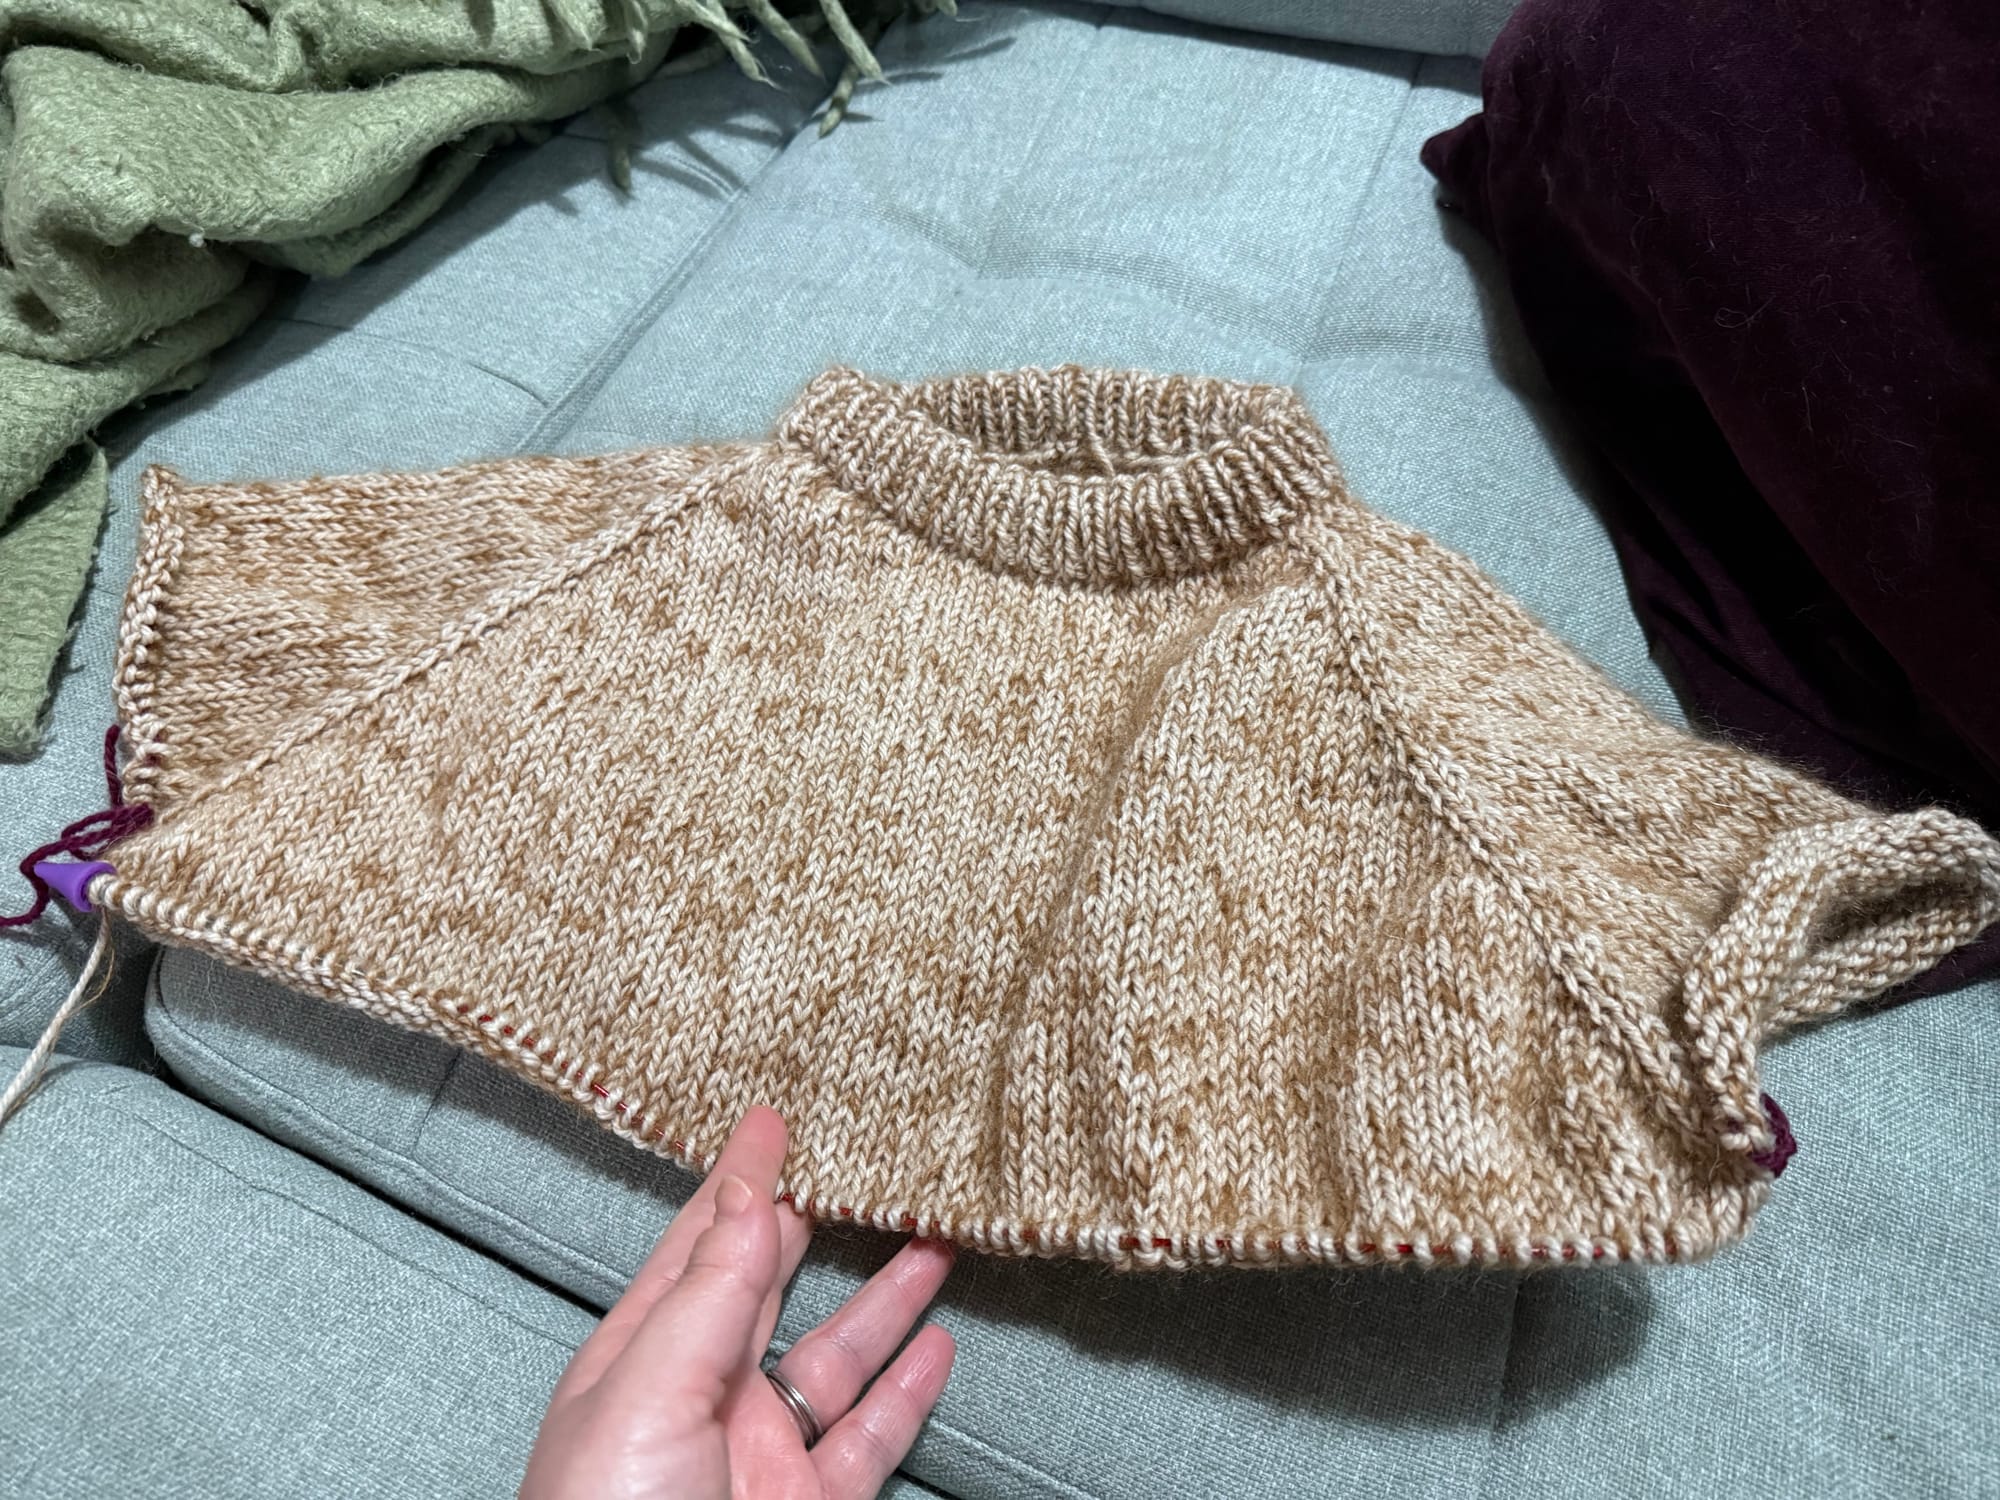
Starting raglan increases; questioning if I was doing this right because the shape looked odd to me; right after separating the body and sleeve sections and it suddenly looks like a sweater!
My favourite part of the entire sweater-knitting was the rounds and rounds of plain knitting that made up the body. There was no counting, no increases, nothing but knit, knit, knit. Over the next several days I picked this project up with my morning coffee or whenever we watched tv in the evenings. I found that my knitting speed increased during this time and the needles felt a lot more comfortable in my hands. I knew that I wanted this sweater to end up being slightly cropped, but when I reached the length I wanted, I was hesistant to stop knitting because I was enjoying the process so much. I did stick to my original plan for the length though, and knit the body 4 cm shorter than the pattern suggests. After knitting the body, I changed to the smaller needle size and knit 7 cm of ribbing around the bottom. I followed Florence's video tutorial for her stretchy bind-off and am really pleased with the look and flexibility of this edge. This was another part of the pattern where her video was played on repeat many, many times until the sequence of stitches finally made sense.
Once the body was finished and the project was off my needles, I could try the sweater on for the first time and see how it was fitting. Would my gauge calculations be correct? This is when the excitement really kicked in. It looked like a garment! It fit really well! I loved how it felt! Yes, I absolutely could (and probably should) have put the stitches onto waste yarn to check the fit and length earlier, but I didn't, and it ended up working out thankfully.
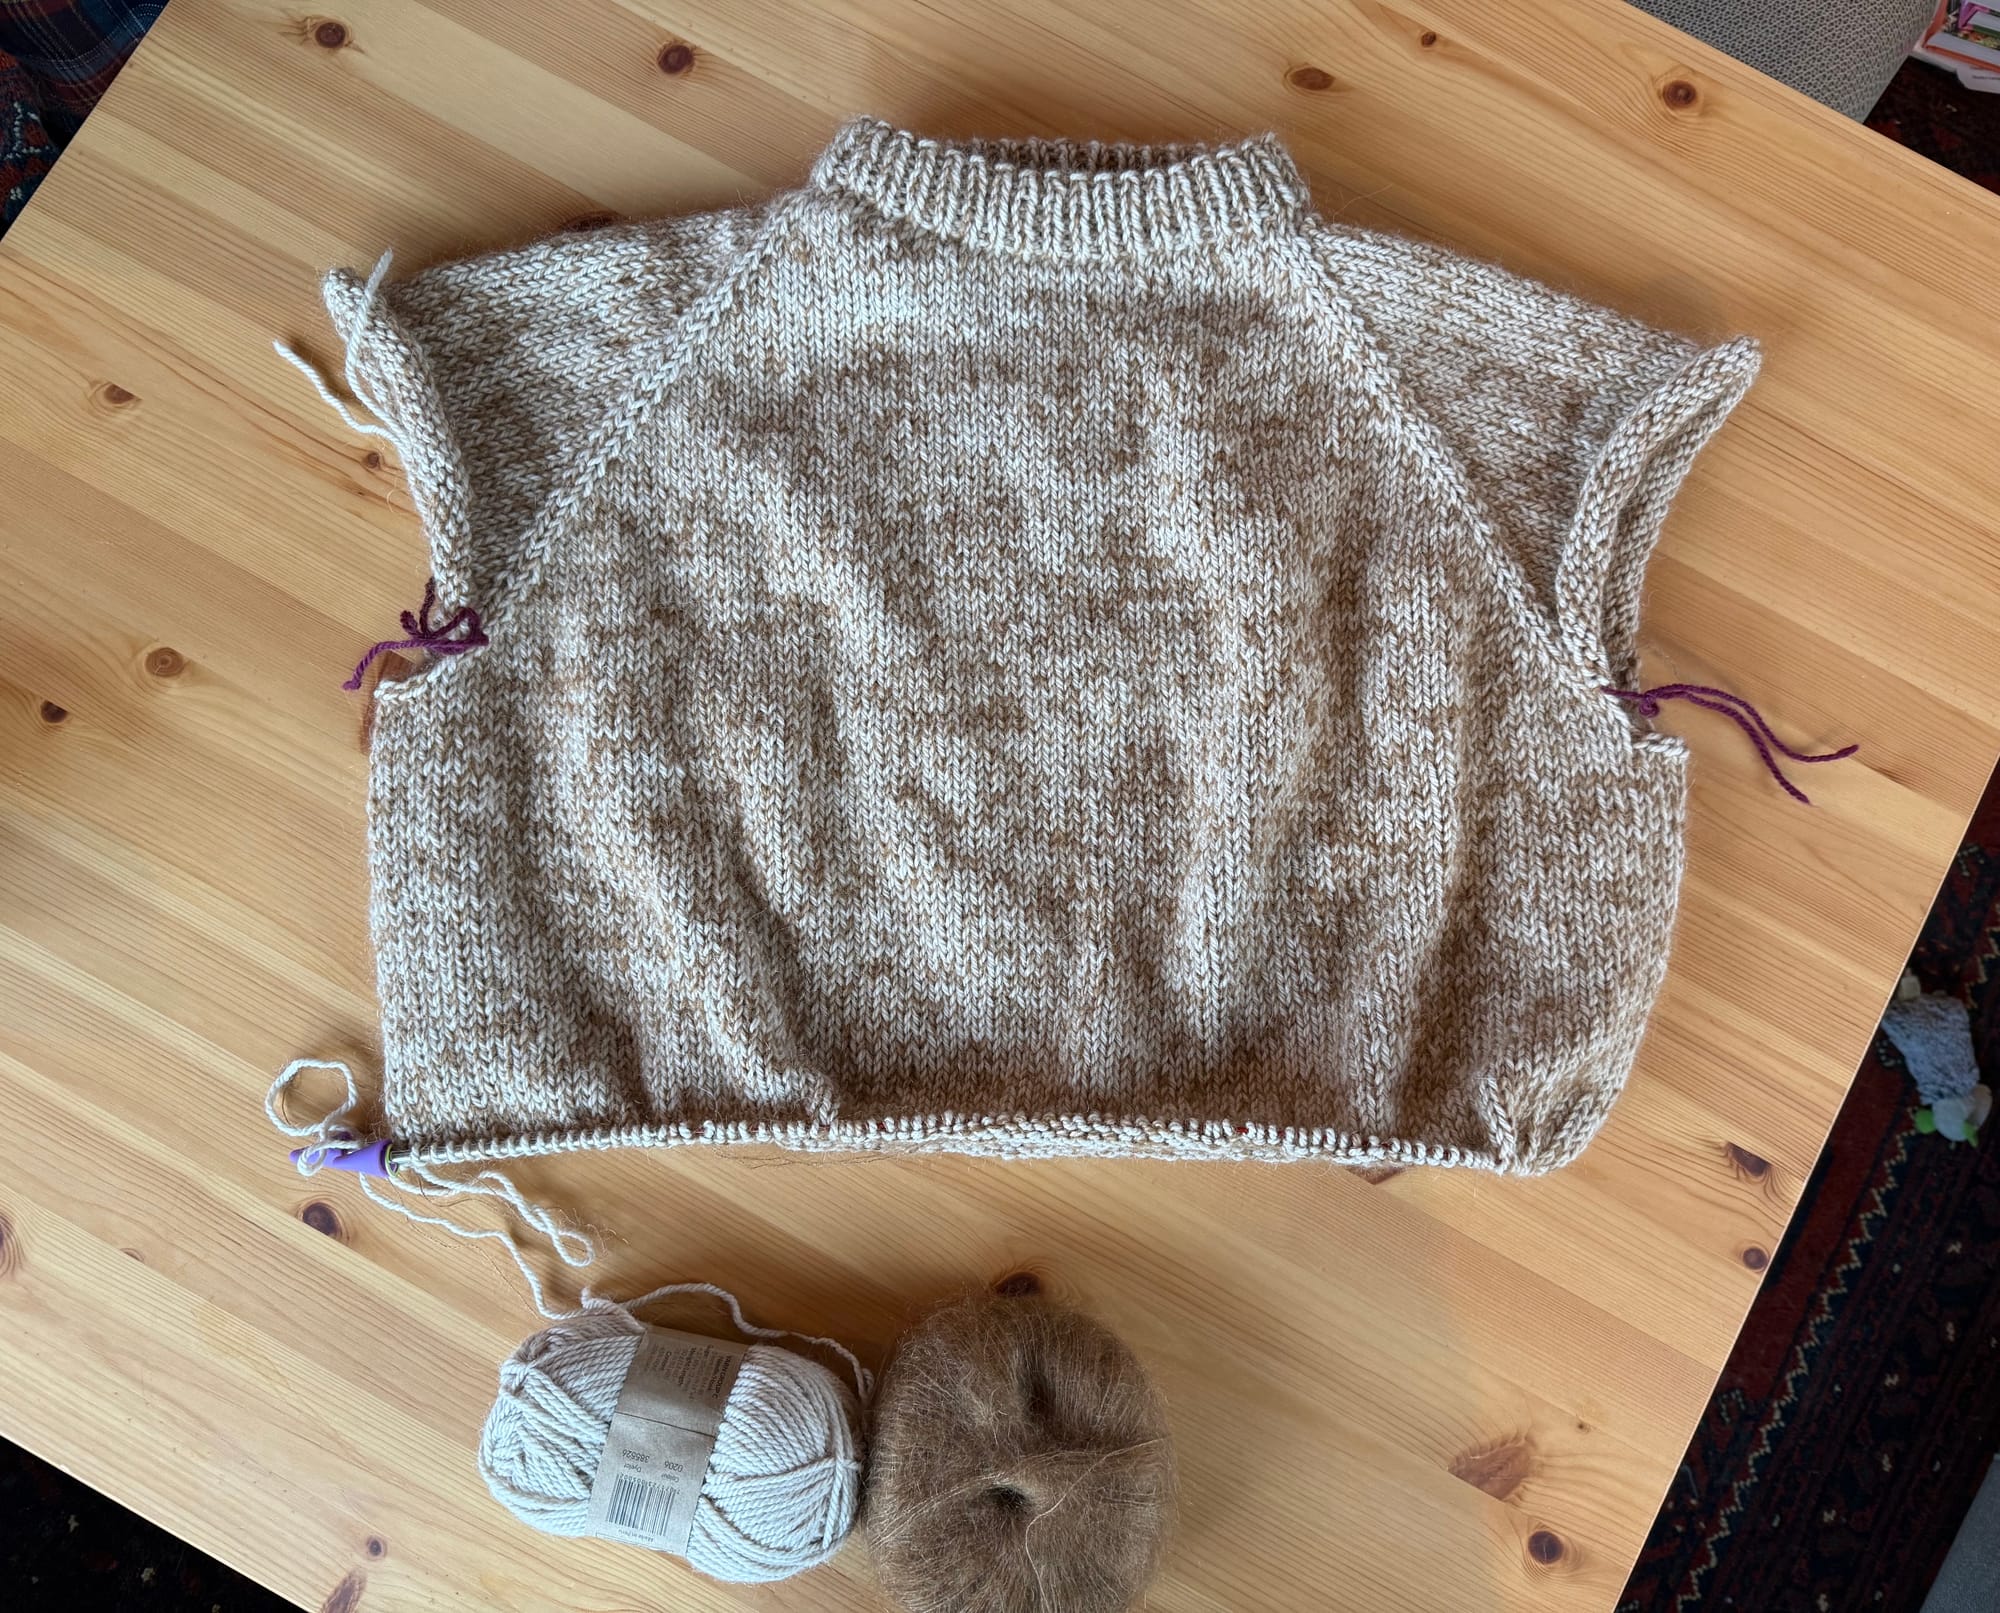
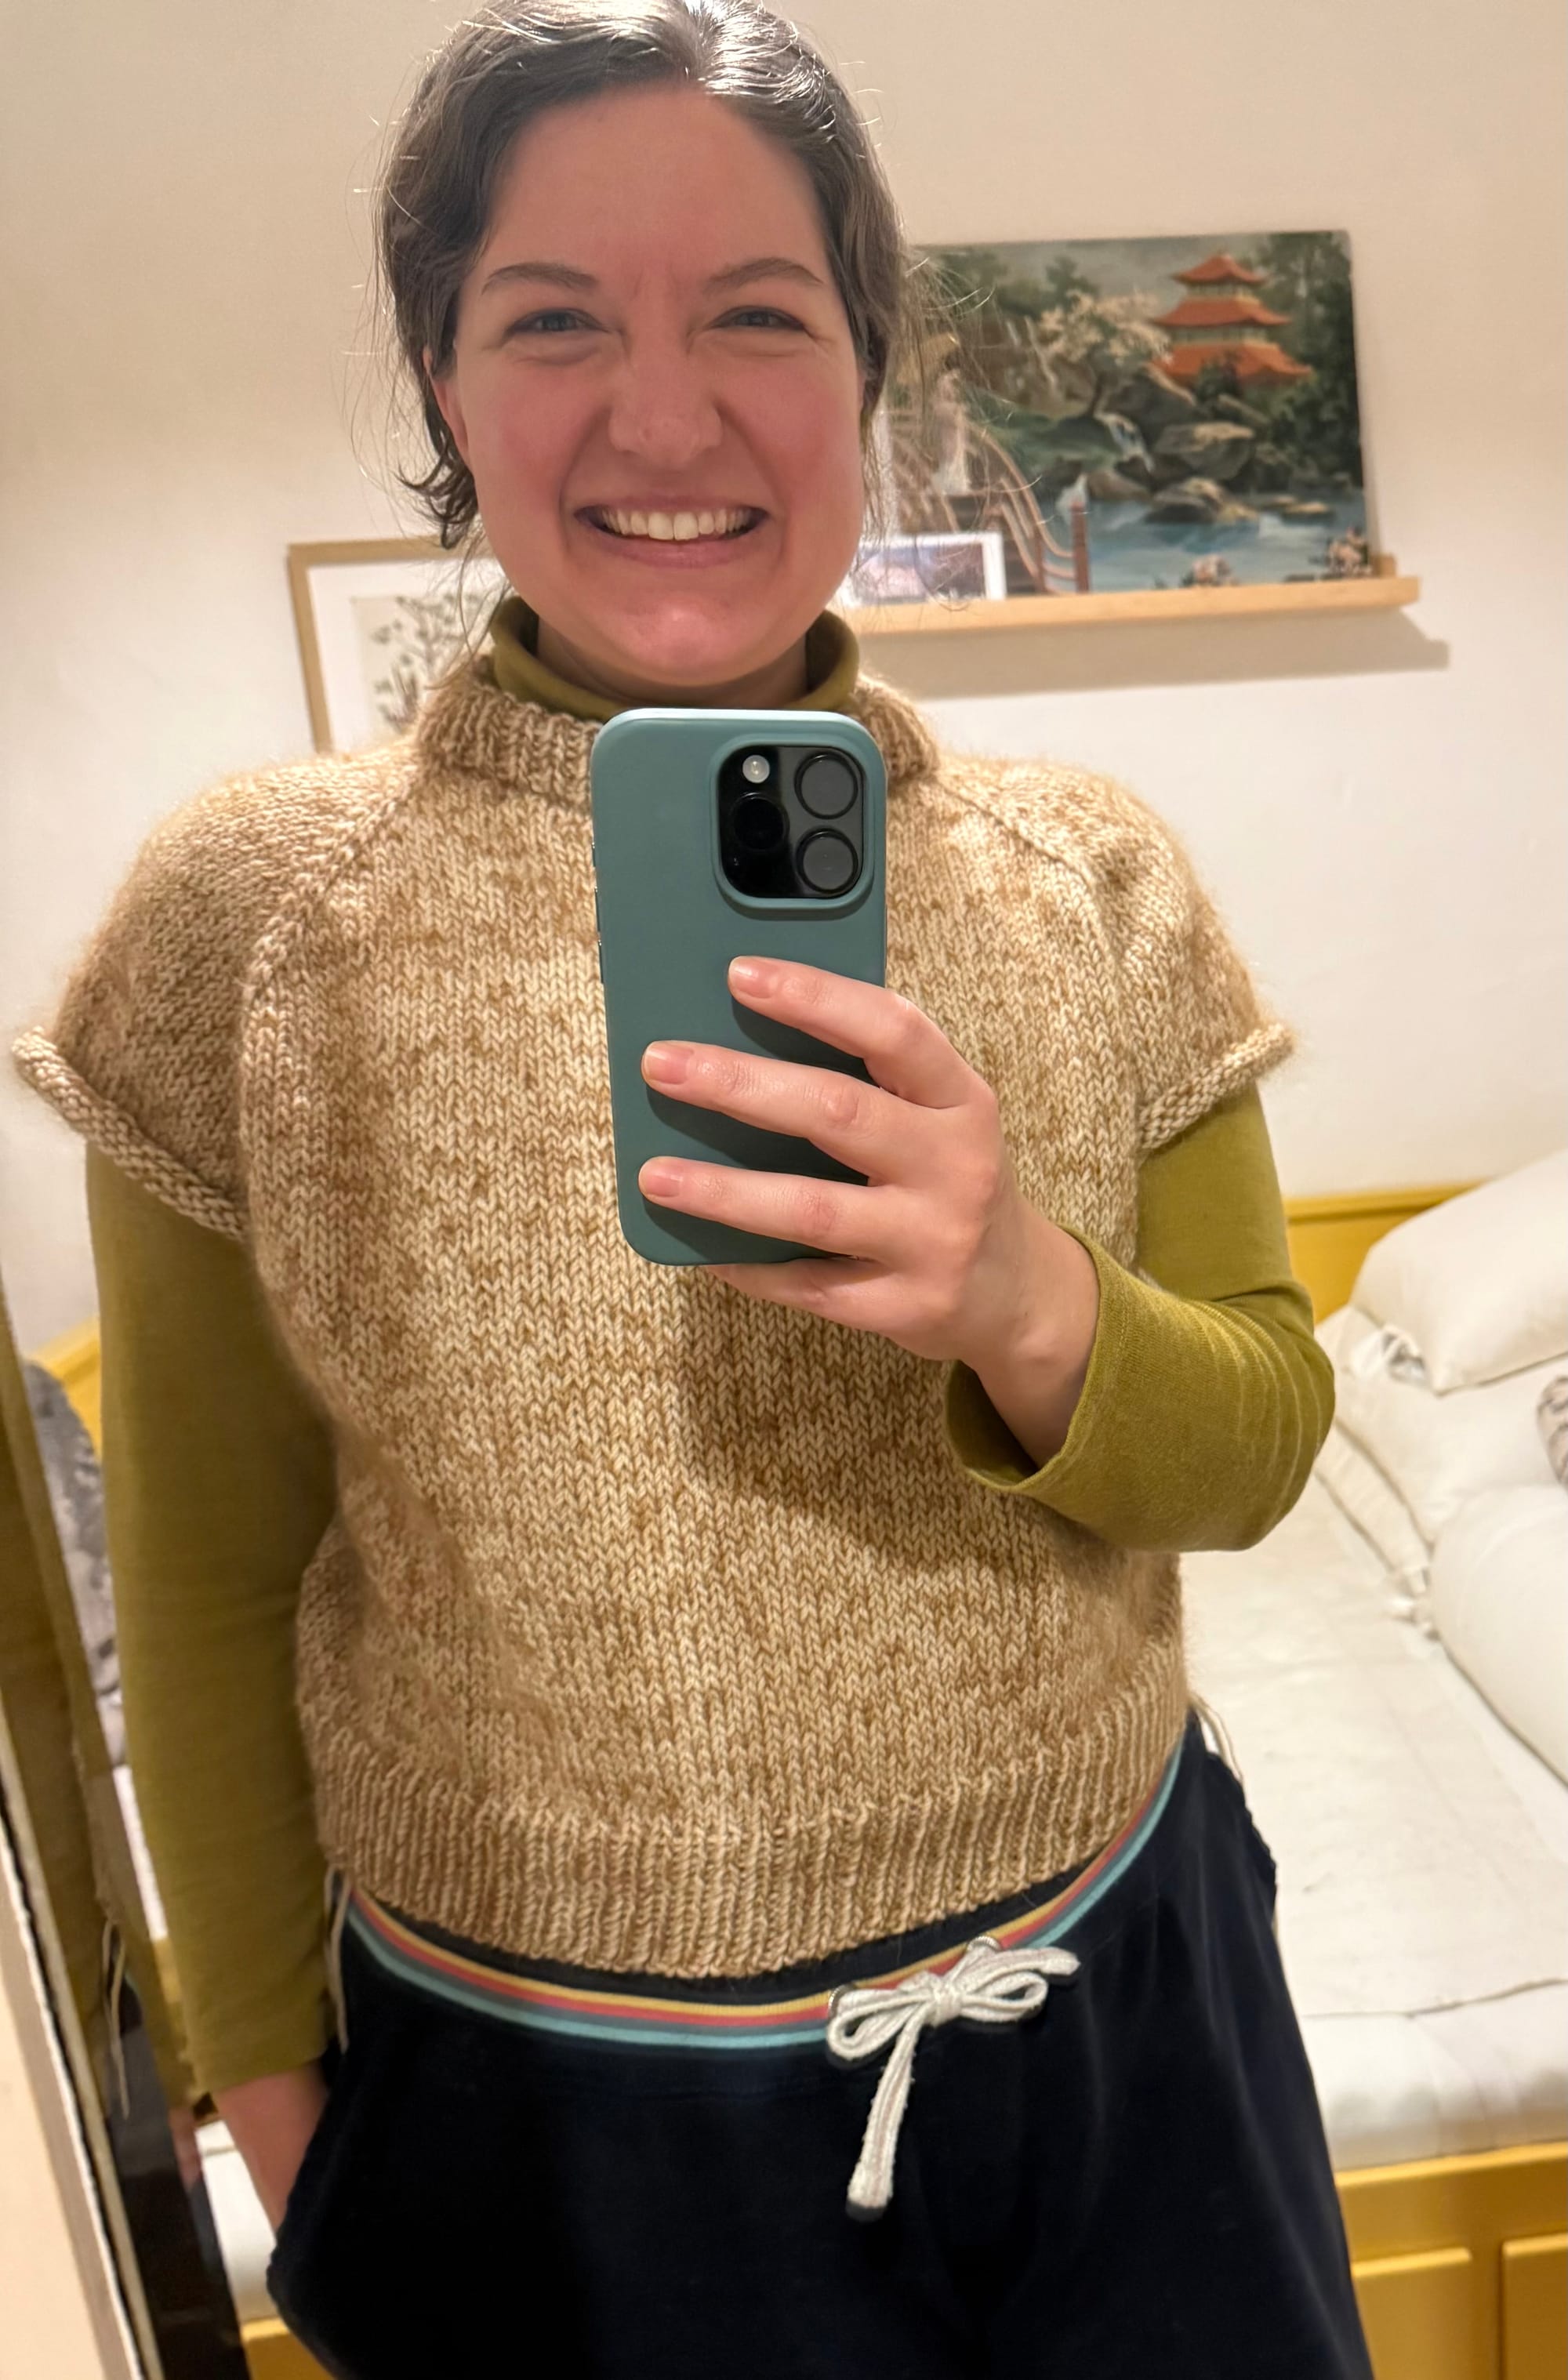
Watching the sweater grow in length was really fun, and so exciting when I finally got to try it on for the first time. (Also, isn't it wild how different this beige looks under different lighting?)
Now, all that was left to knit was the sleeves. My set of shortie 2" long needles had arrived and they made knitting the small circumference of the sleeves really straightforward and simple. I followed the video tutorial again to add extra stitches under the armpit and then immediately decrease in order to avoid having holes at the sleeve joins. It worked really well, and you can barely see where I split off and starting knitting the sleeves. The sleeves knit-up really quickly. I think it was a combination of the small circumference and excitement to have the sweater finished that made it all fly off my needles. While I was knitting my first sleeve, I put removable stitch markers in each row where I decreased so that I could be sure to replicate the spacing exactly in the second sleeve. I finished both sleeves off with 7 cm of ribbing and the same stretchy bind-off that I had used around the bottom edge of the body.
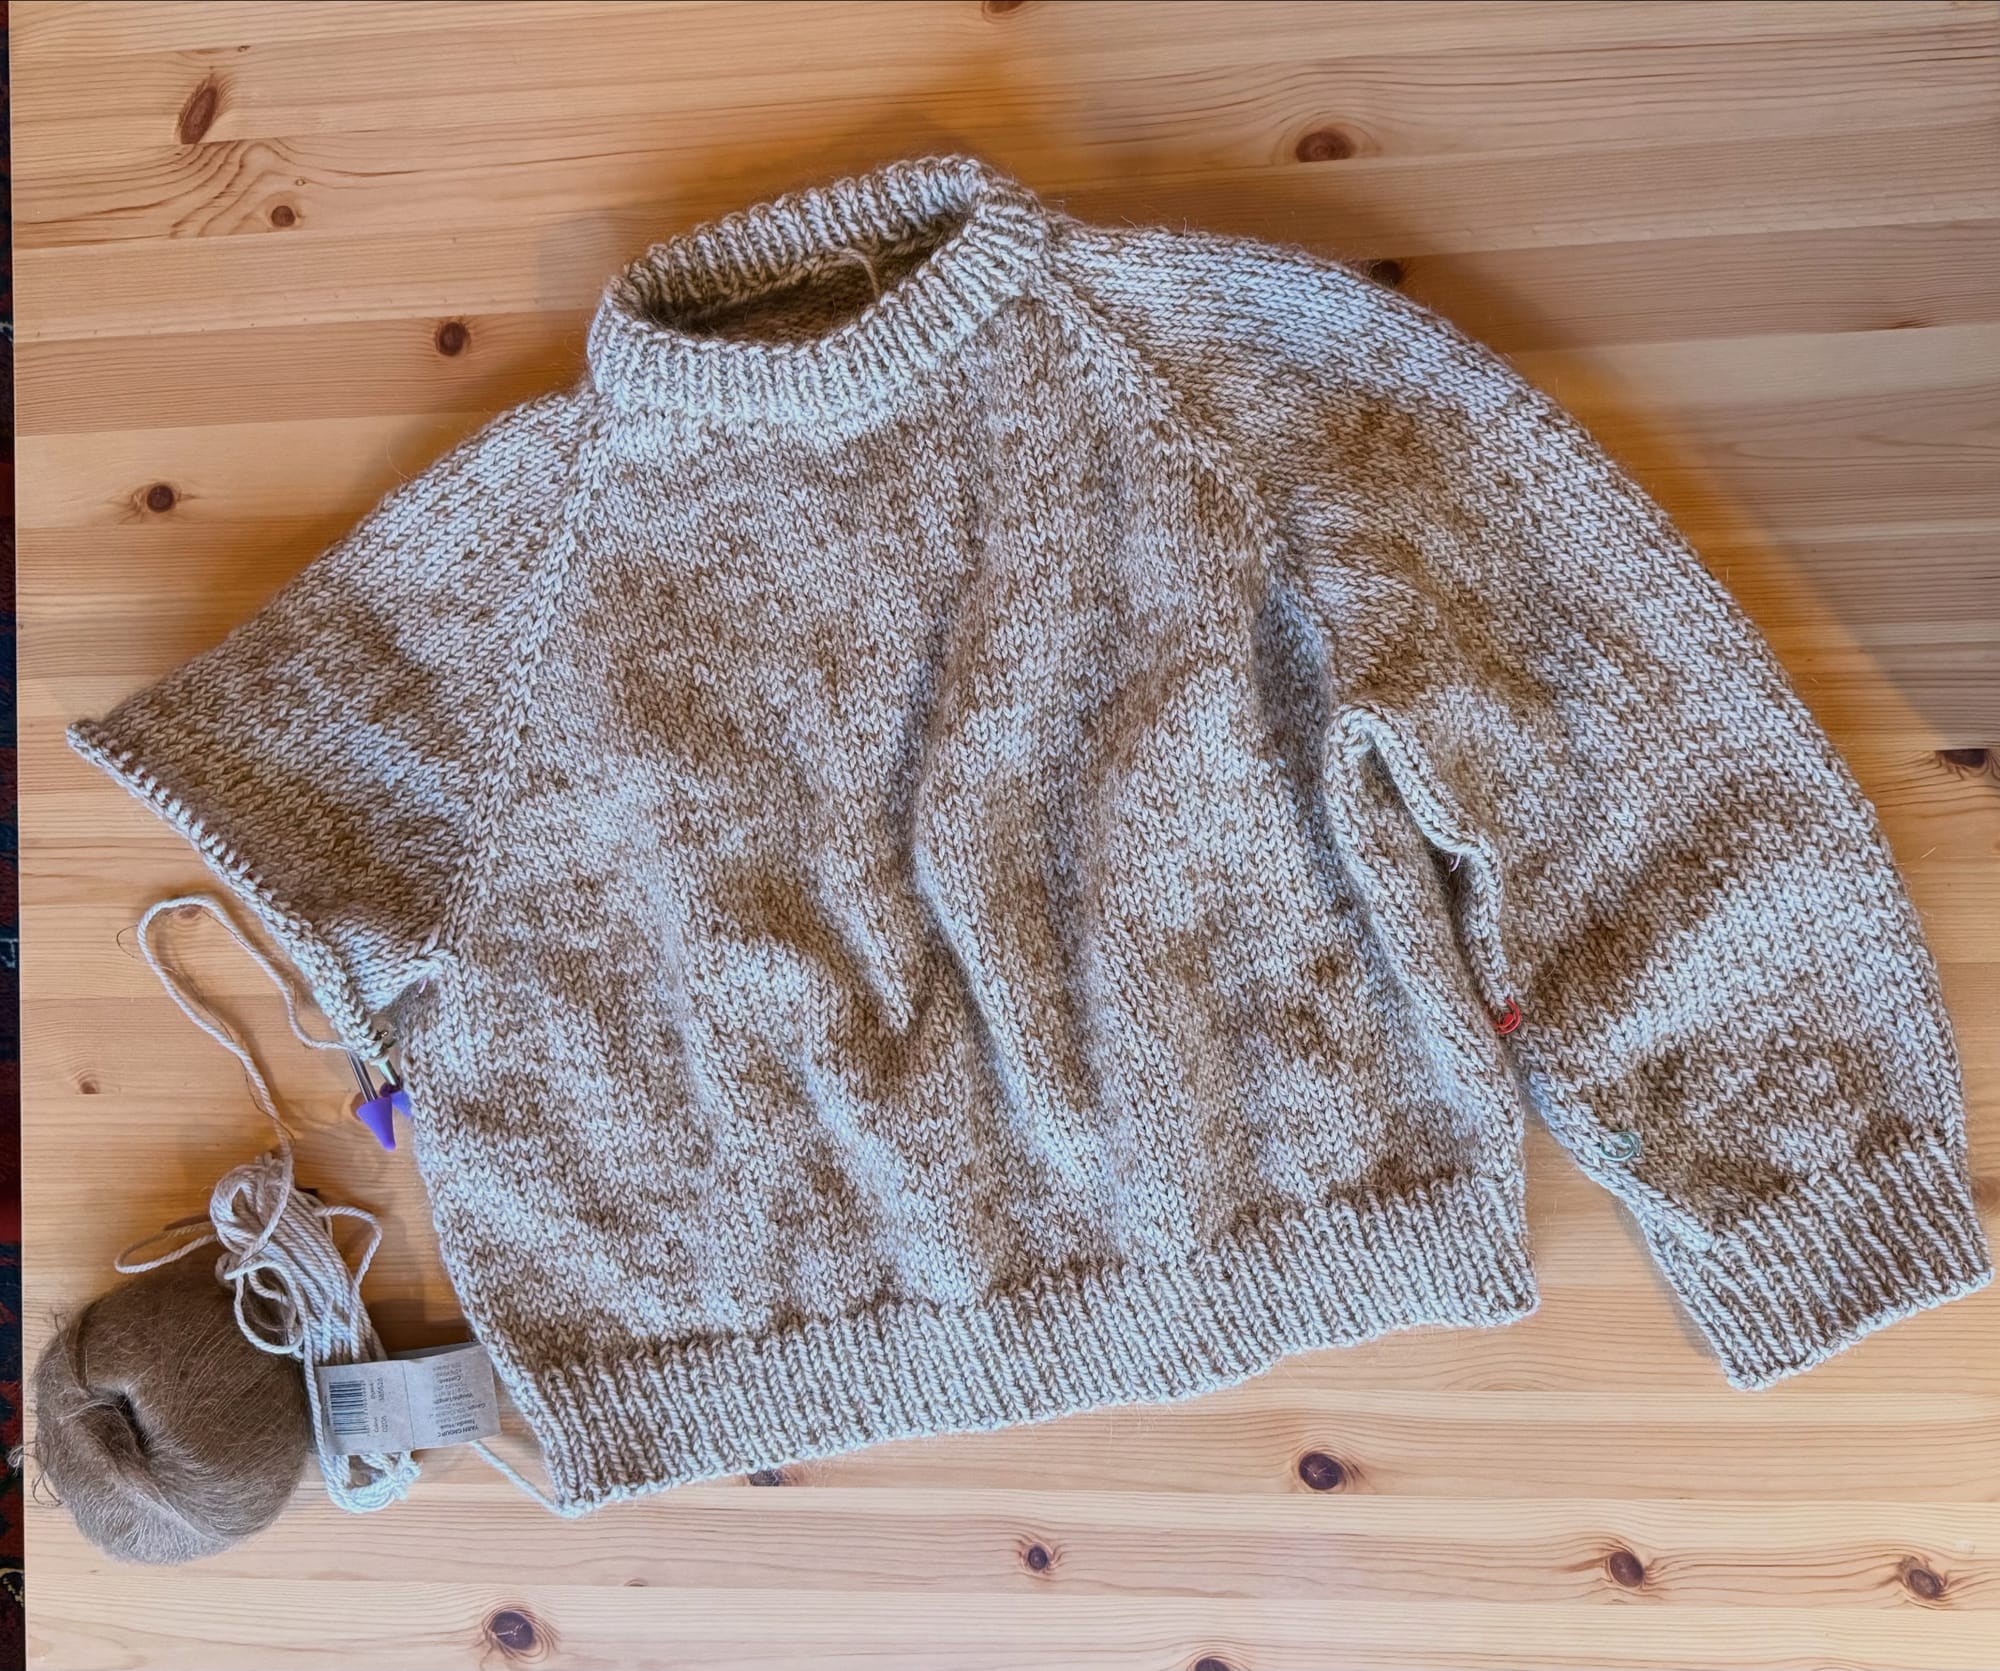
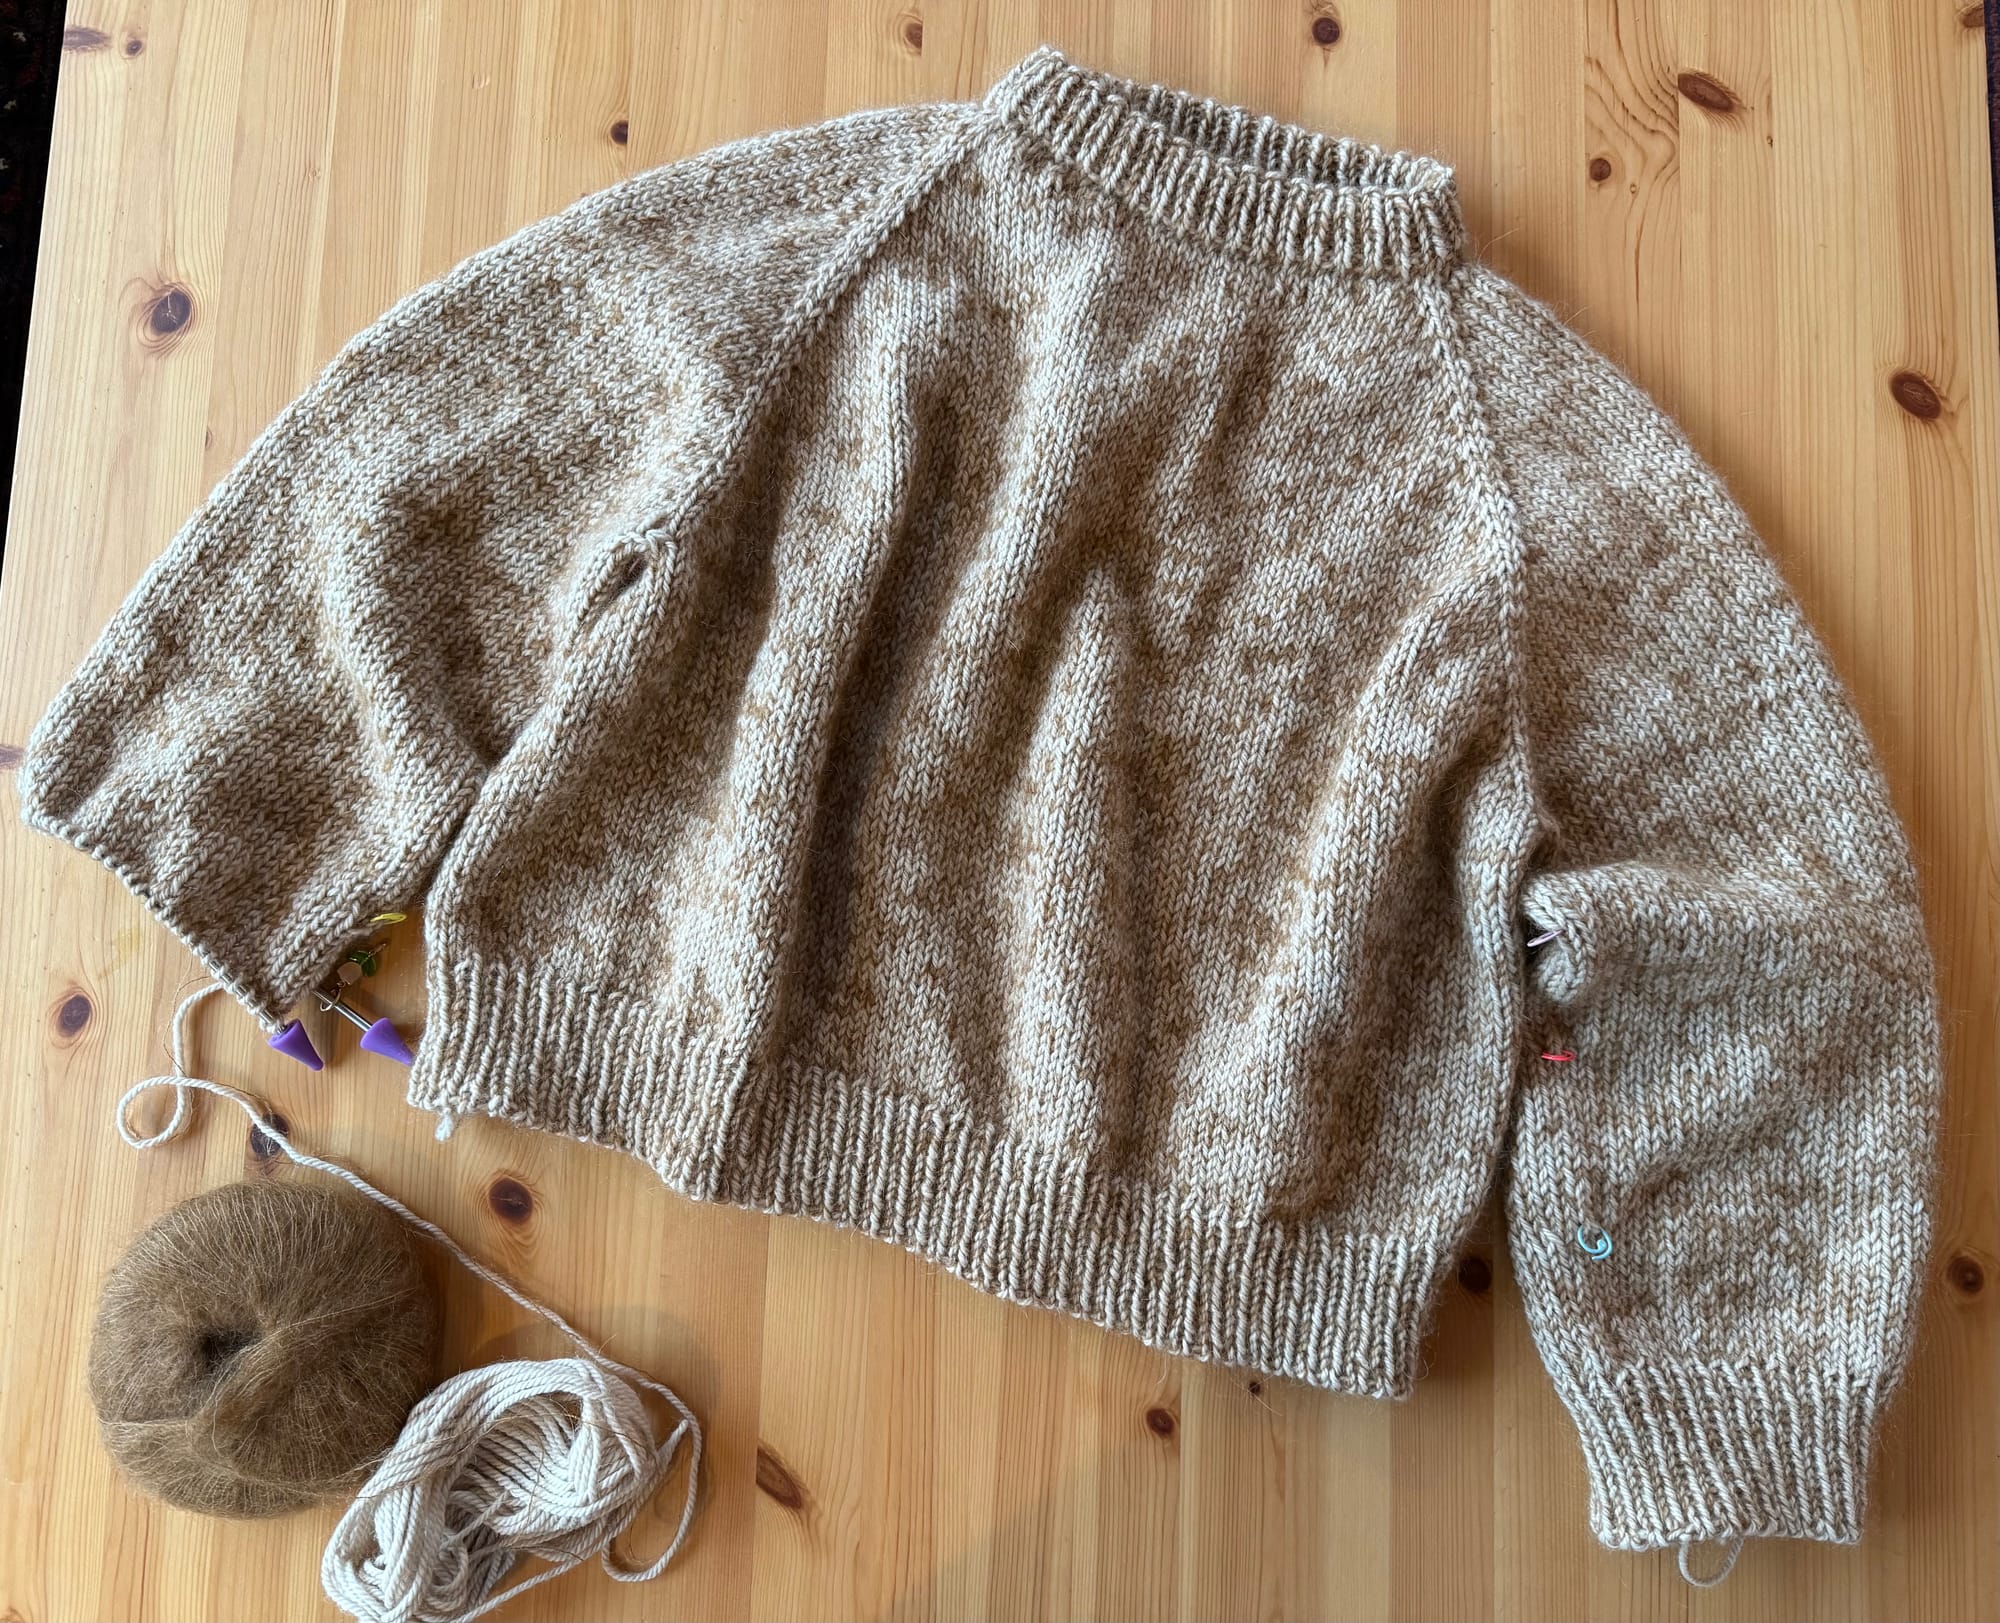
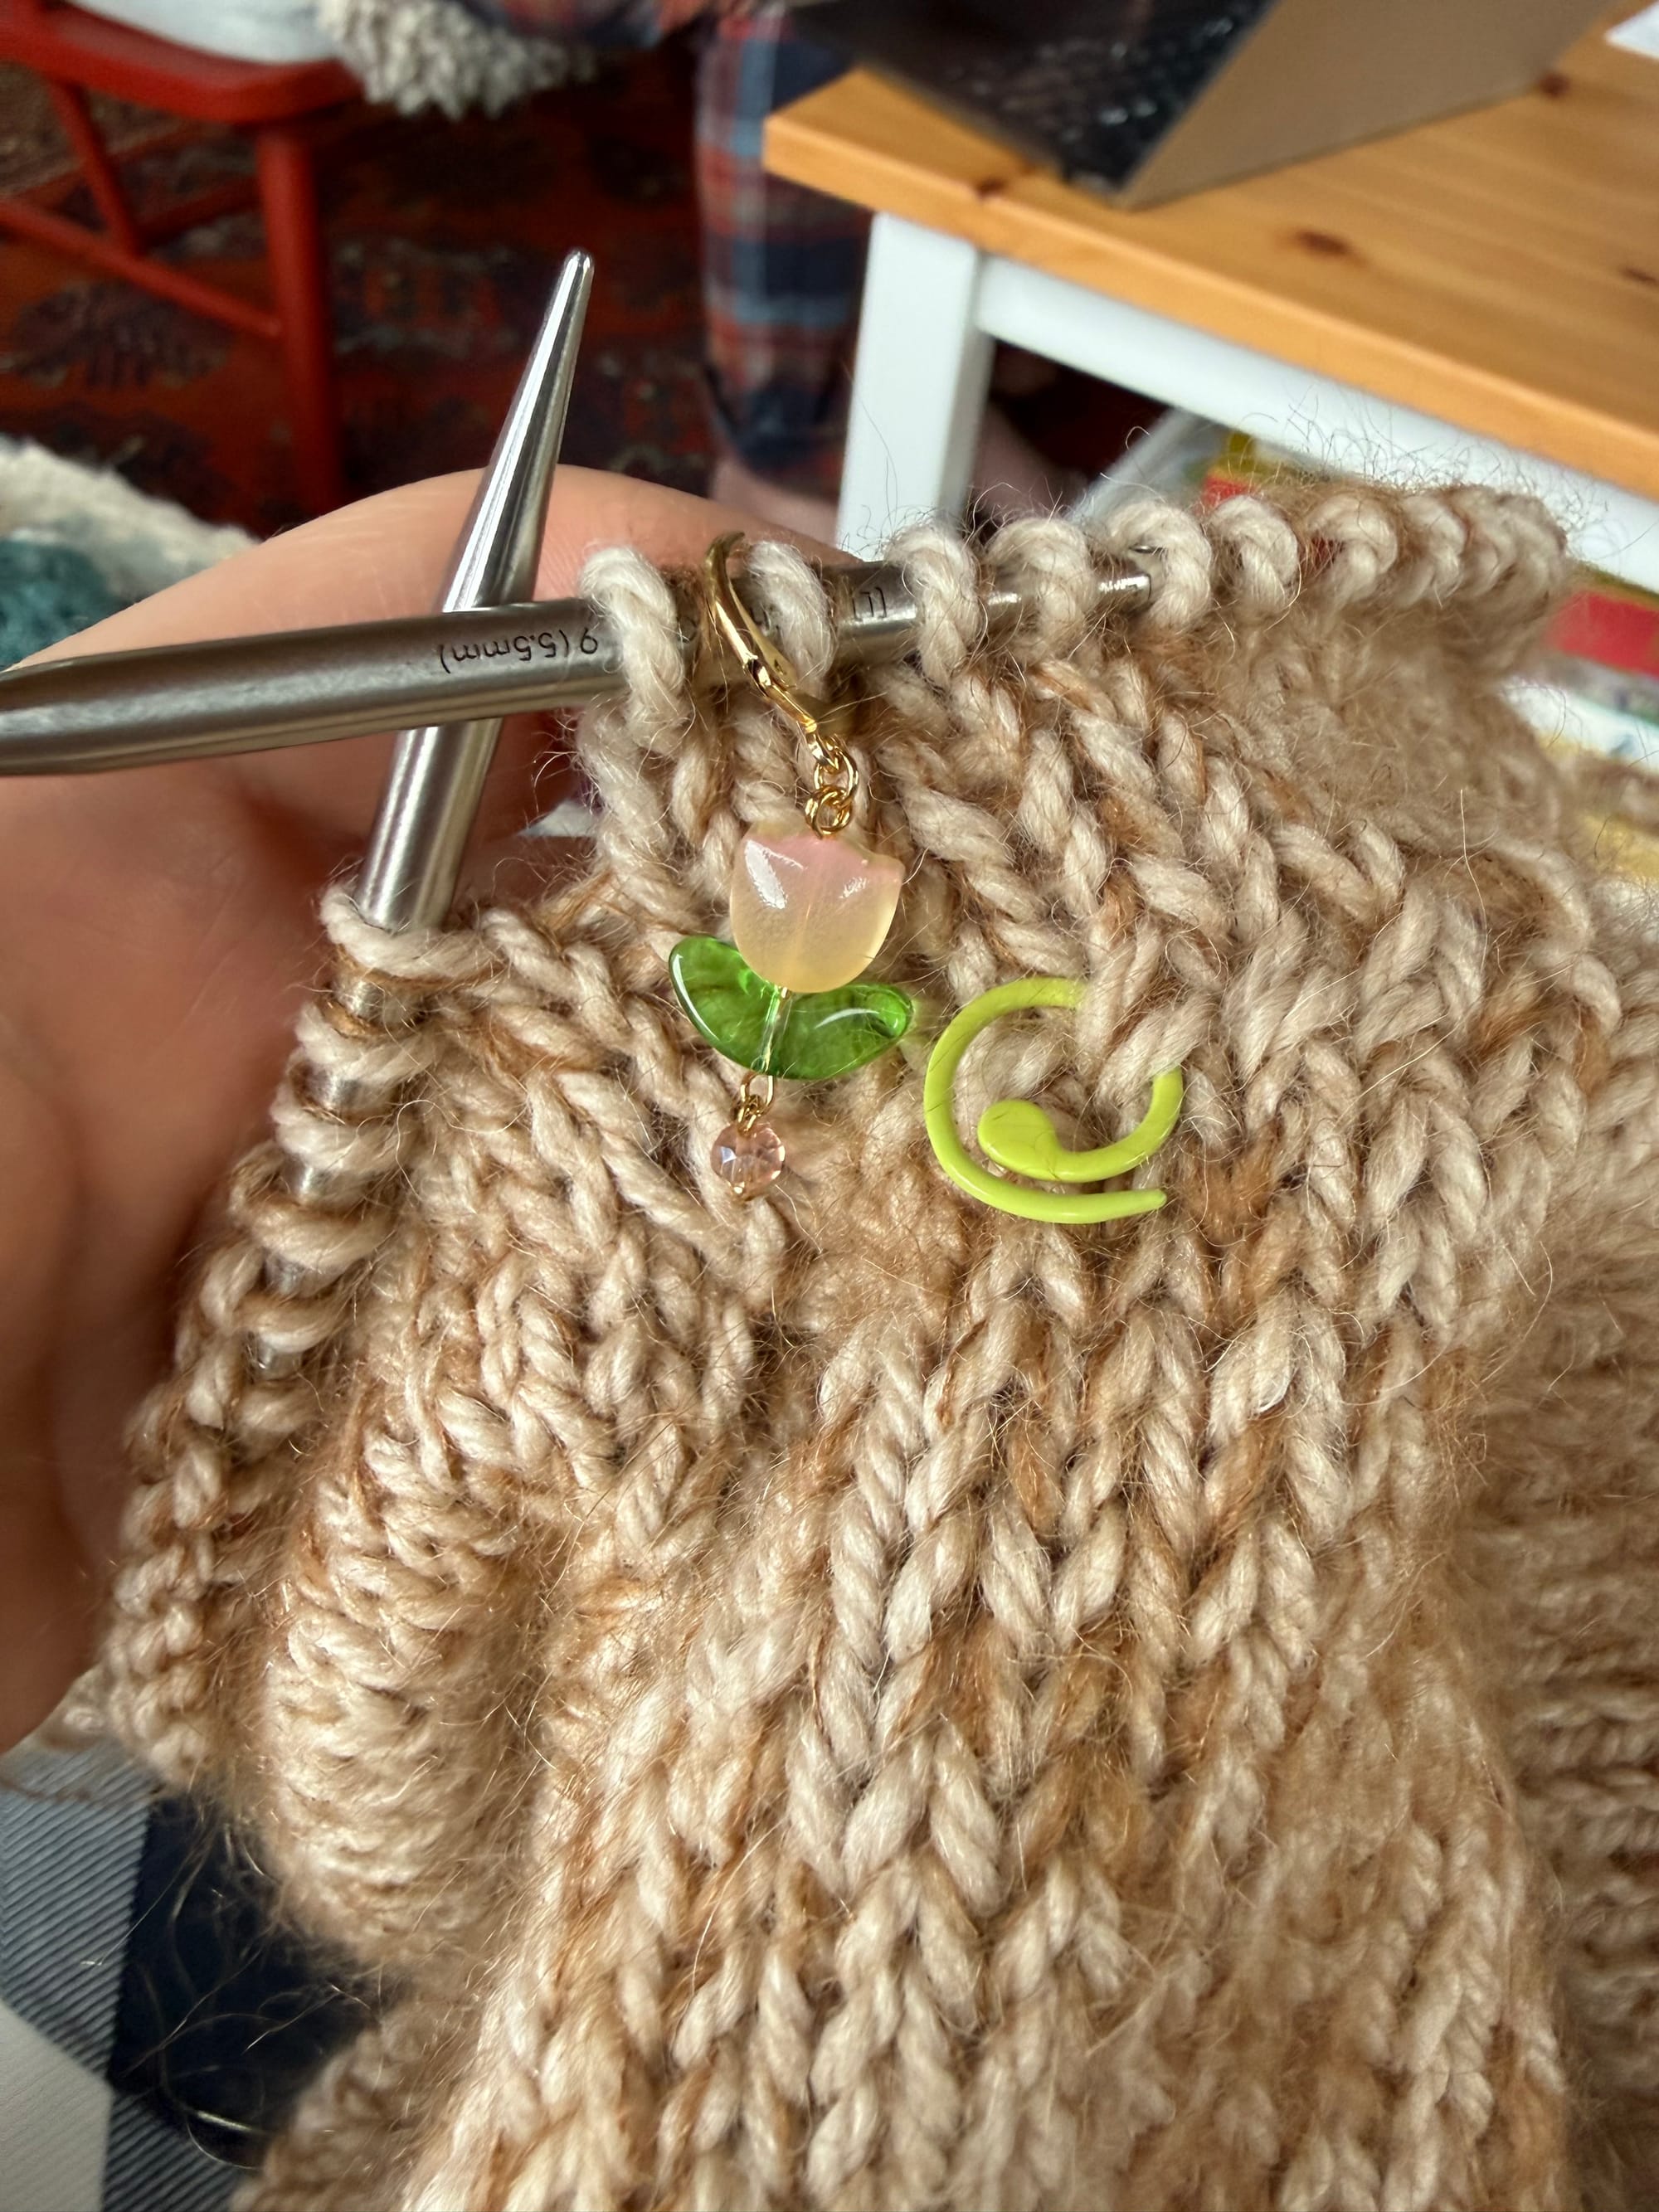
Watching the sleeves slowly grow to their final length was a lot of fun. Also, let's take a moment to appreciate this adorable tulip stitch marker I used through the entire project.
The knitting was done! I could officially say I have knit my first sweater! After it came off the needles, I wore it around the house, dancing, and celebrating for a while (obviously). Then I had to face reality and weave in all of my ends that I had ignored during the knitting process. In her video, Florence shows a method to splice your wool ends together as you knit to avoid knots and the need to weave in ends later, but I didn't watch that section of the video until I was pretty far into the project, and I didn't want to try it out in the middle of the work in case it ended up looking different. I want to experiment and practice with this method so that maybe I can use it on future projects. I worry slightly that there would be a possibility of the ends coming un-stuck and creating a hole in the garment. Is that crazy?
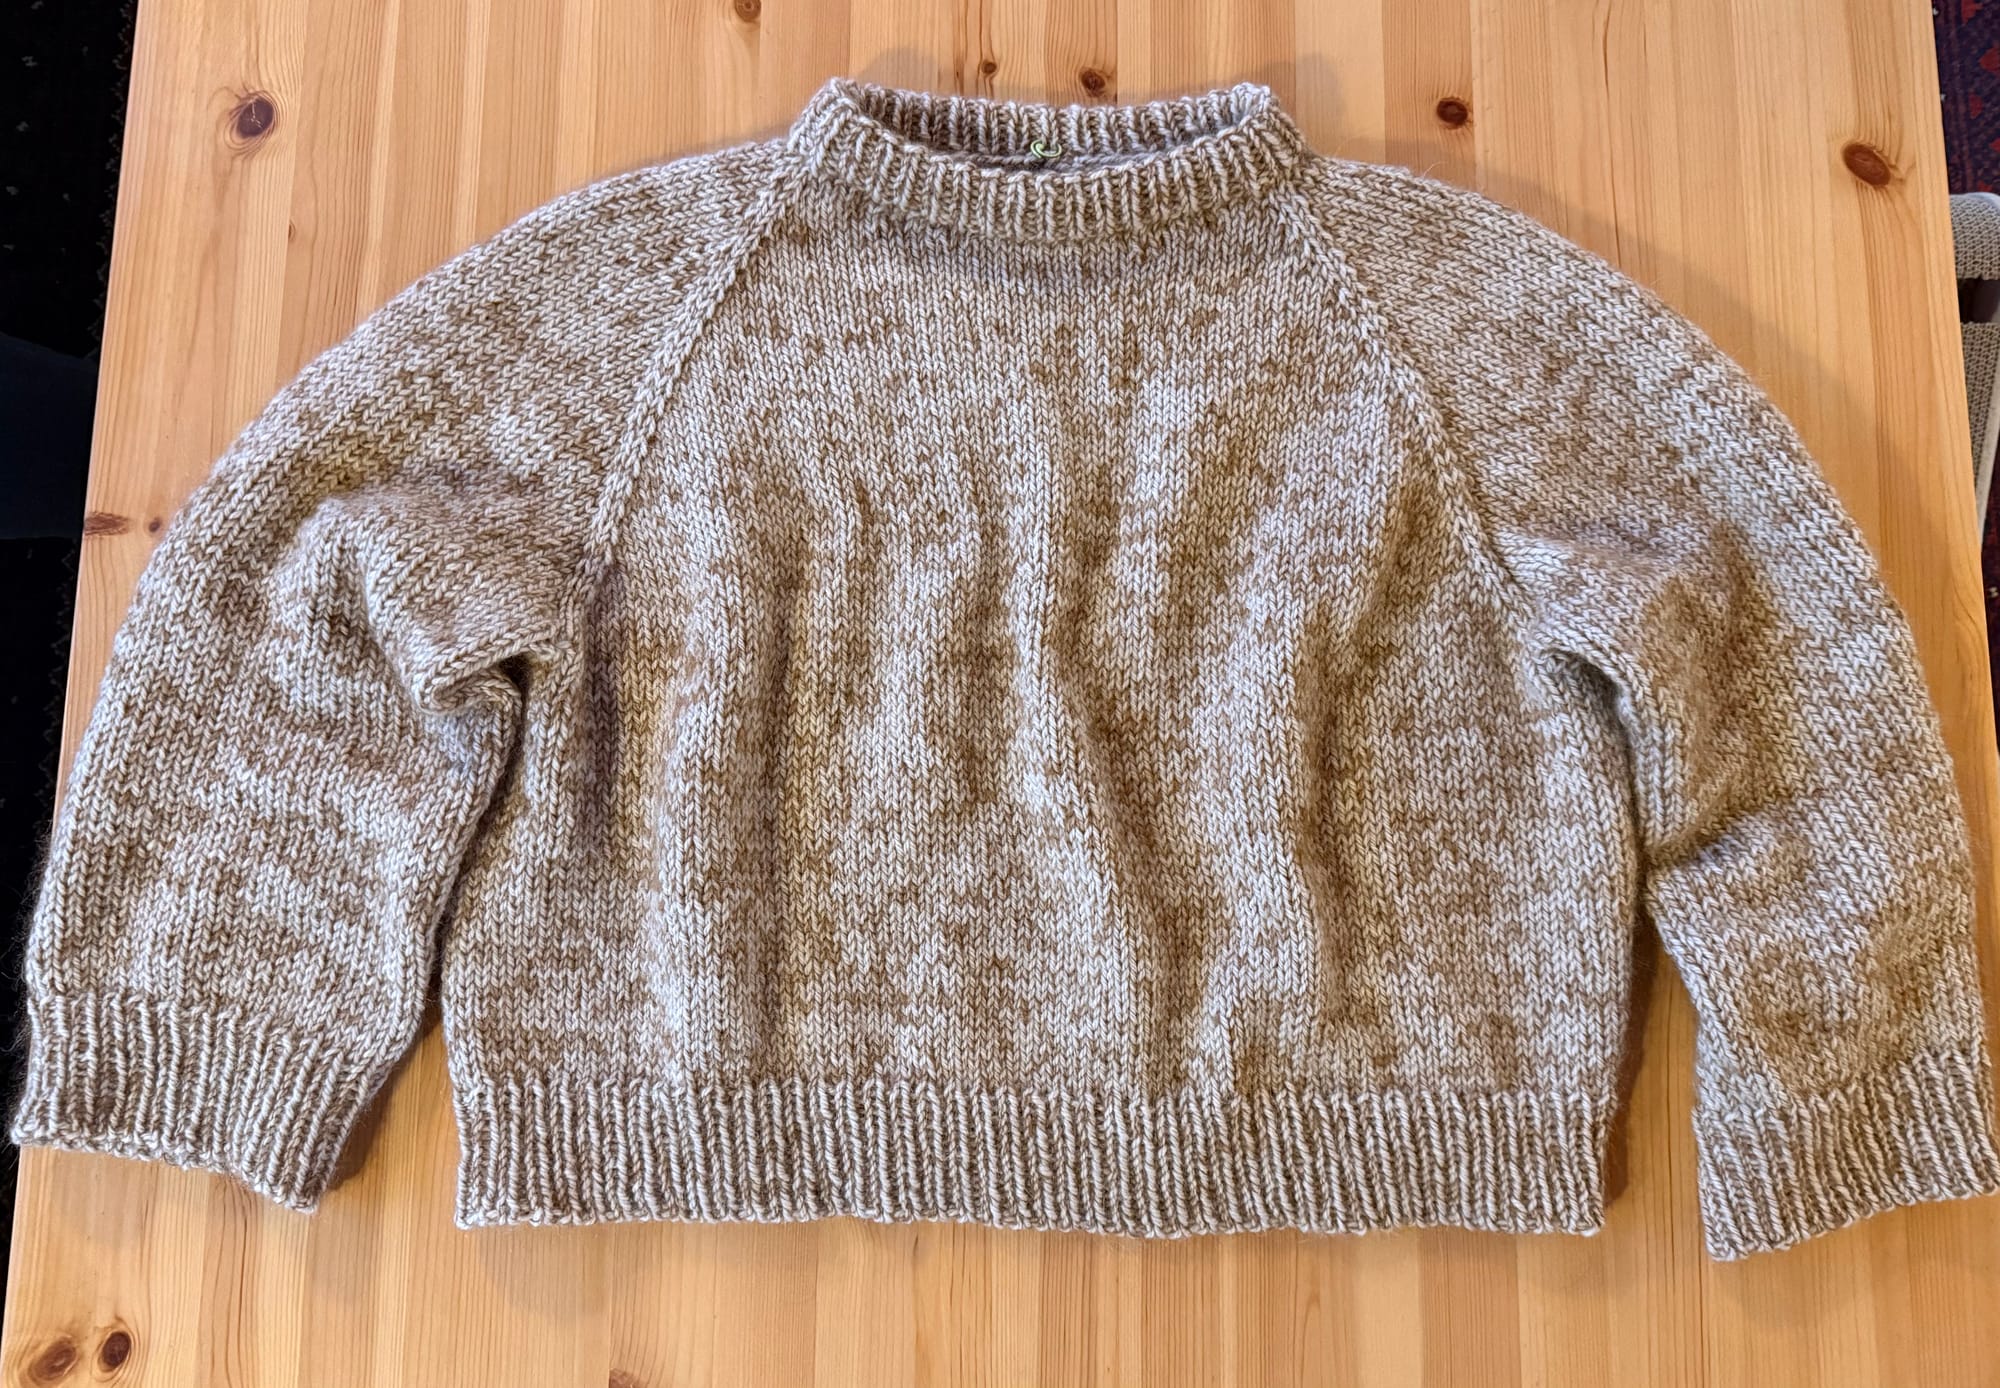
After finishing all of the knitting and end-weaving-in, I decided to take some photographs of what the sweater looked like before blocking. It would never be un-blocked again, and I was curious how different it would really be before and after blocking.
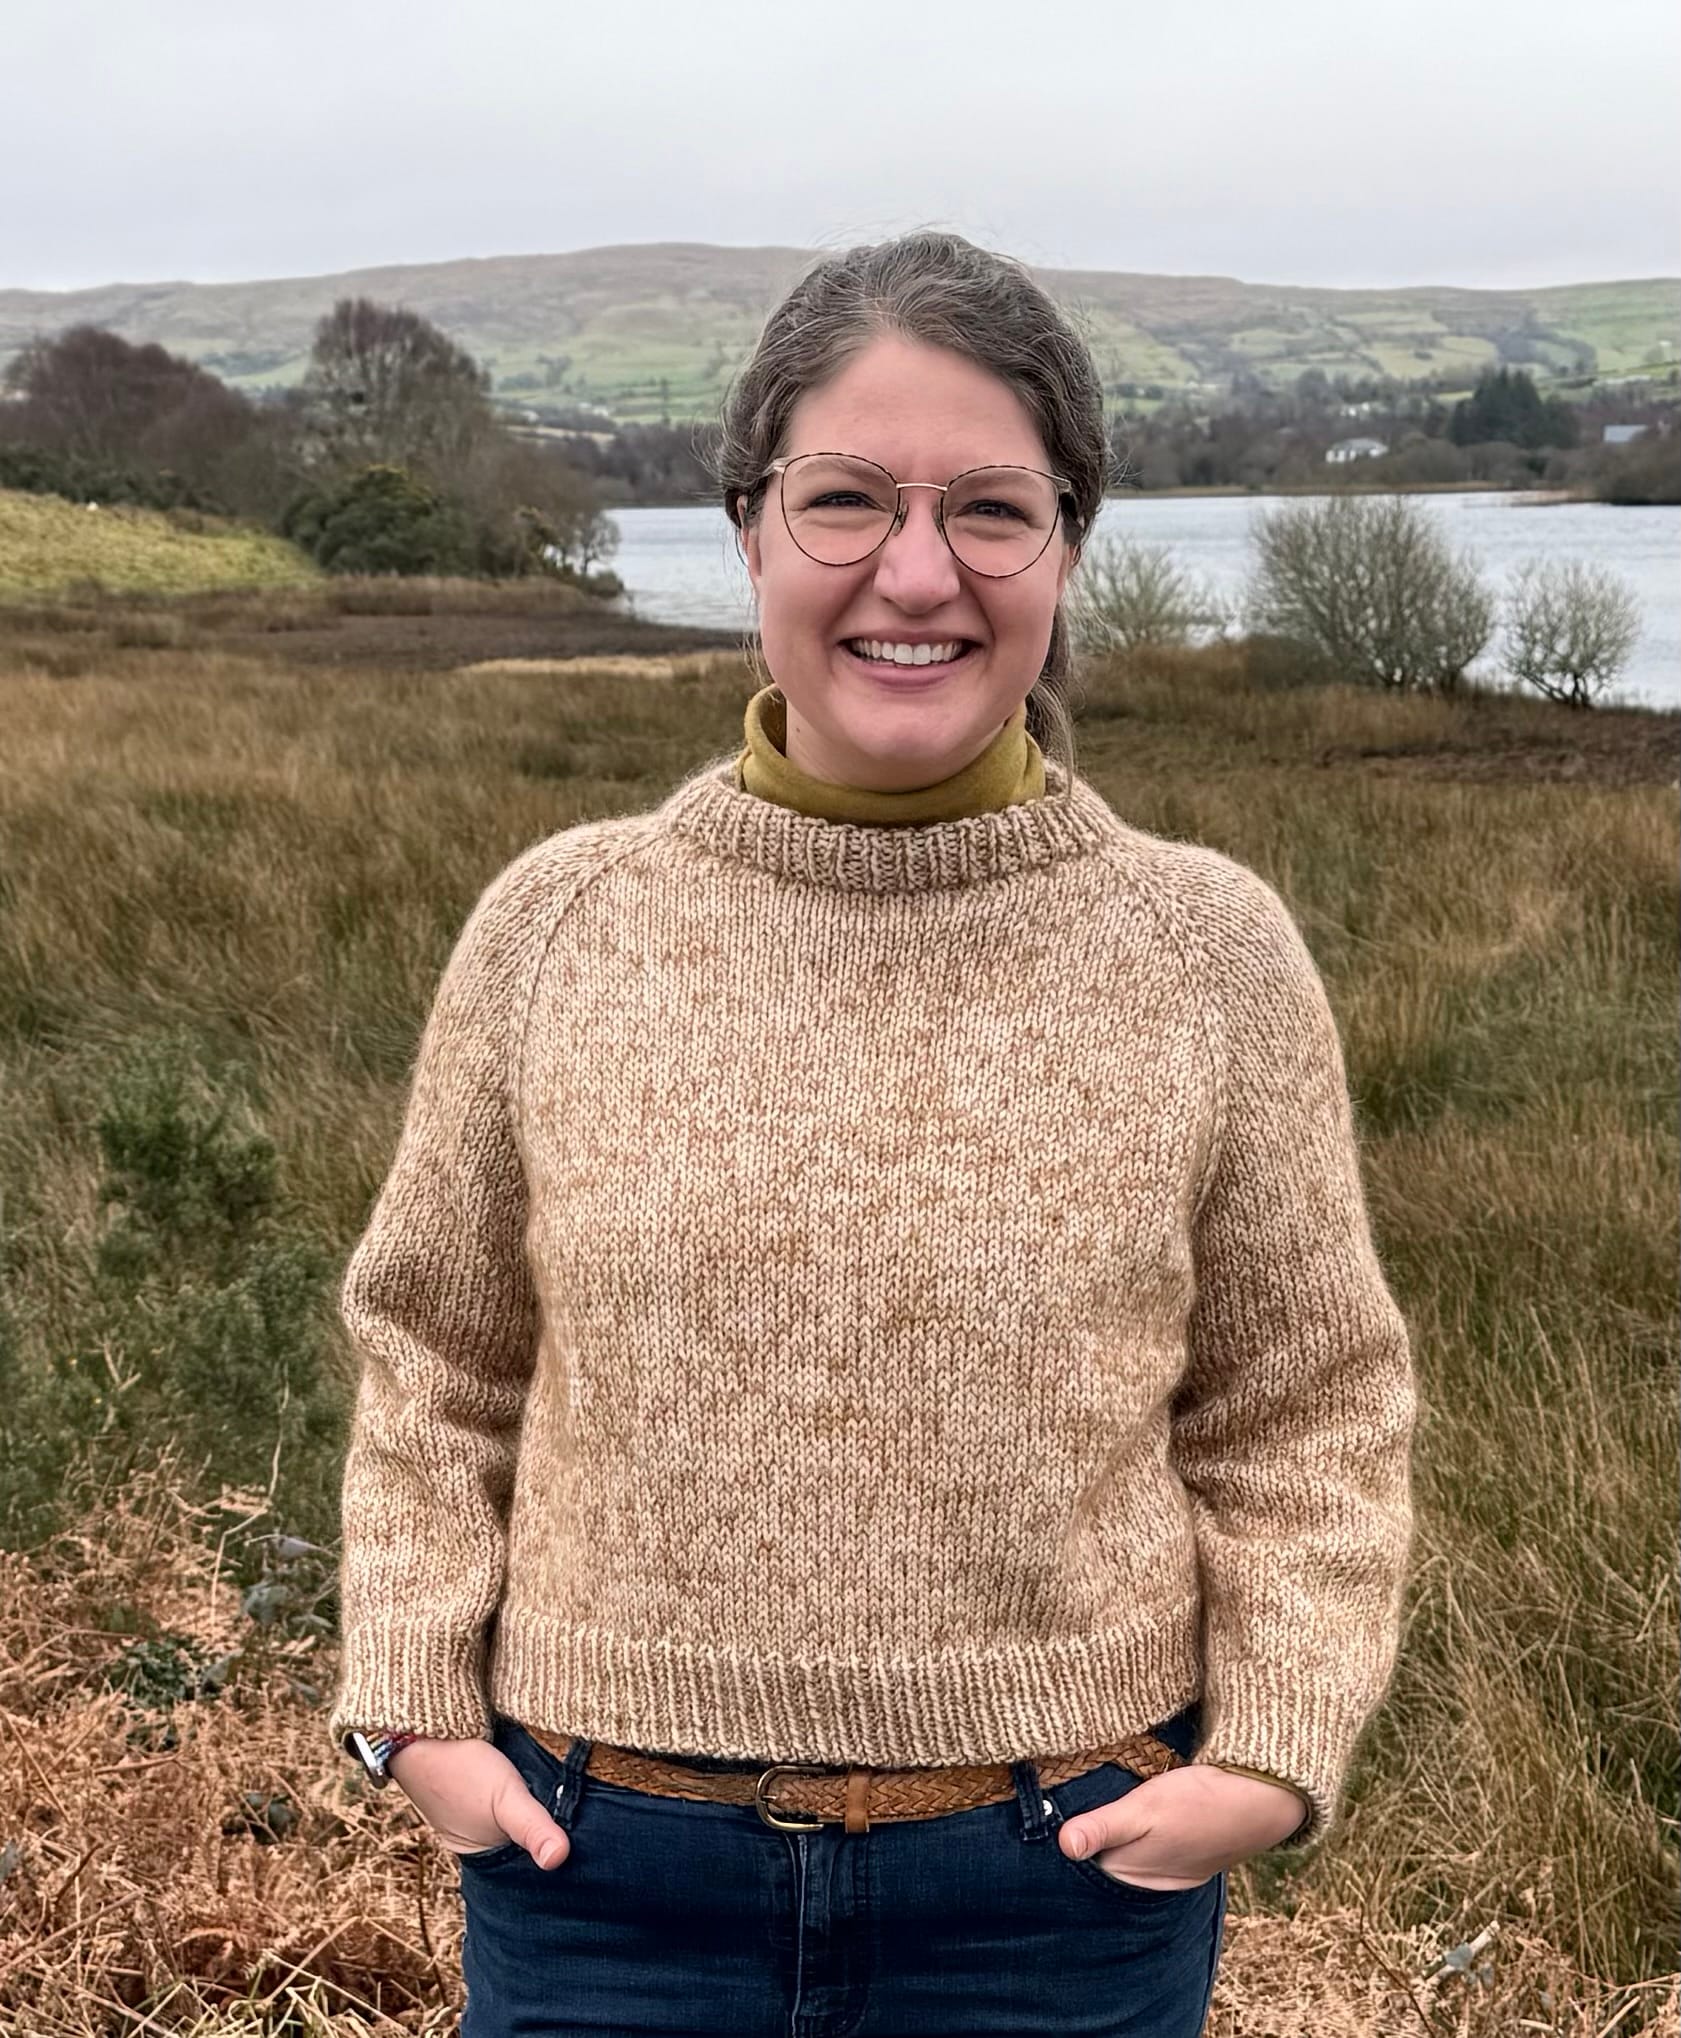
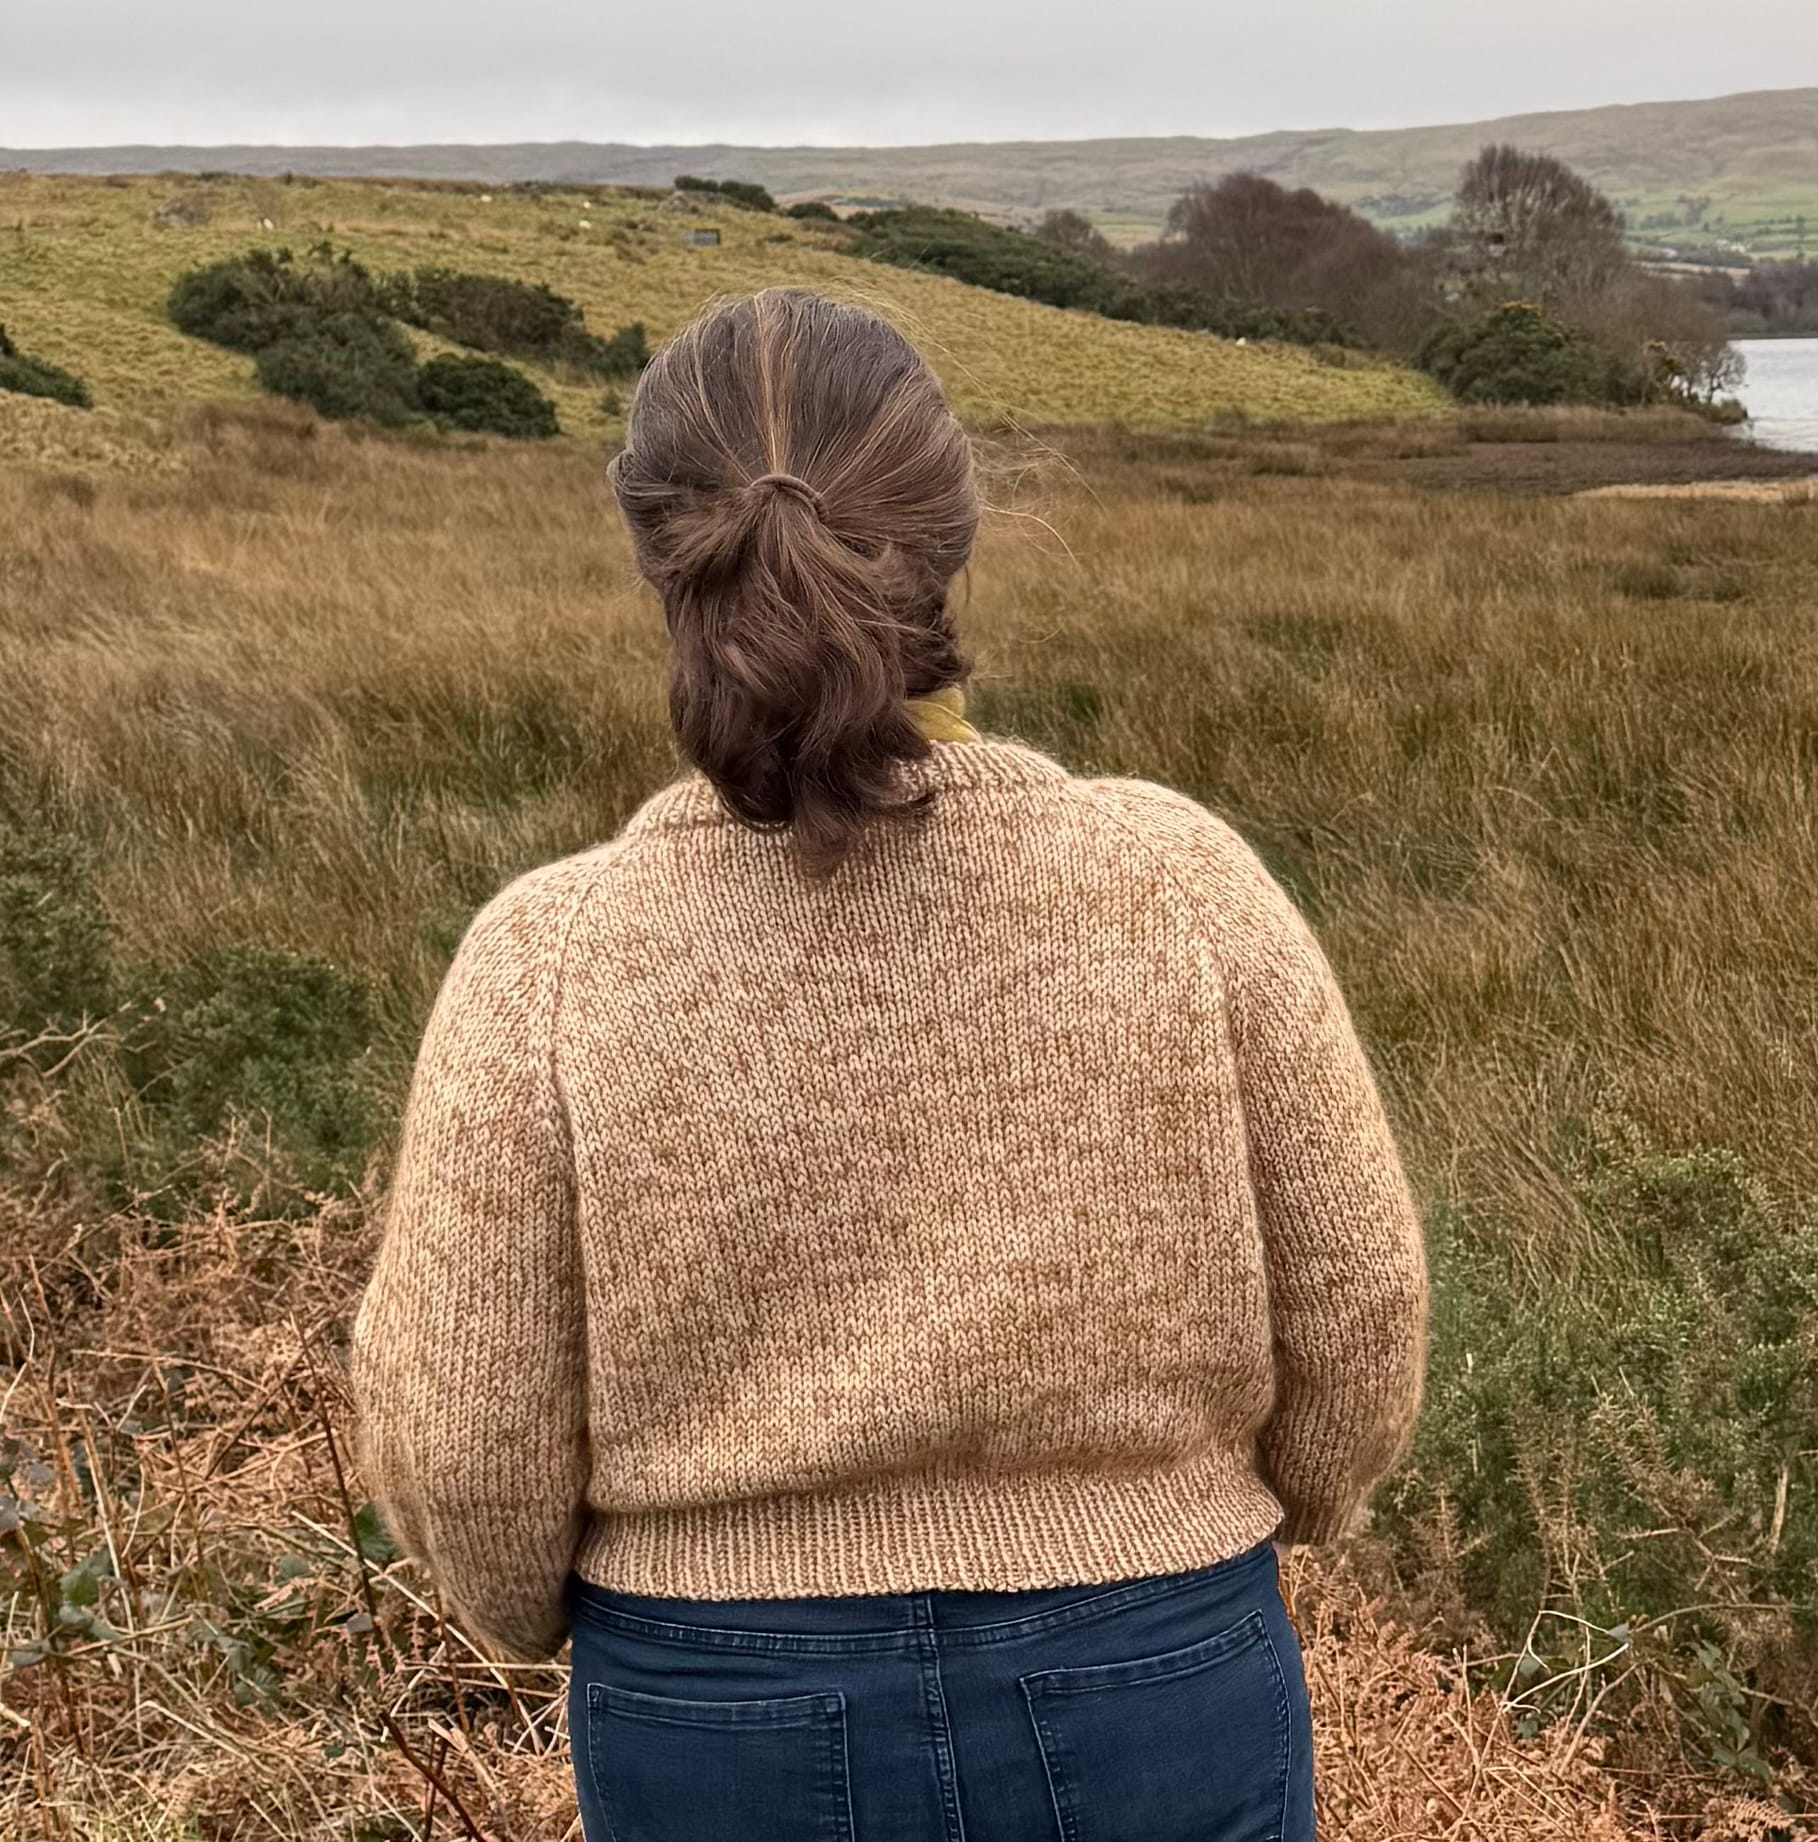
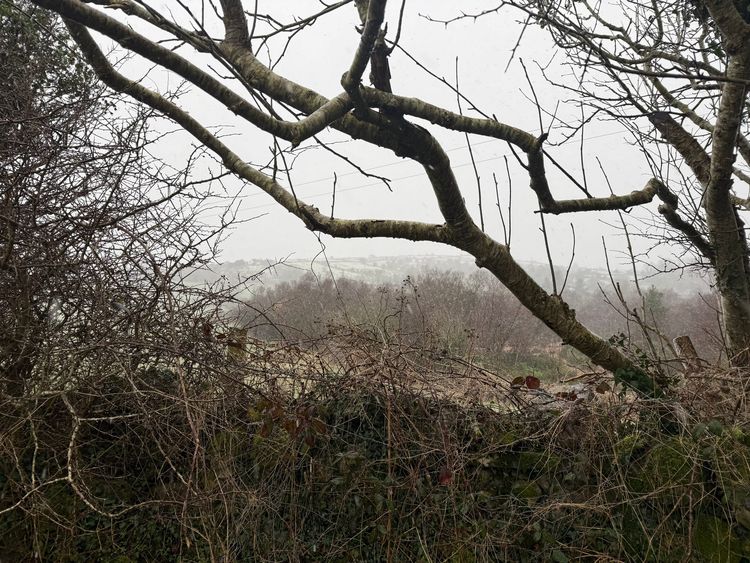
Pre-blocking. I can't even begin to express how much I love this sweater. I felt so incredibly proud while wearing it on this walk. The sheep didn't ask about it, but if they had, I would have absolutely bragged about how I made it myself.
The next step of the project was washing the sweater in the sink with room temperature water and some gentle wool detergent. I let it soak for a couple of hours, gave it a gentle rinse, and then used towels to squeeze as much excess water out of it as possible. It tooks days and days (and days and days and days) to dry on the blocking mats and I won't pretend like I waited patiently through that time. I turned it multiple times and kept moving it around the house to the warmest room.
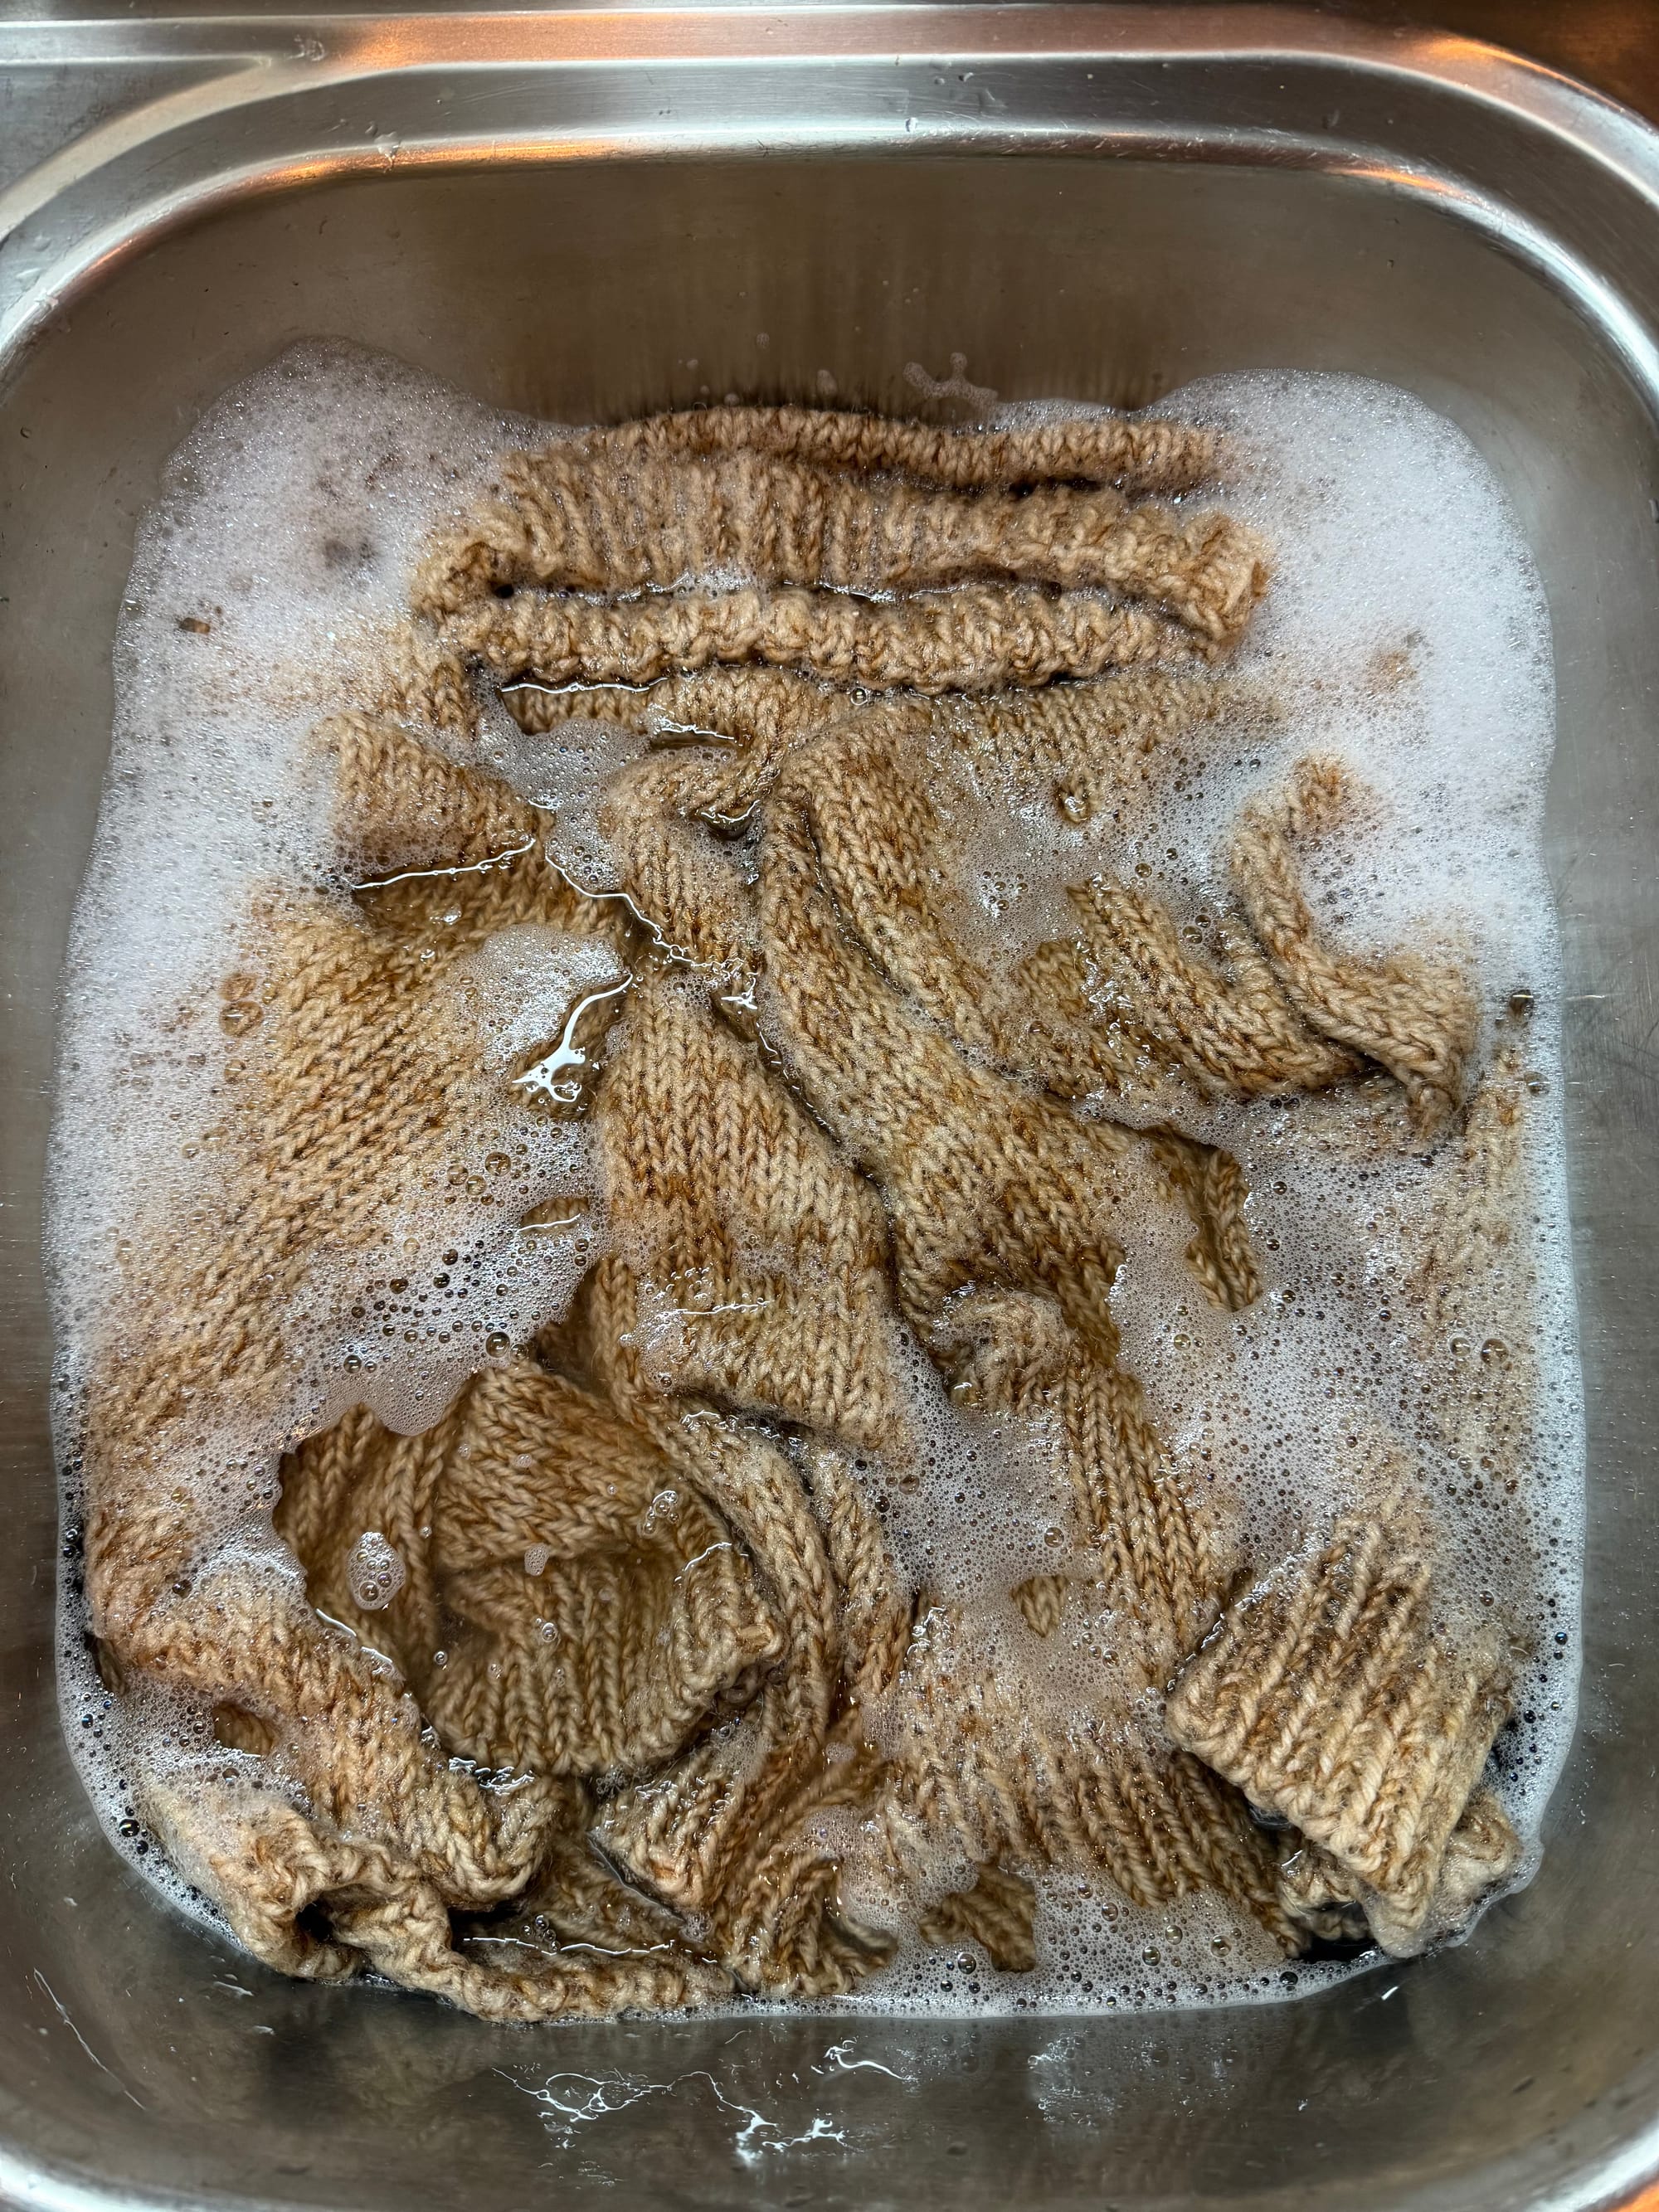
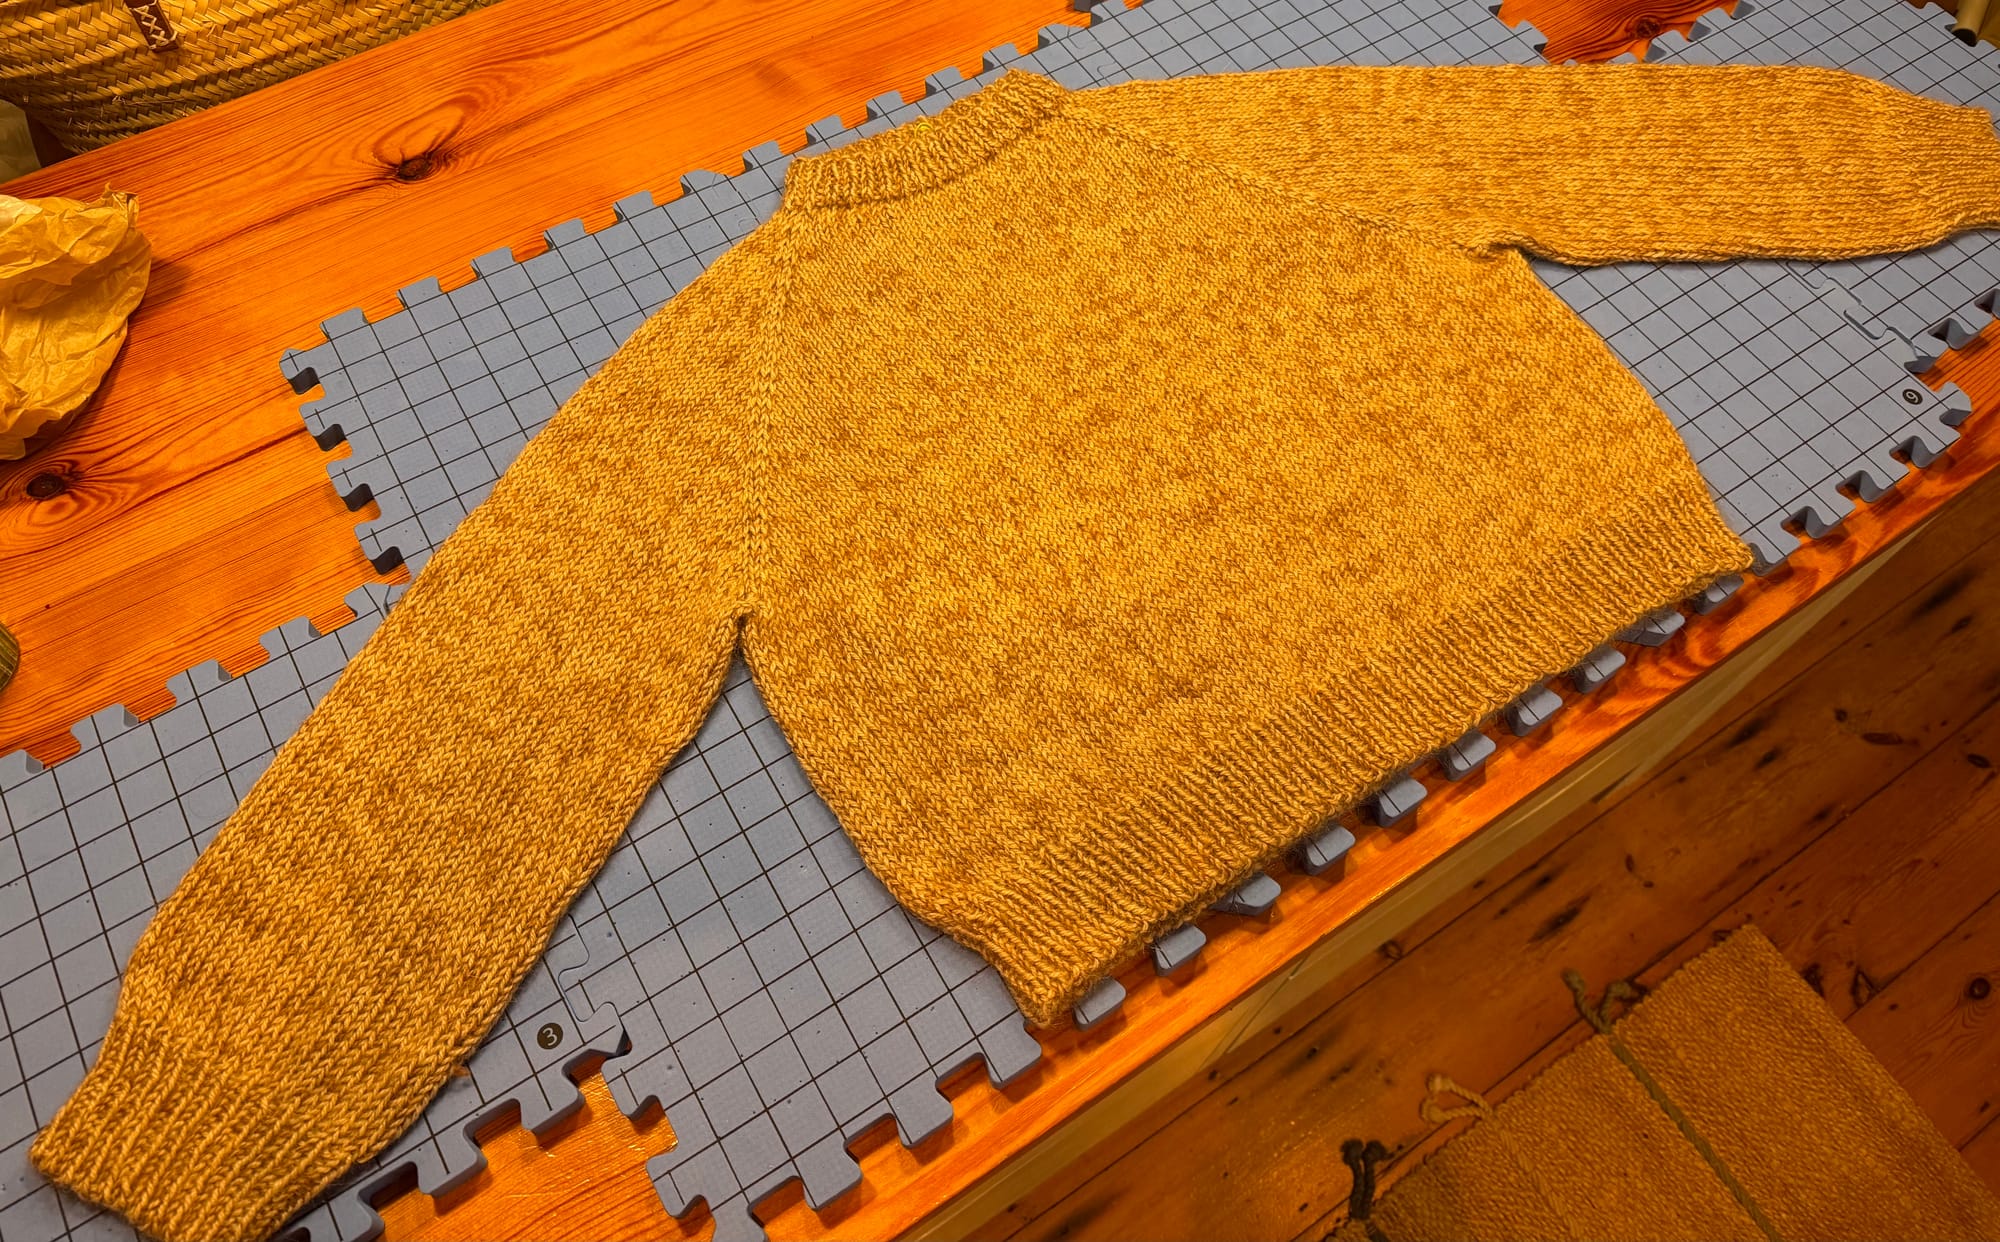
Soaking with wool wash; laying it out to dry on my blocking mats.
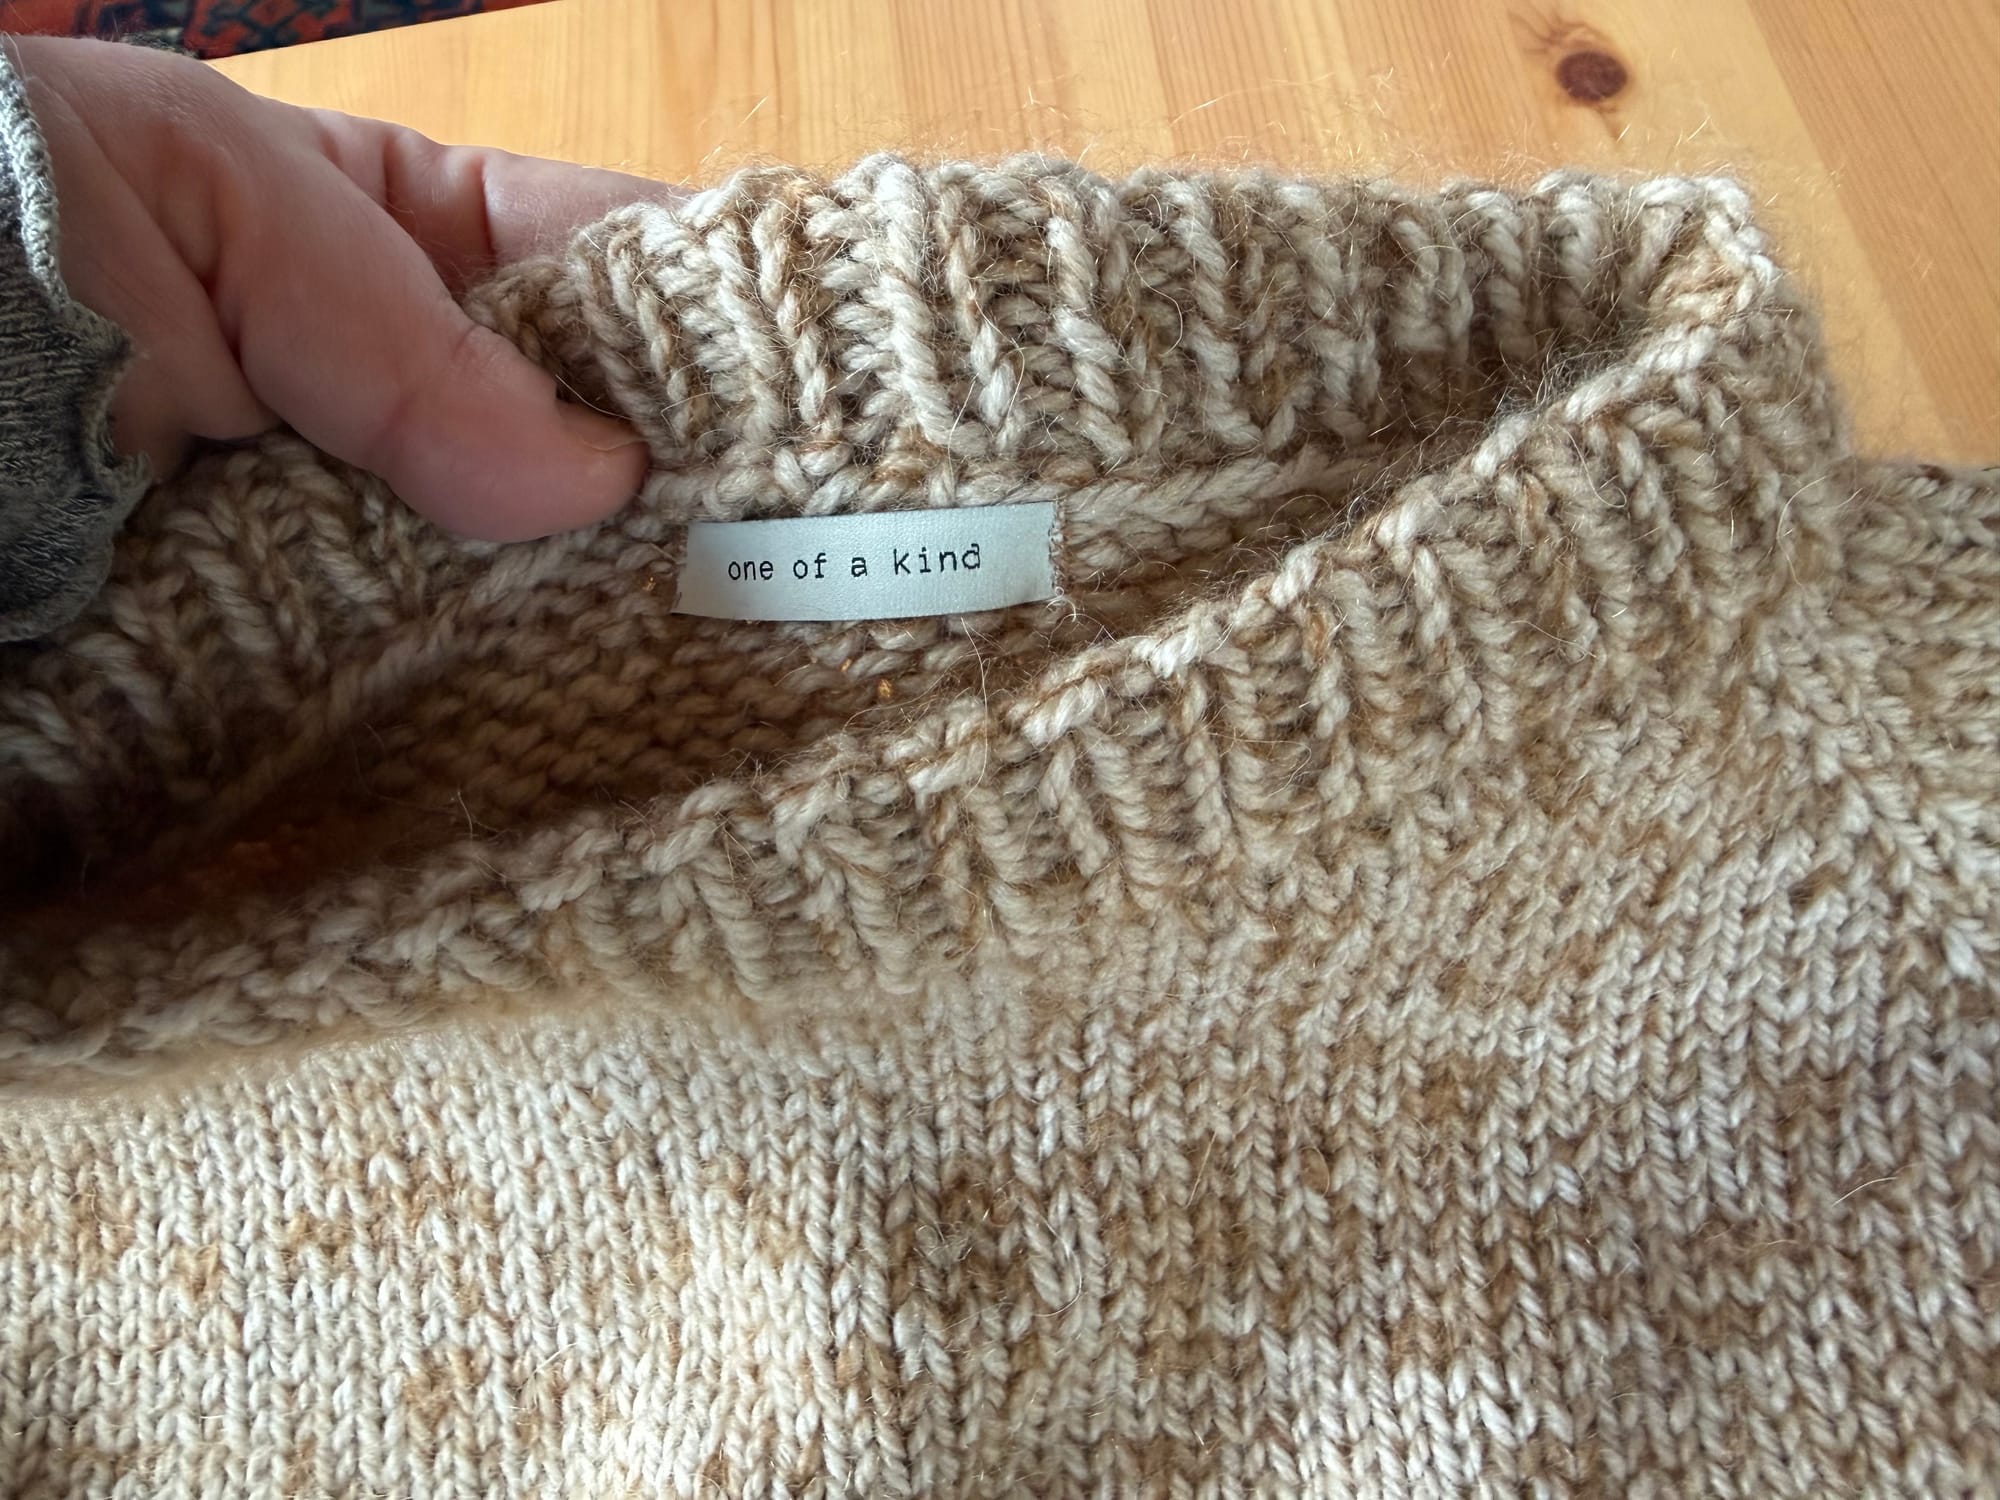
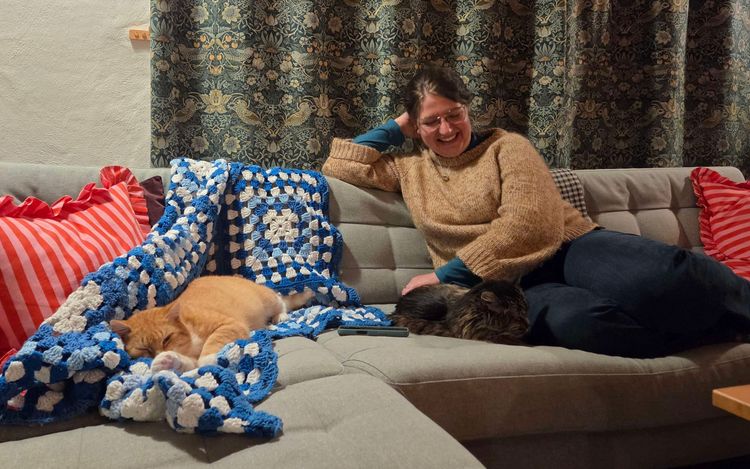
But it's finally done, and dry, and I can wear it proudly! As a finishing touch, I sewed a tag onto the center back of the neckline. I love adding tags like this to all of my sewing projects, and it's fun to be able to start adding them to knitwear too. 😄
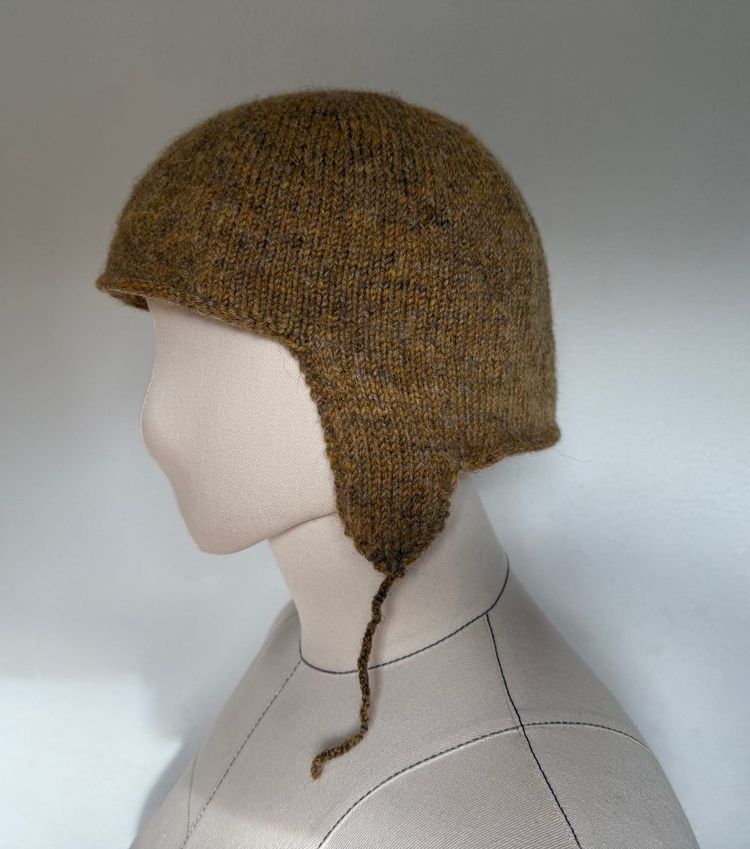
After blocking, the fabric of the sweater relaxed a bit, making everything more drapey and soft. My stitches look more even, and the places where there were little bumps from my increases, decreases, and a few little mistakes are a lot less visible. The length of the sleeves grew by a little more than an inch and the ribbing everywhere relaxed and now sits loosely at the hemline and the bottom of the sleeves. I ended up using slightly less yarn than the pattern called for, probably because I cropped the length of the body. So, I have added those extra balls to my yarn stash and am envisioning a matching beanie for the ultimate cosy winter ensemble.
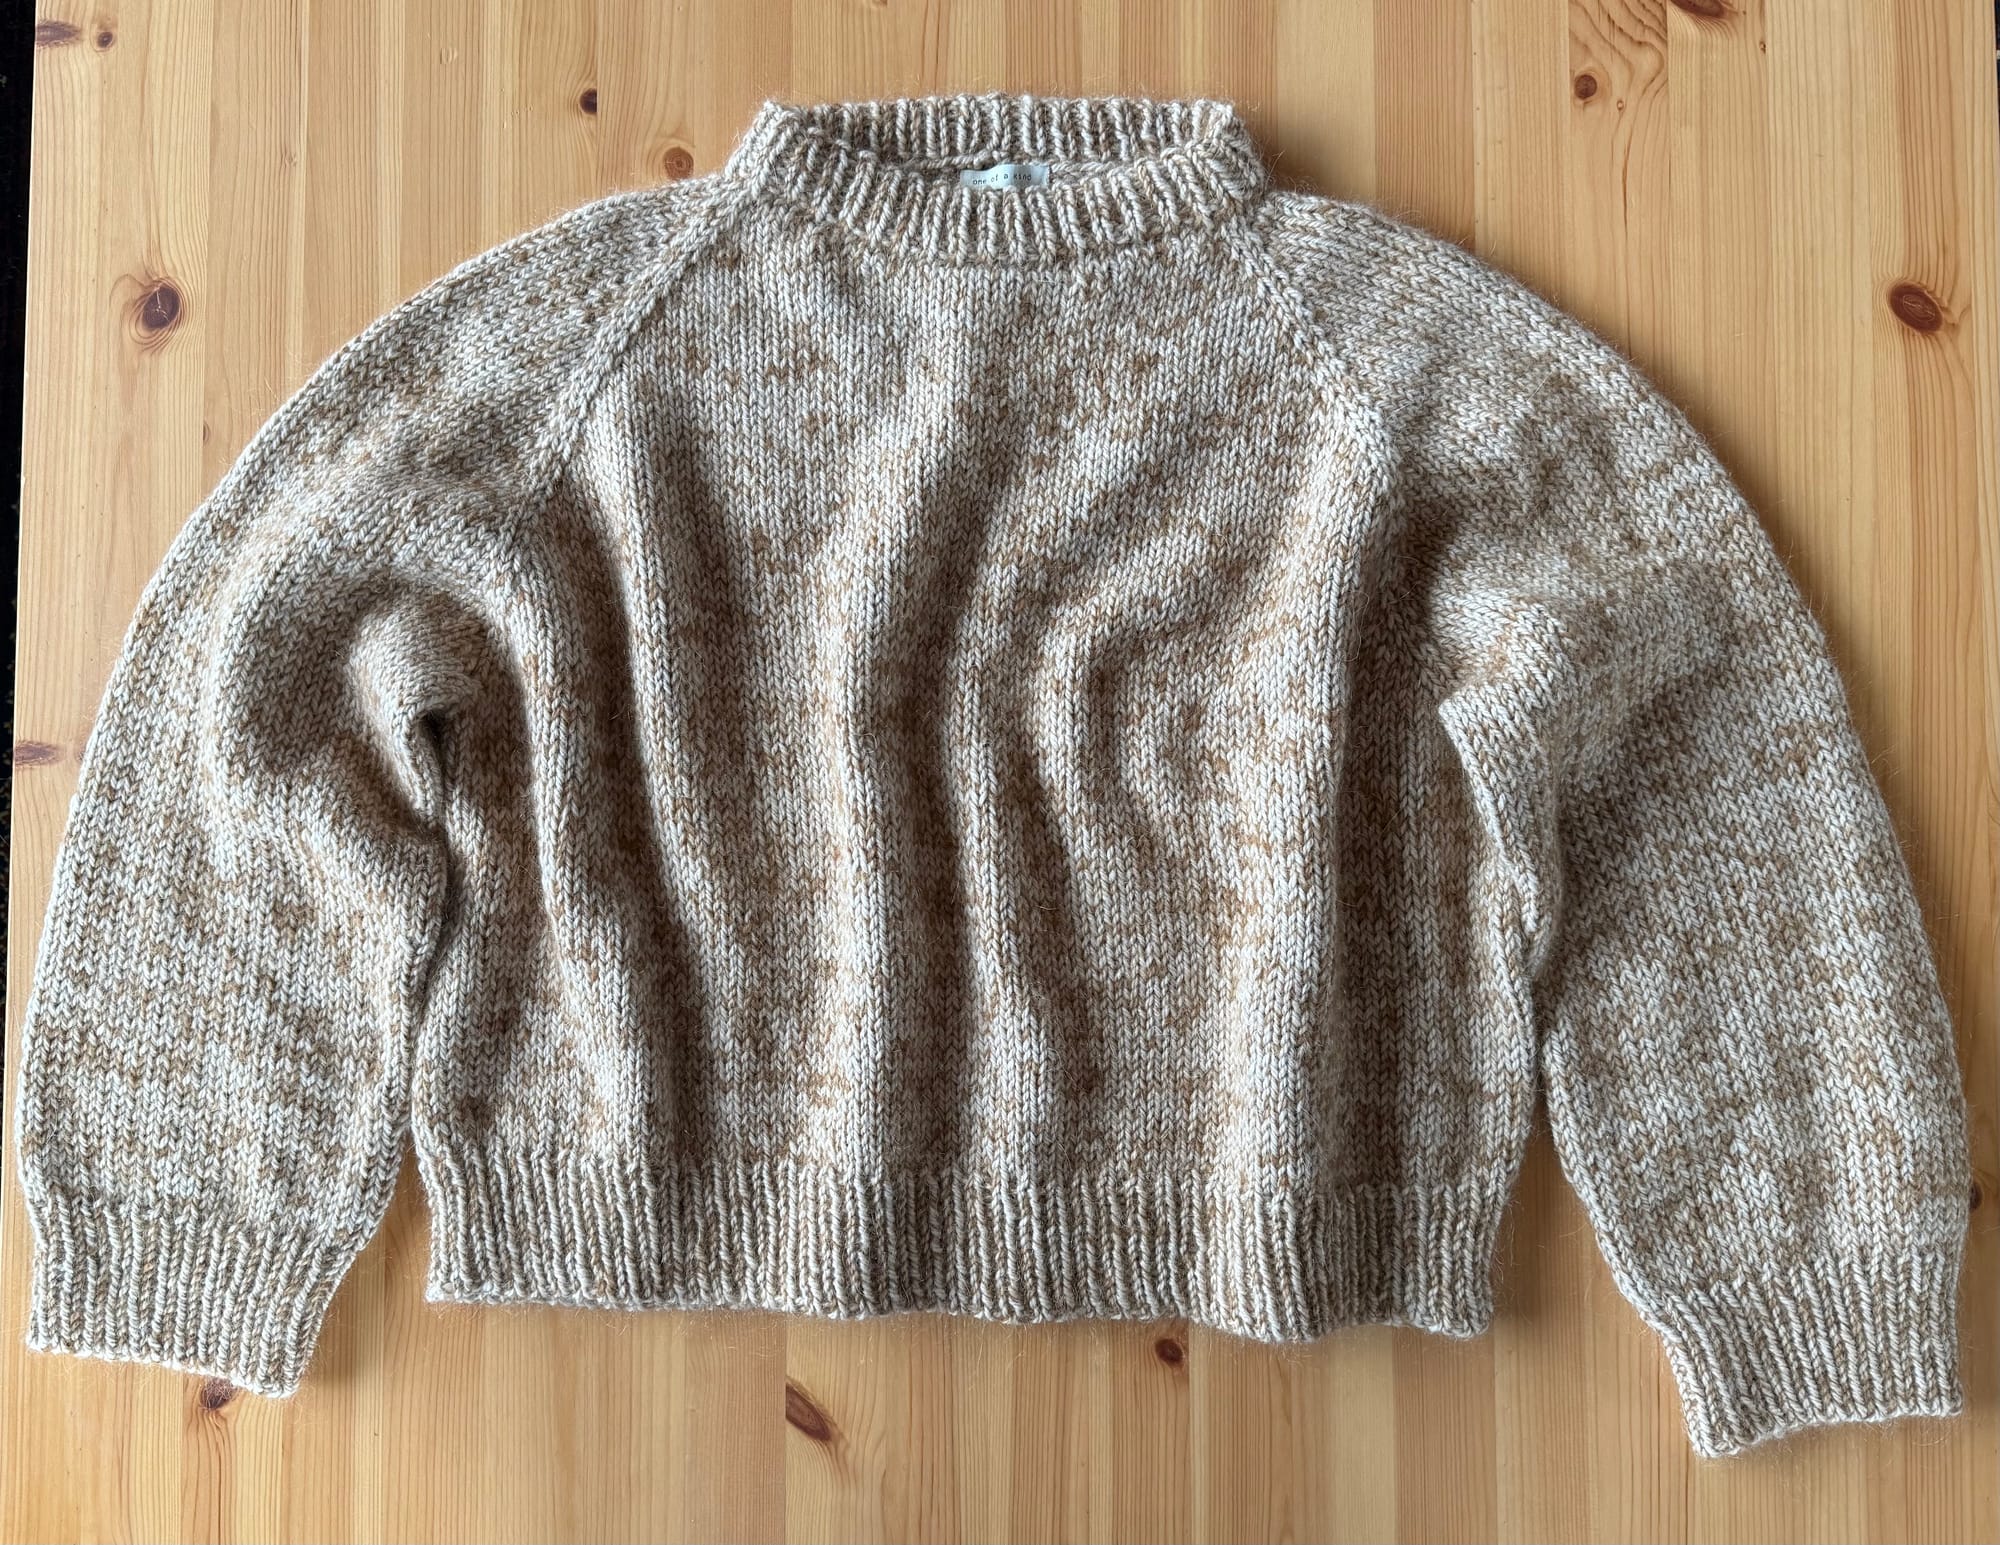
Pre-blocking on the left; after blocking on the right.
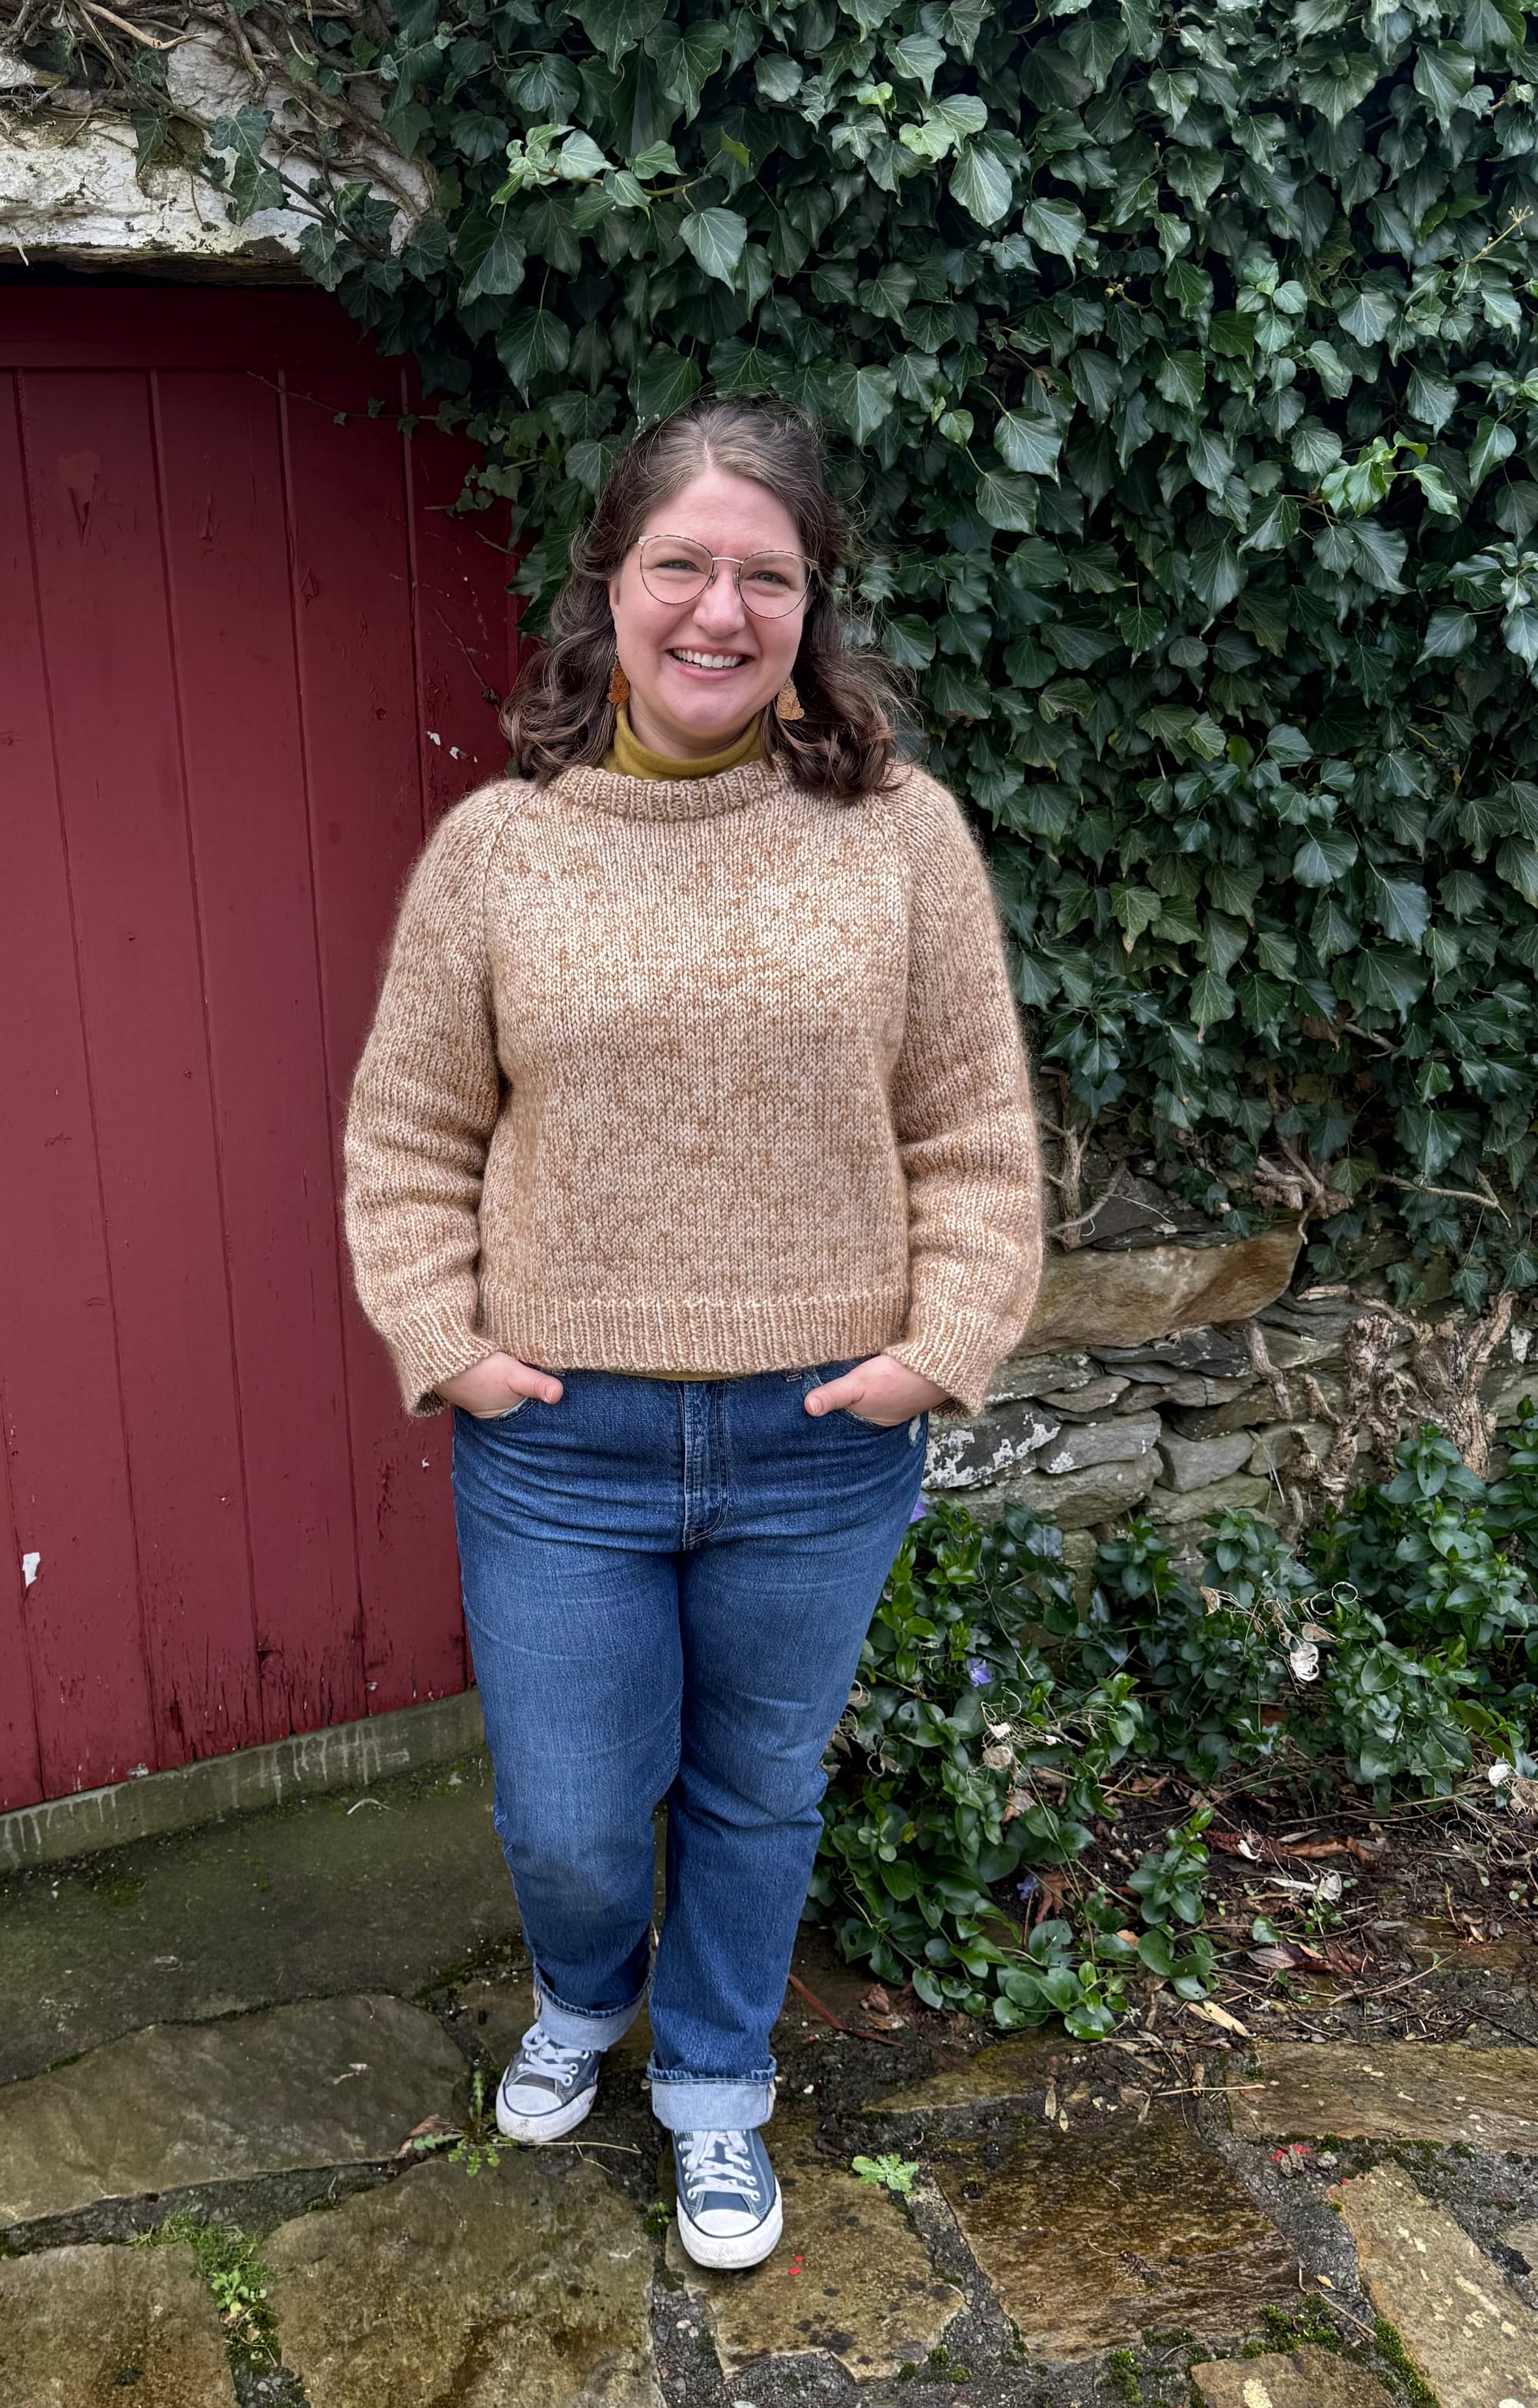
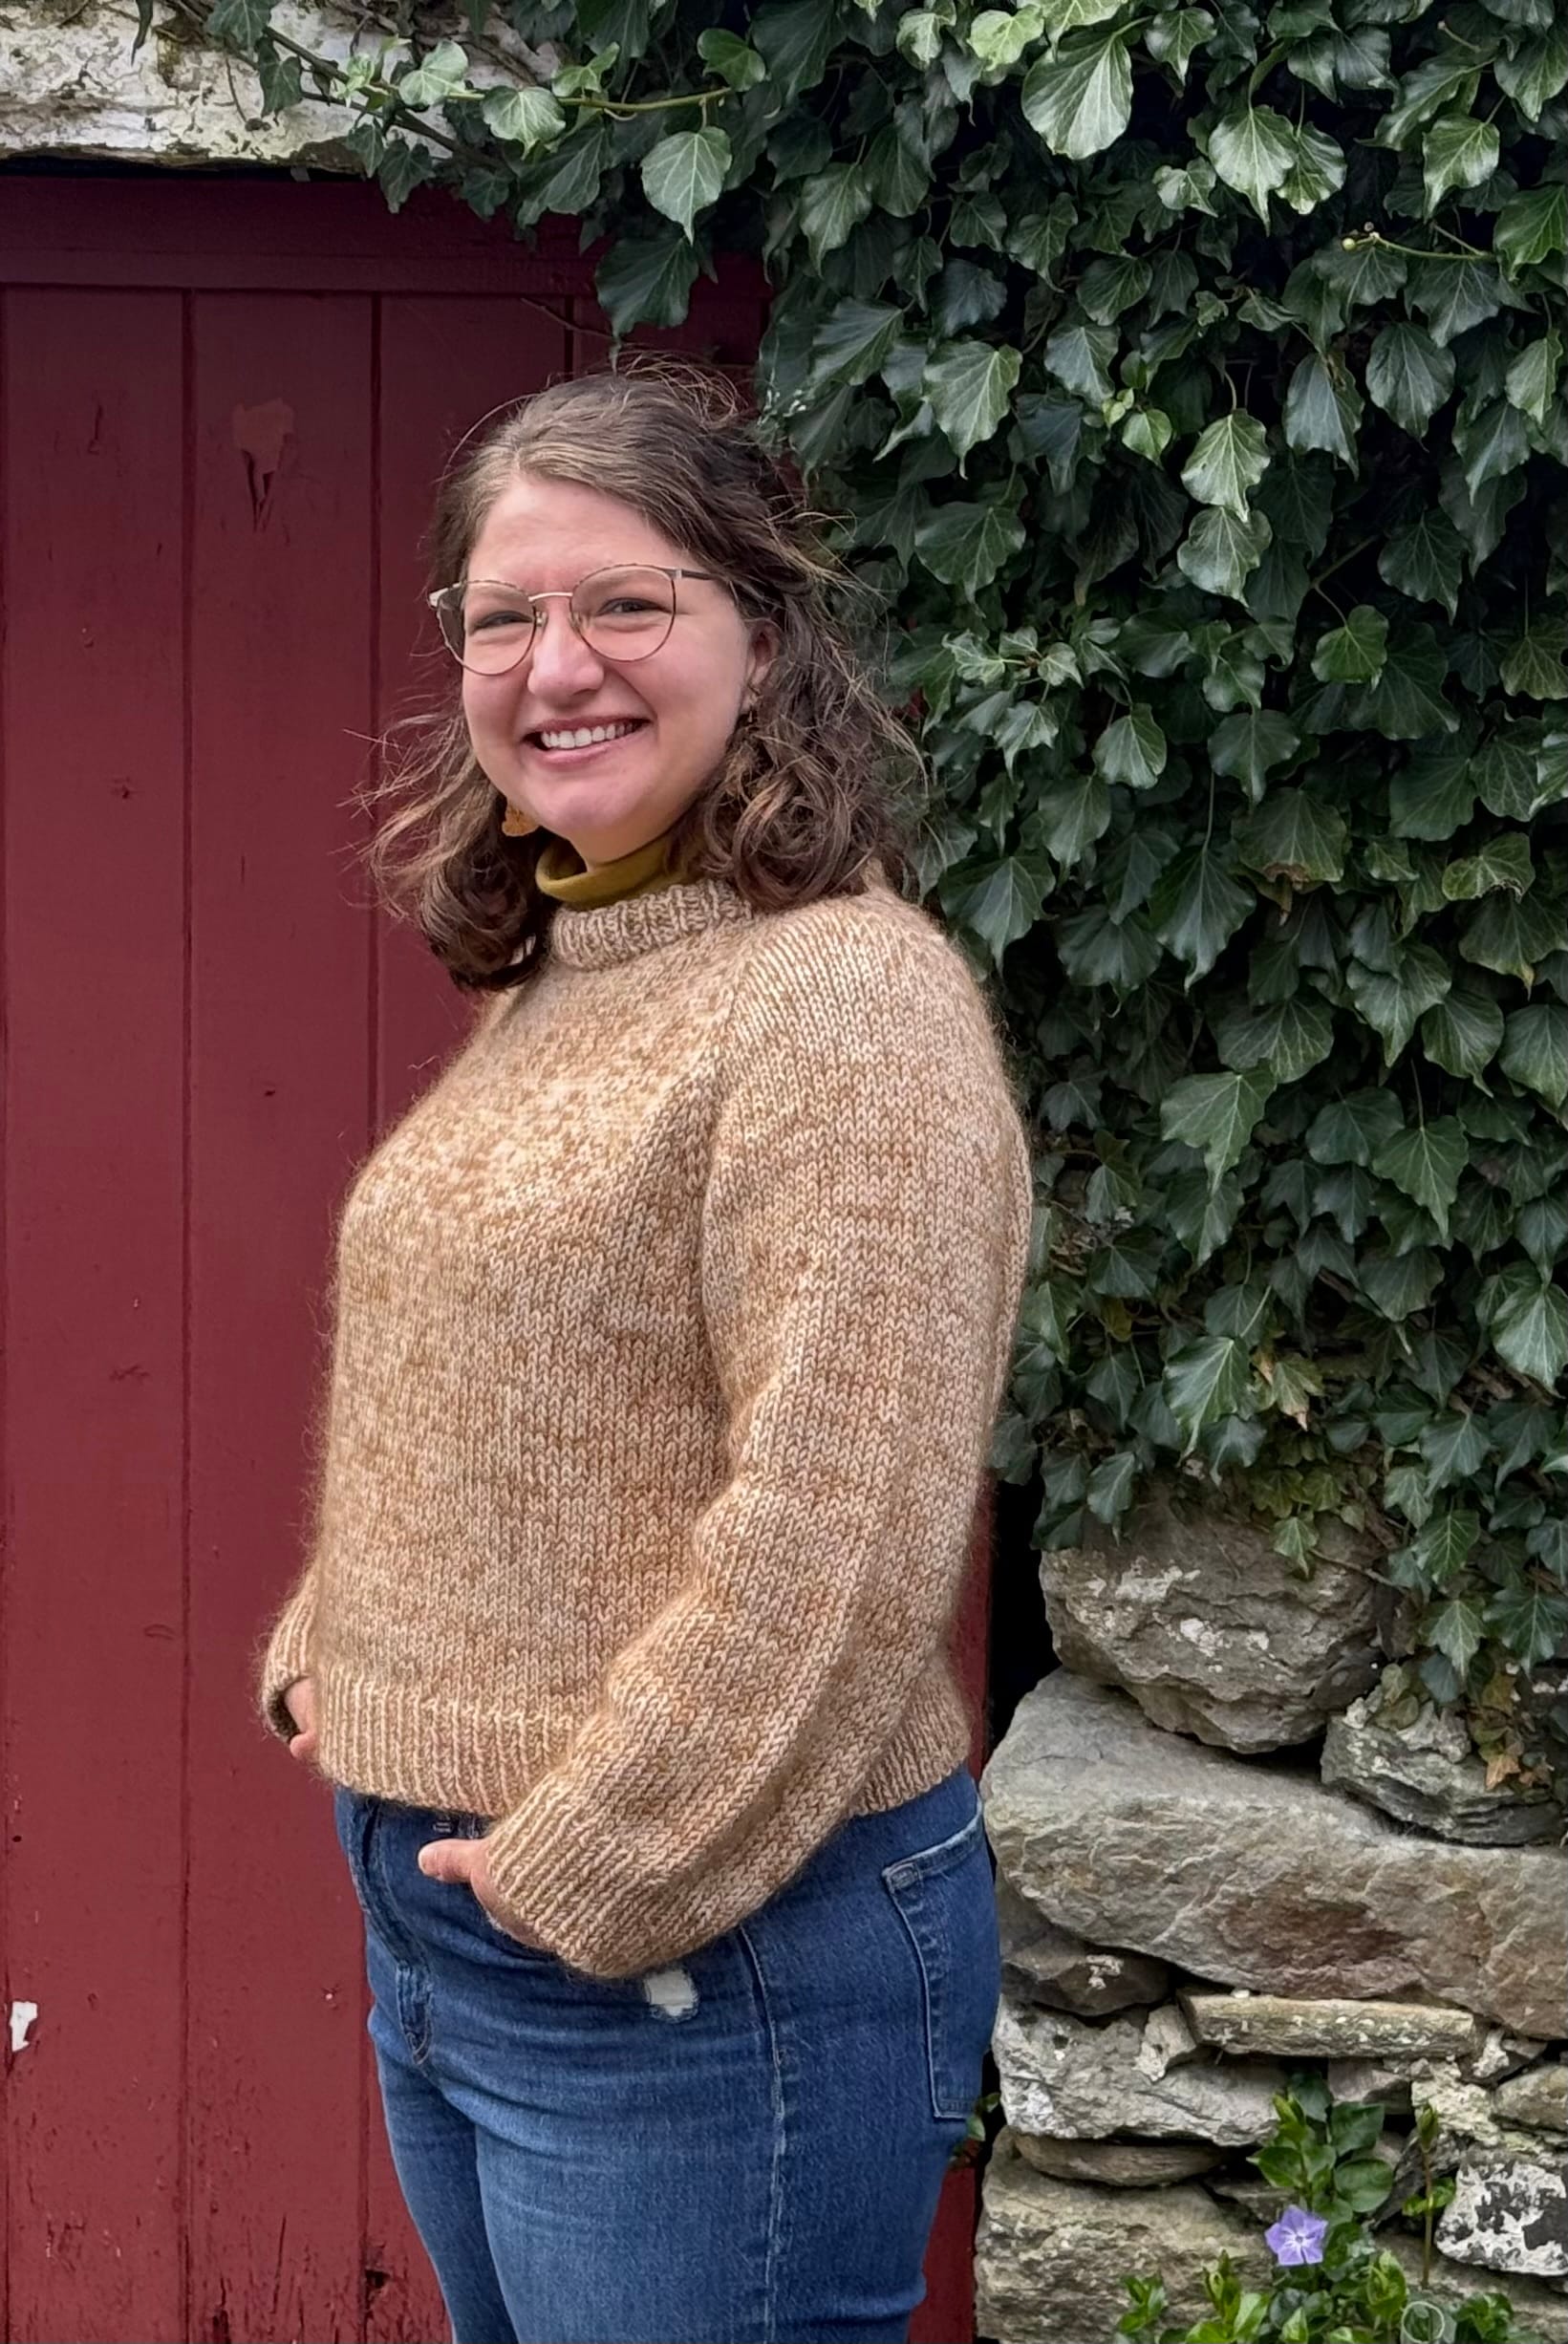
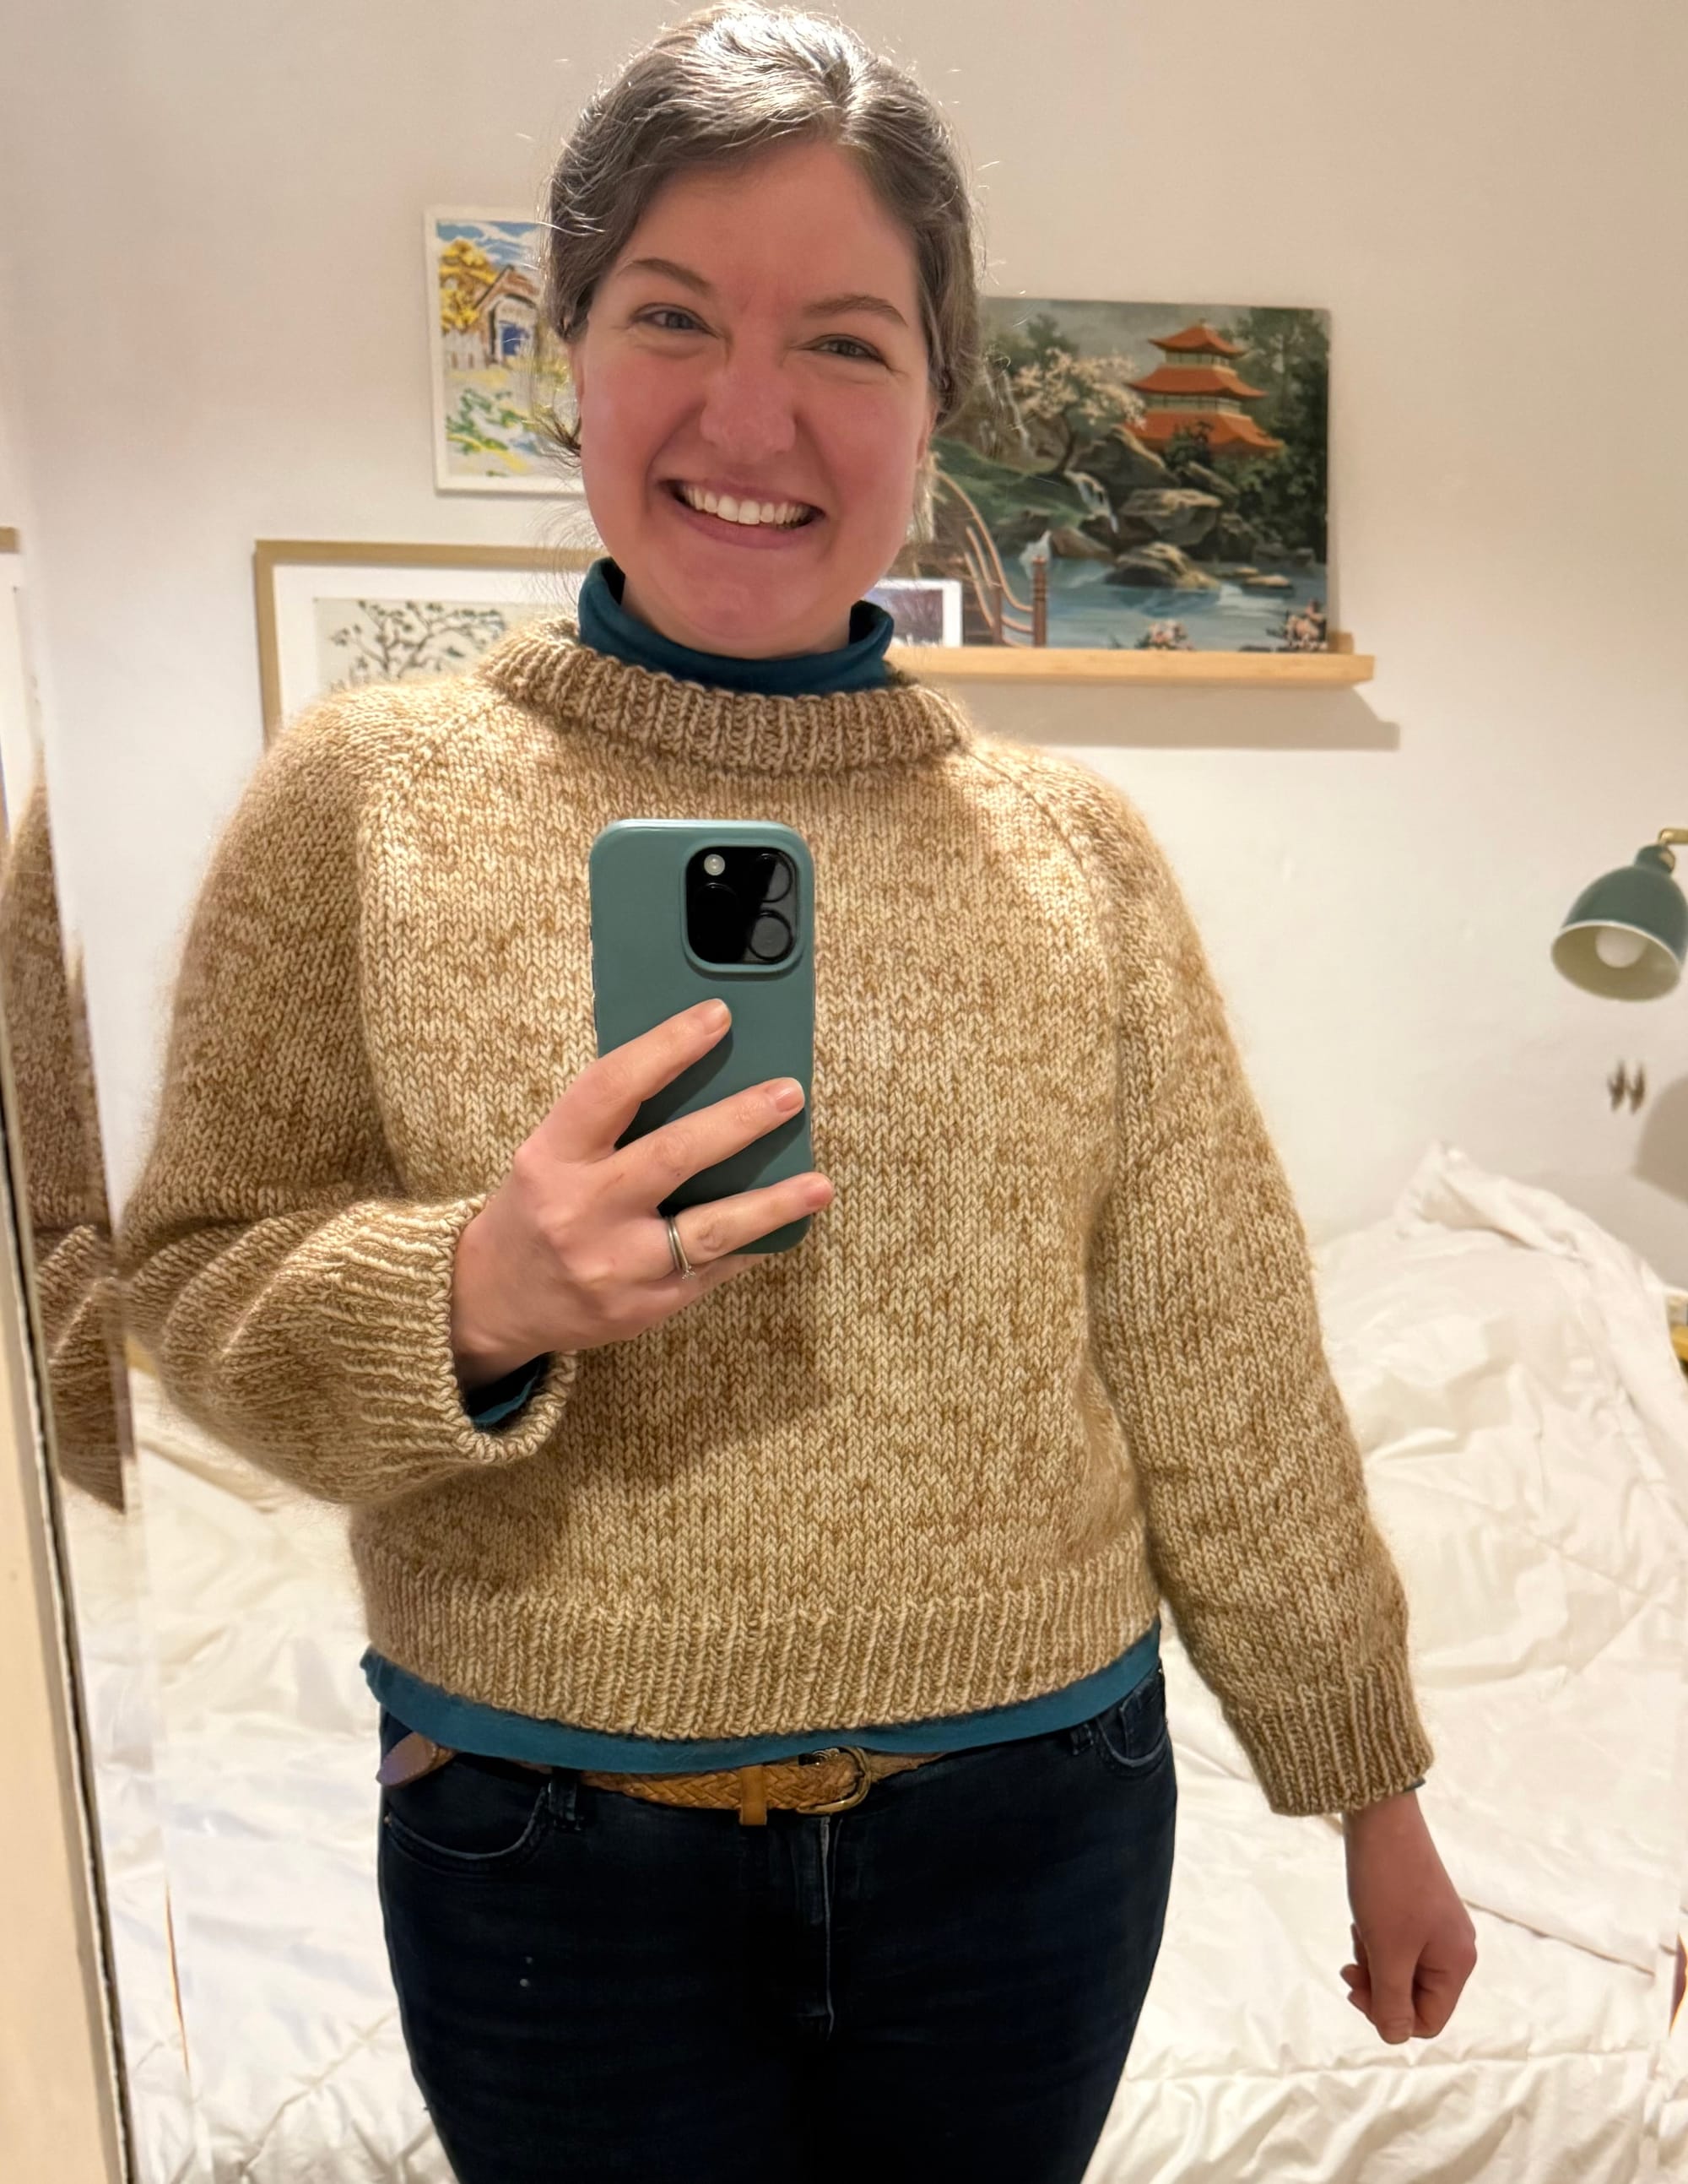
Blocked and completely finished! The only sweater I'll be wearing until warmer weather arrives.
I could not be happier with the finished sweater!
Comments ()