A knit coif cap
Quick project details
Cast on: 7 February
Bind off: 12 February
Yarn: Down the Allotment DK Limited Edition by John Arbon Mills in the colourway Tea and Biscuits.
Needles: 3.0 mm double pointed needles
Pattern: A Coif Cap from The Typical Tailor book
The background and a little bit of research:
I've made so many medieval linen coif caps over the last few years since I've been in the SCA. I always wear one when I'm in garb to cover my hair. In my opinion, a head covering really does a lot to enhance a silhouette and give the wearer a much more historical appearance. I have sewn a few linen coif caps for myself. I've given several away as gifts. I've sold many more at my market stalls and for commissions. And, I even taught a class about how to sew your own at last year's Strawberry Raid, our summer SCA camping event in Ireland. Coif caps come in many shapes. I prefer the St. Brigitta's style cap for my 14th century ensembles, but I also wear a Tudor style version when I wear 16th century garb.
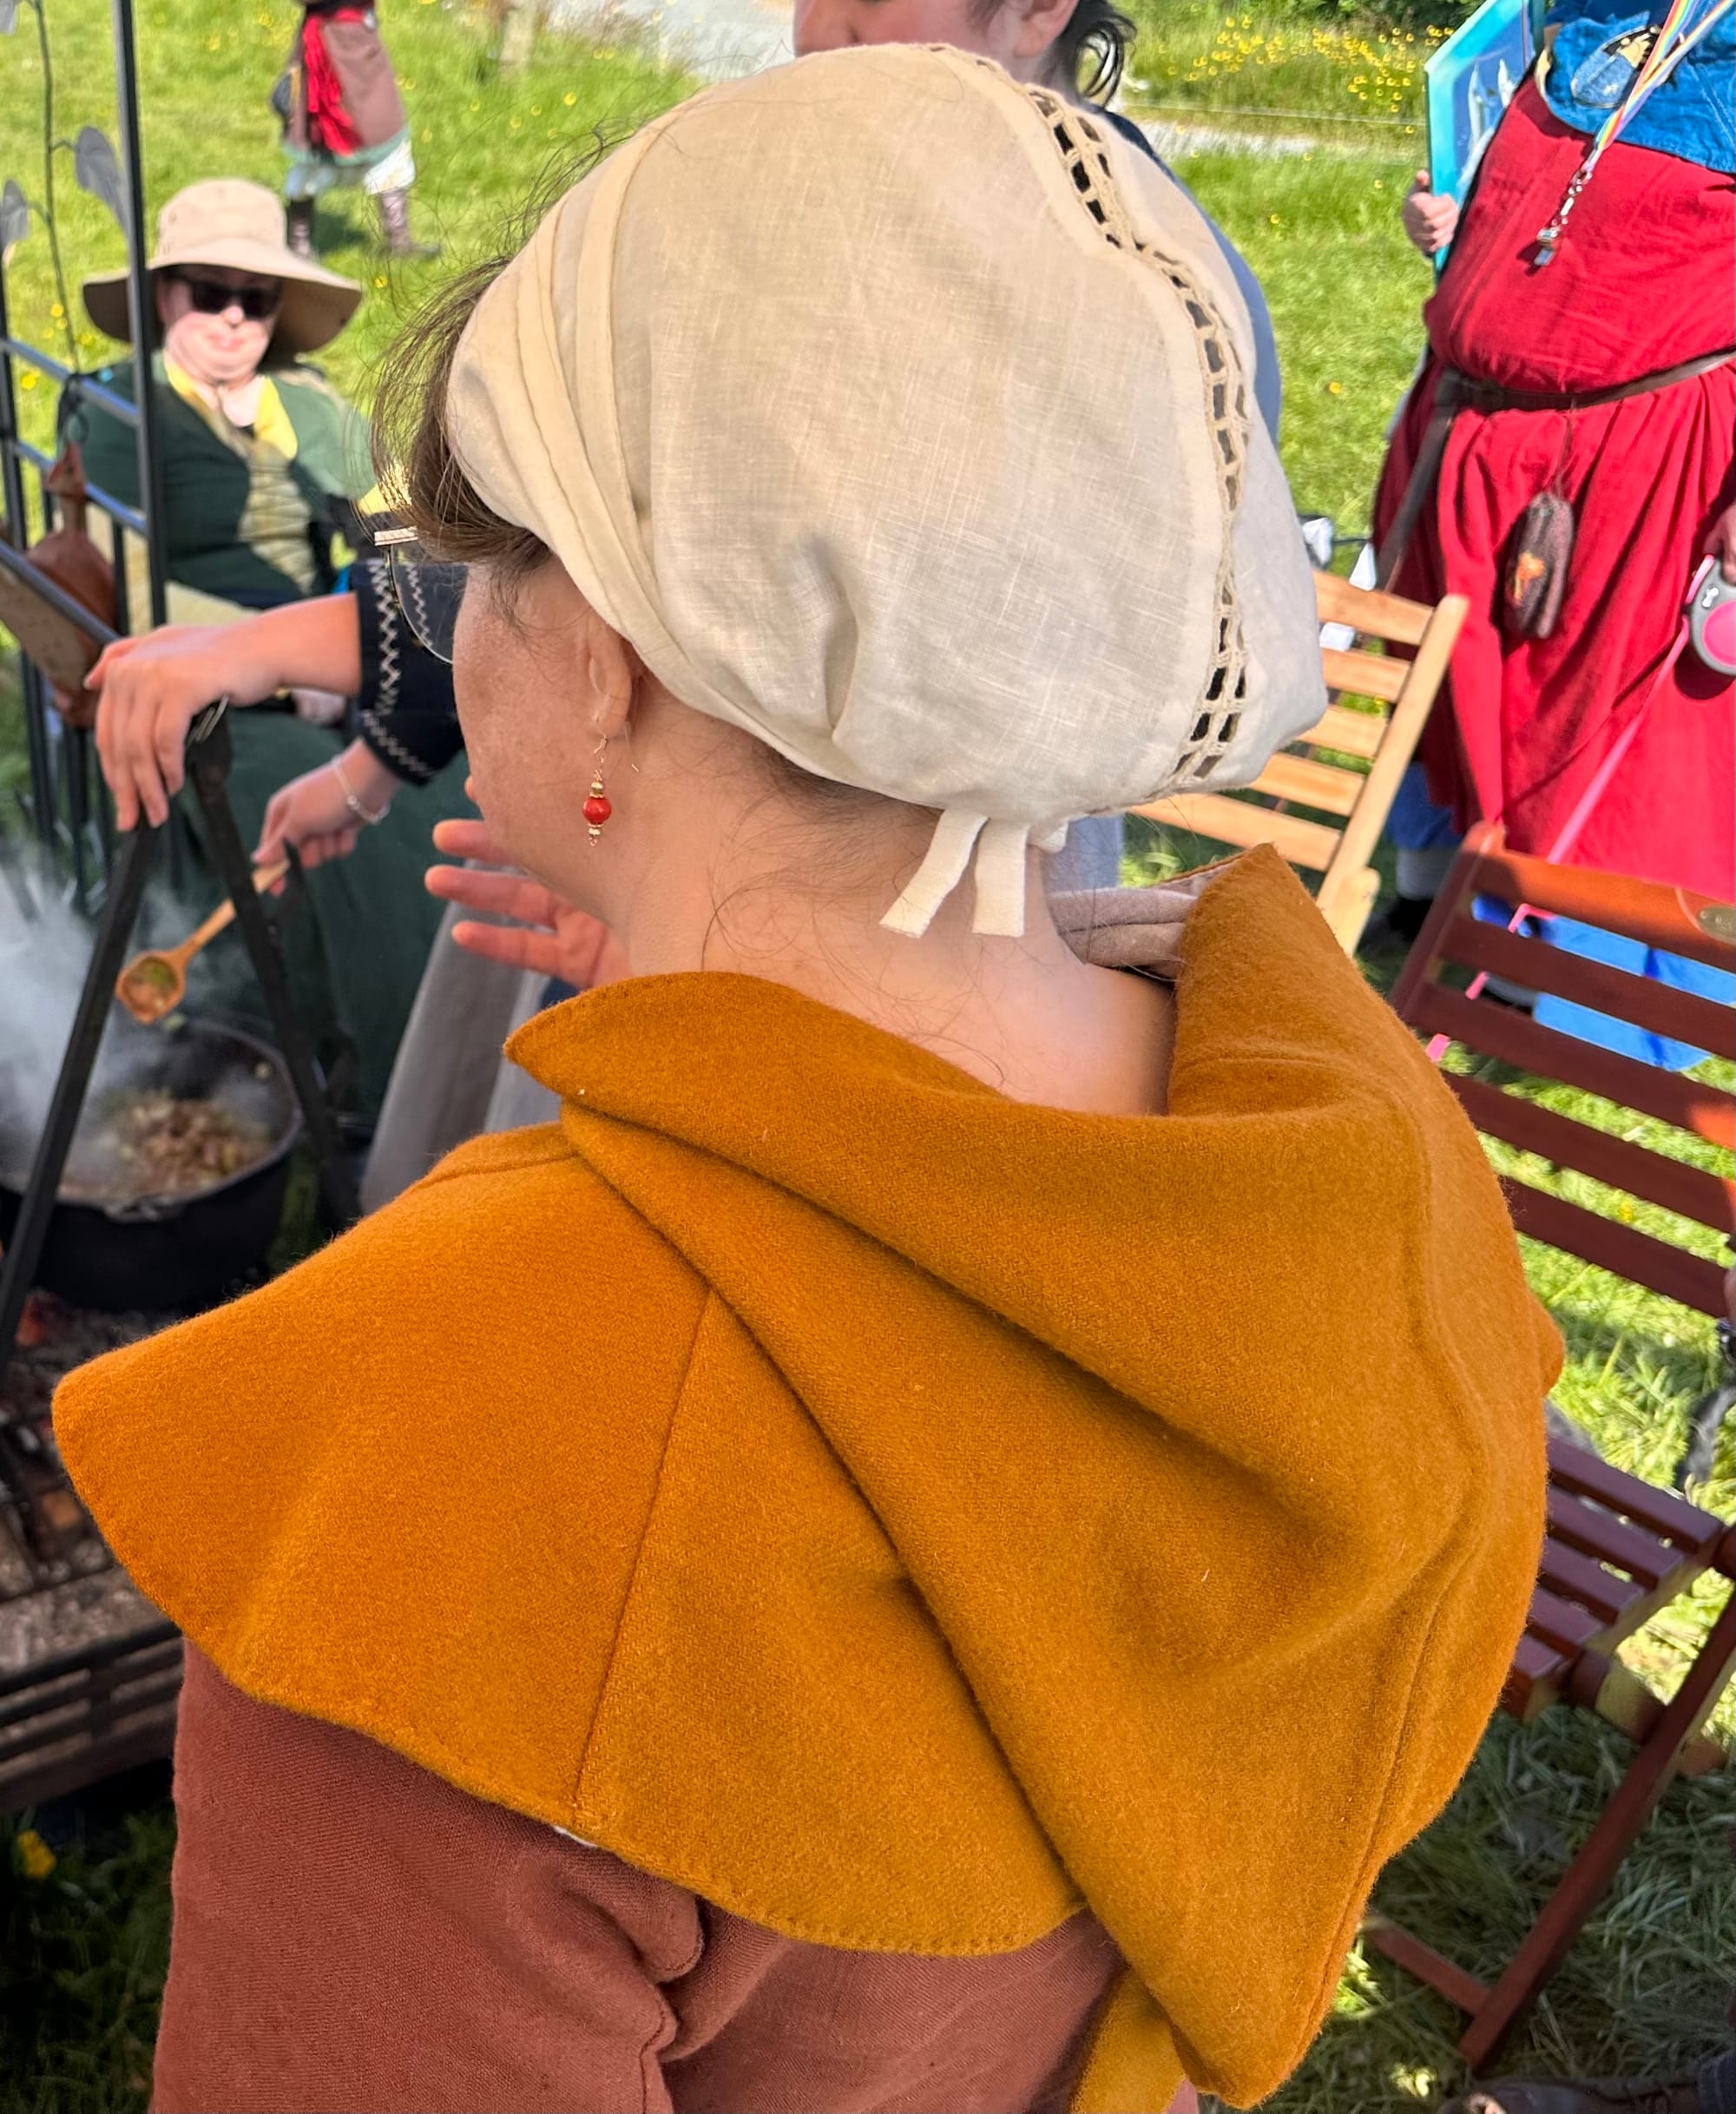
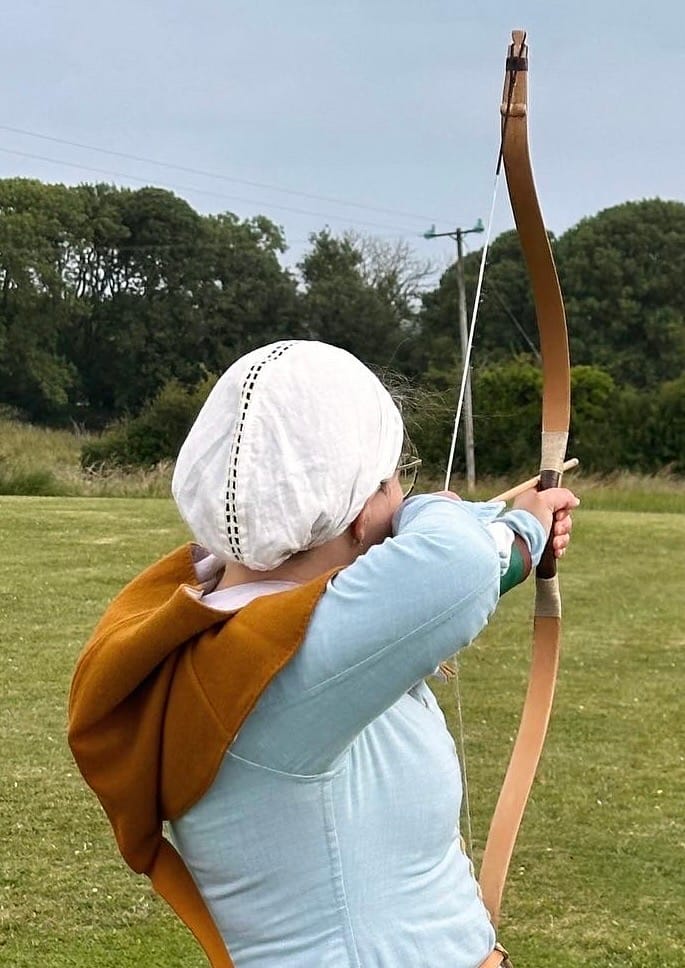
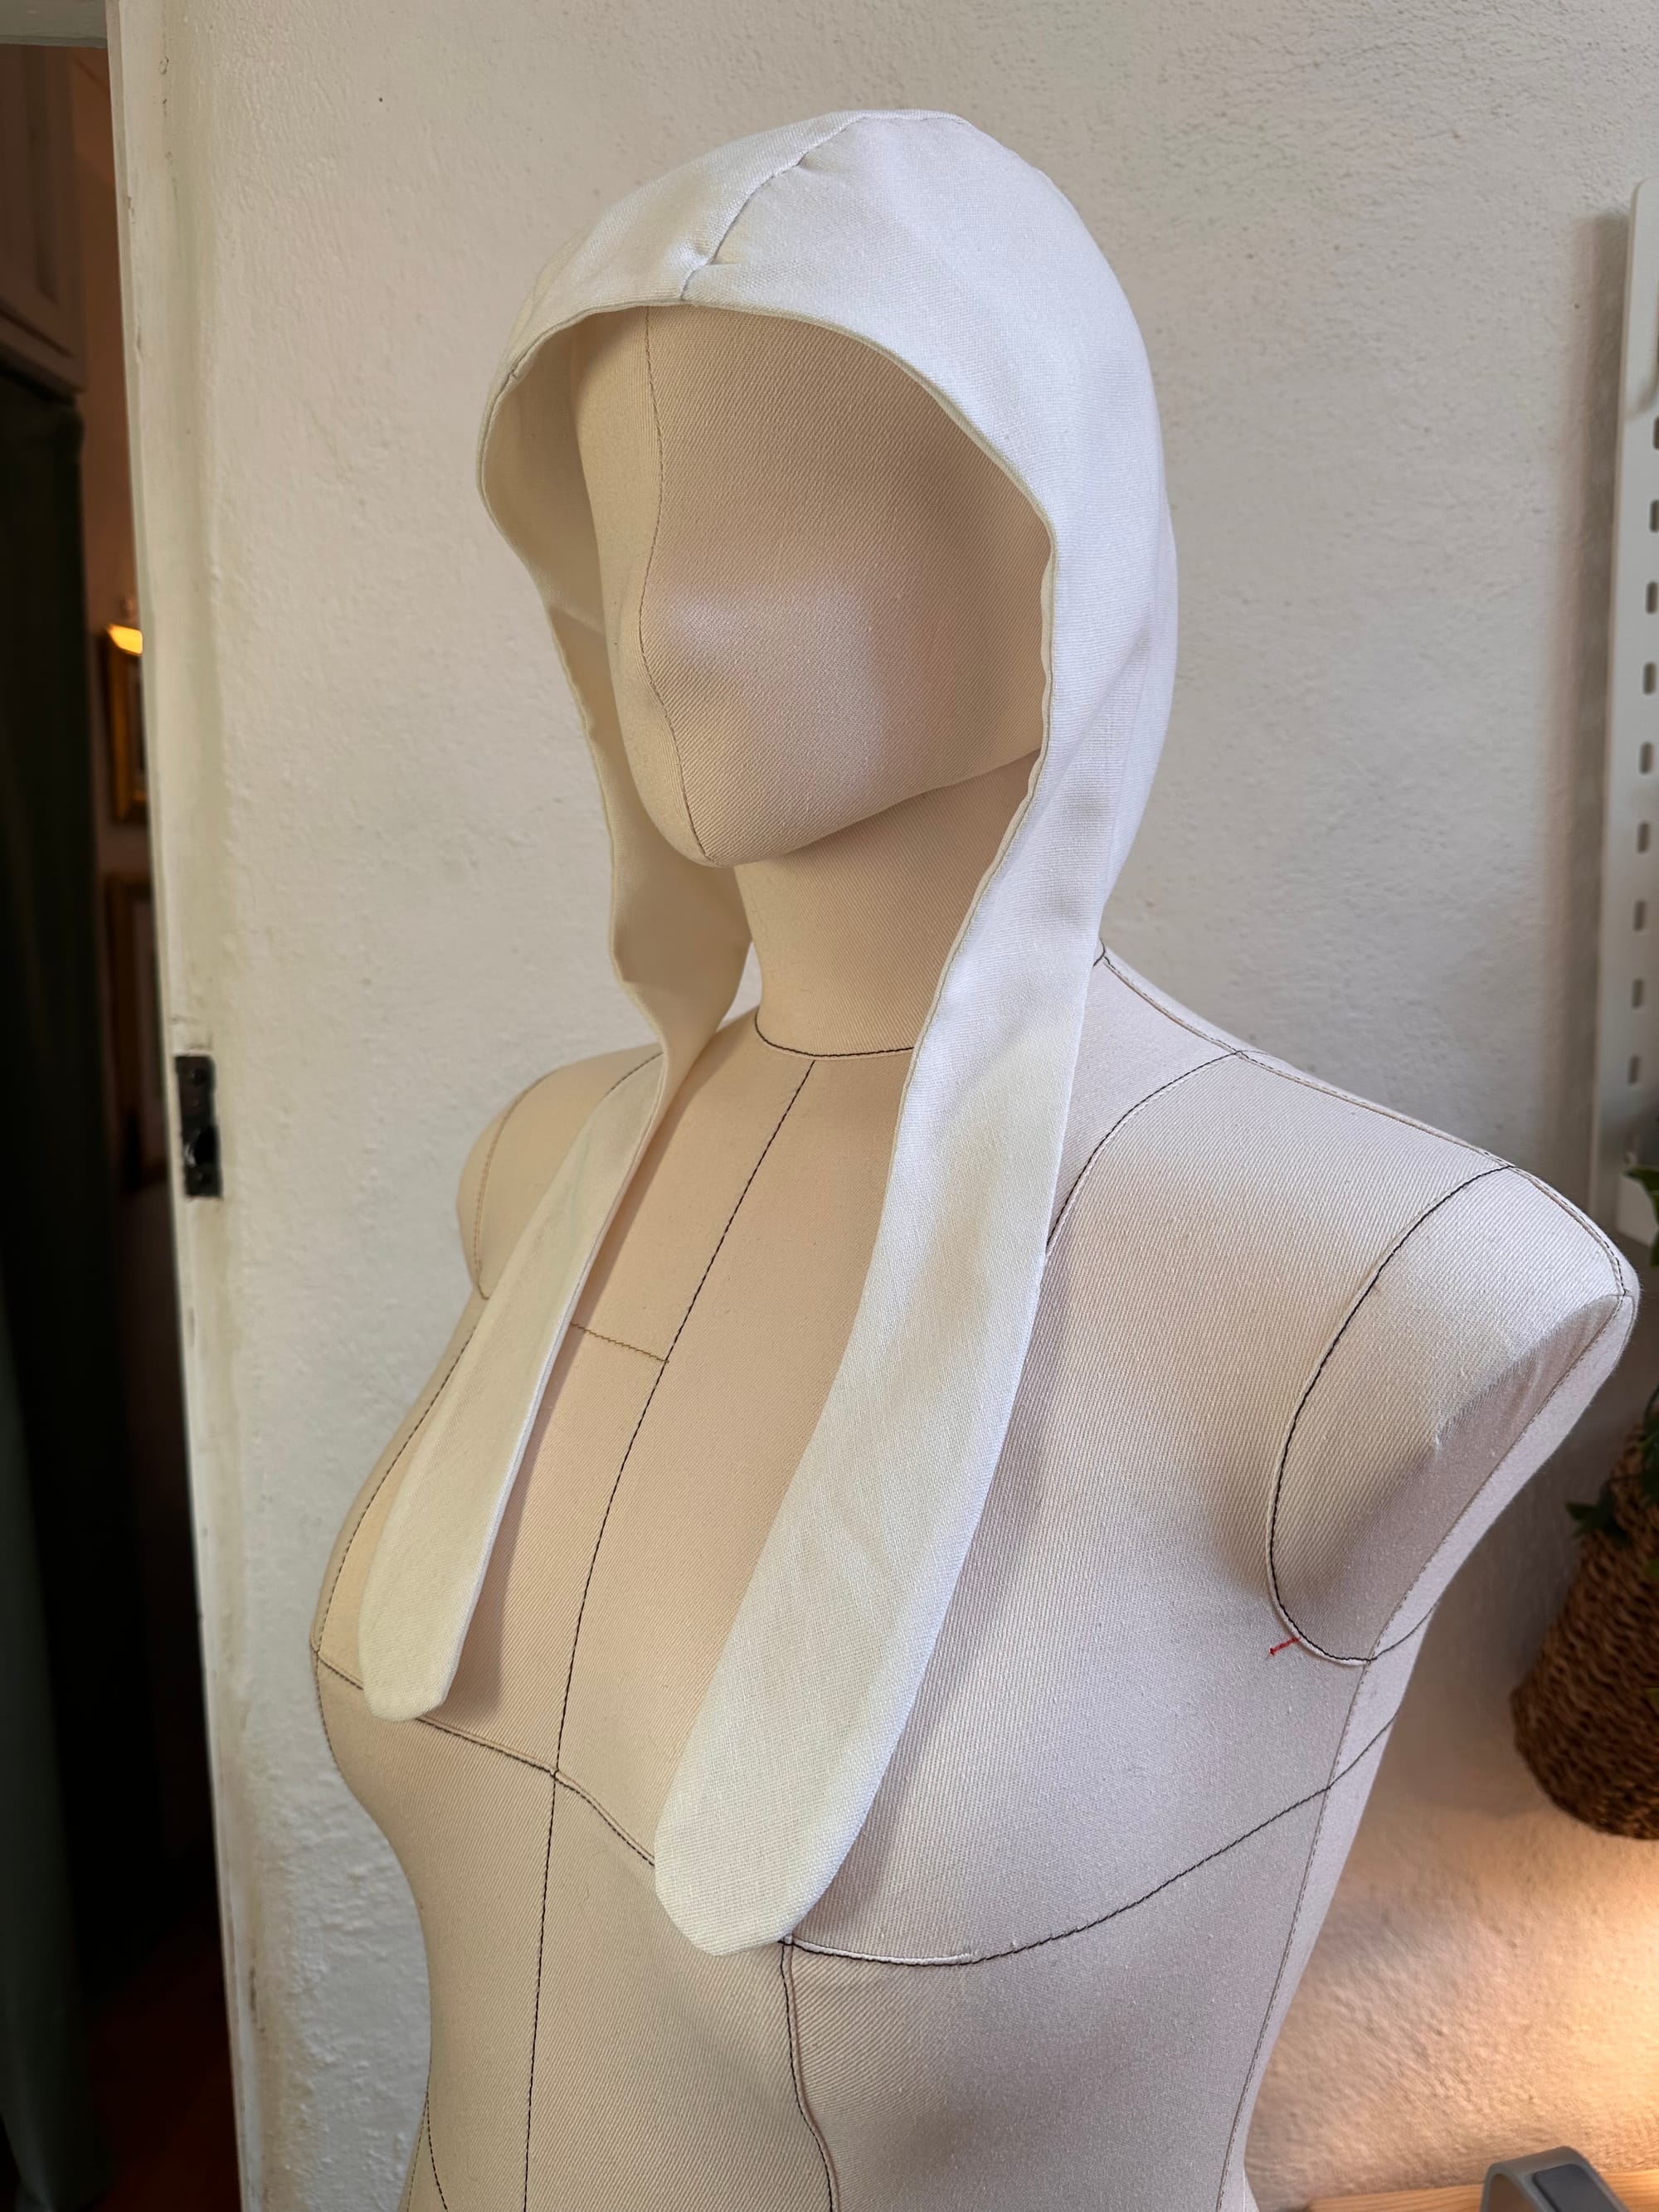
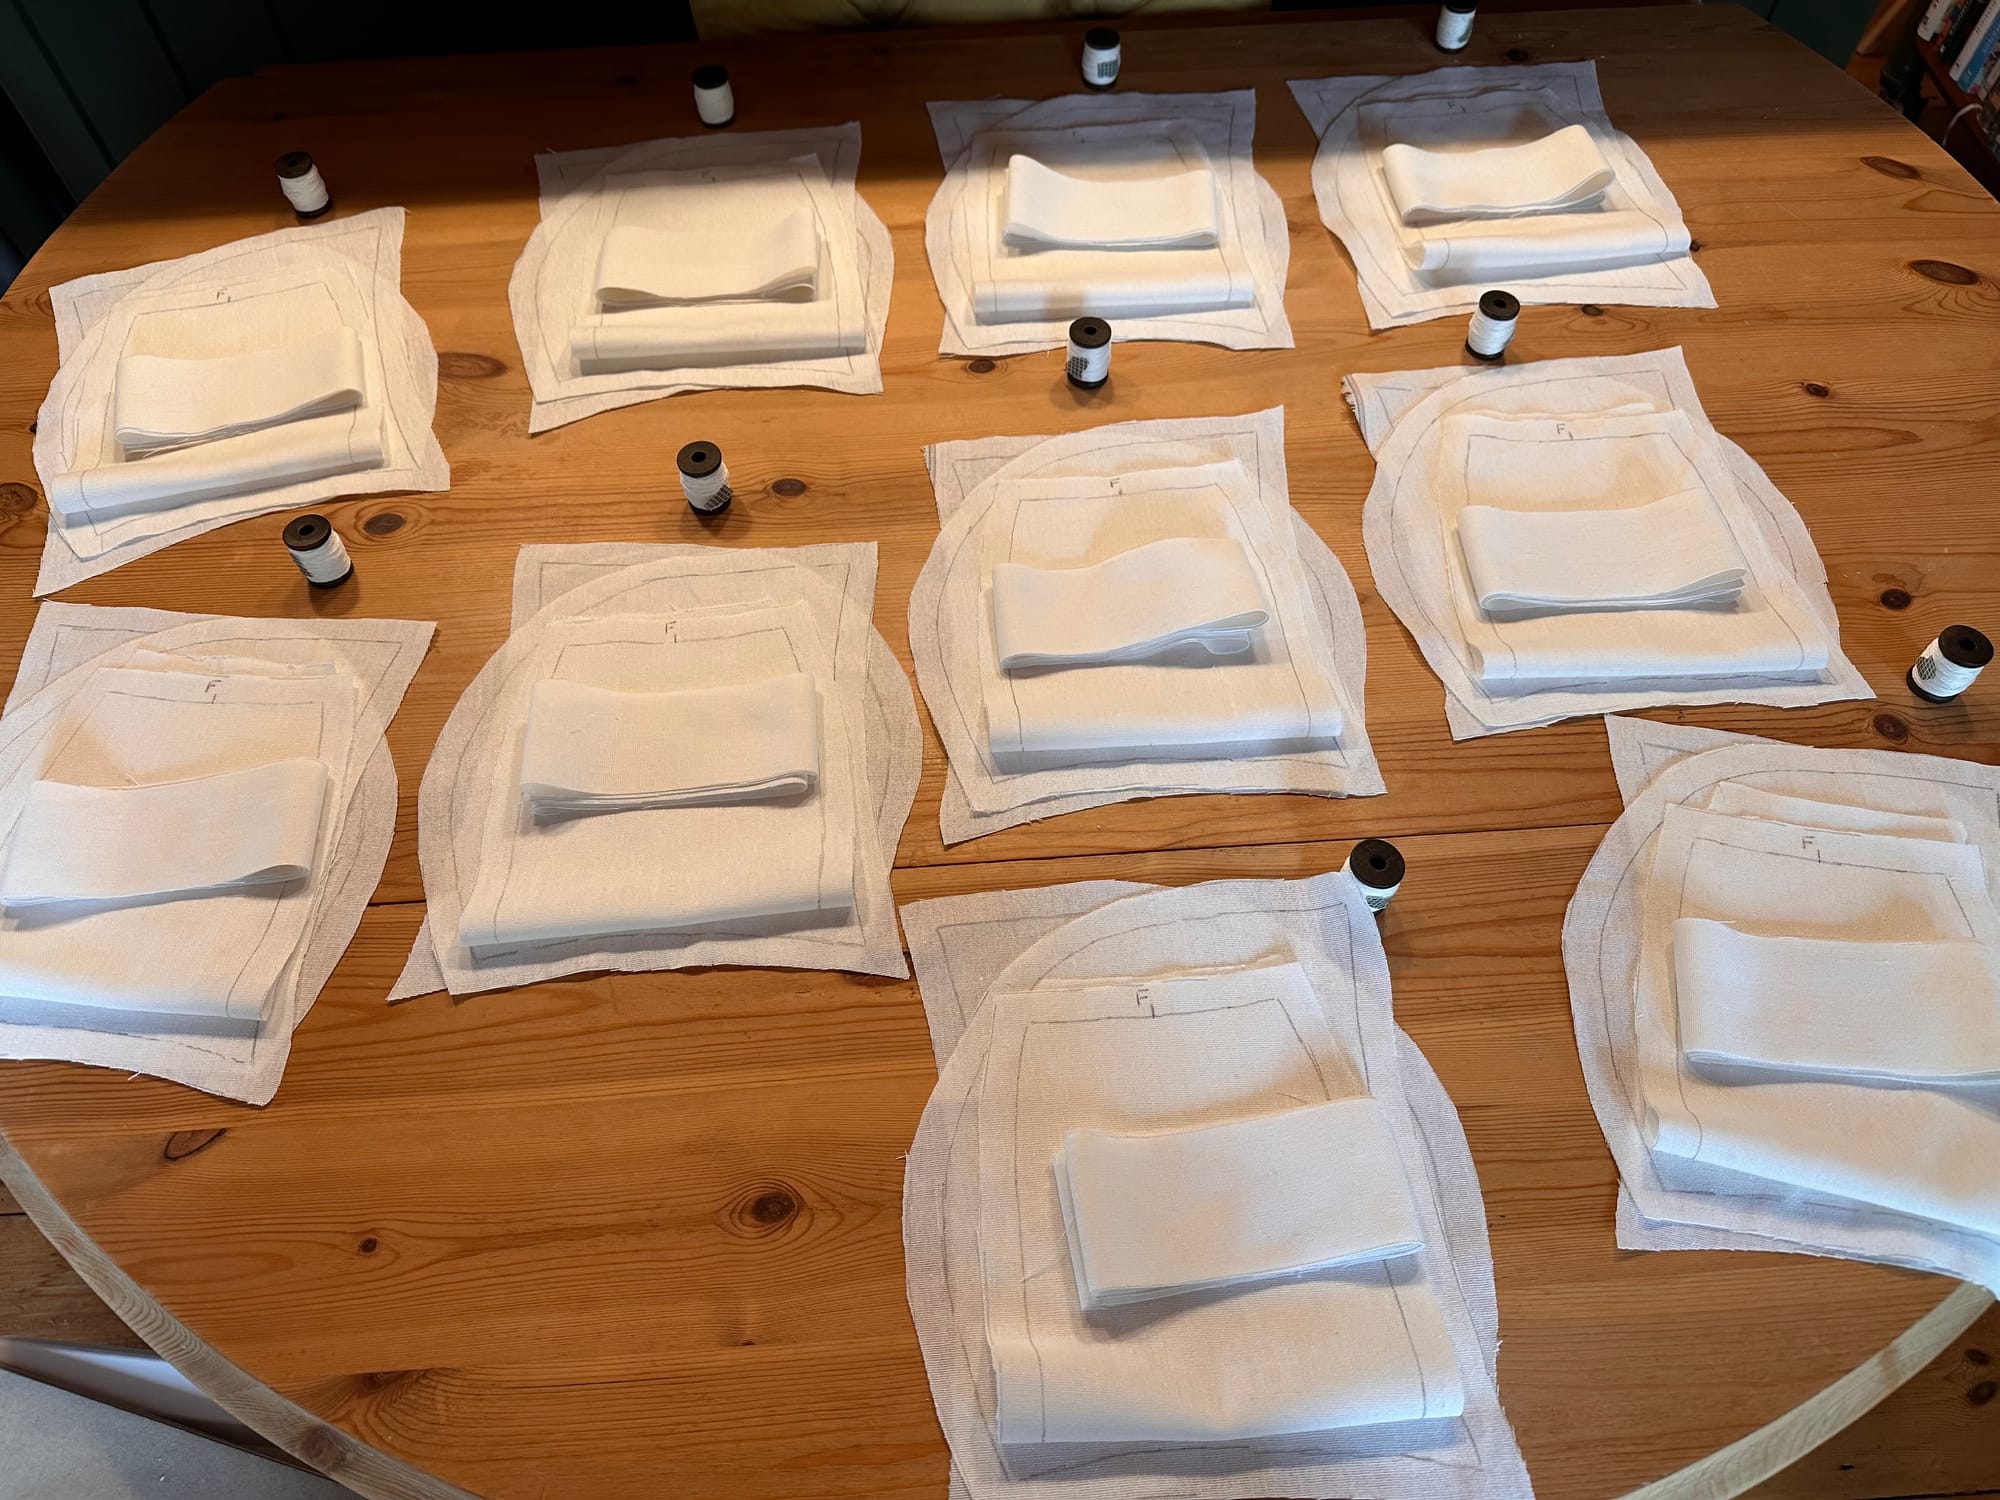
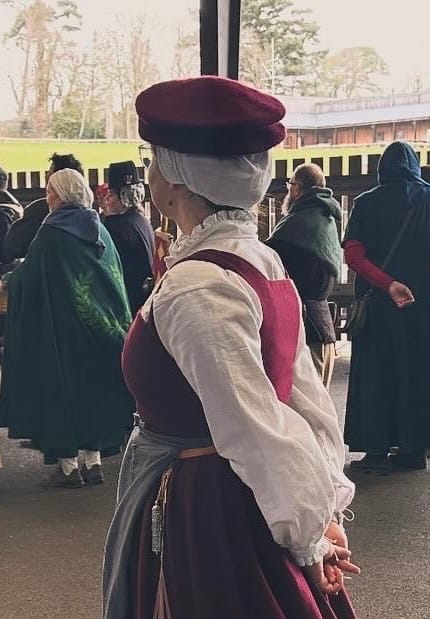
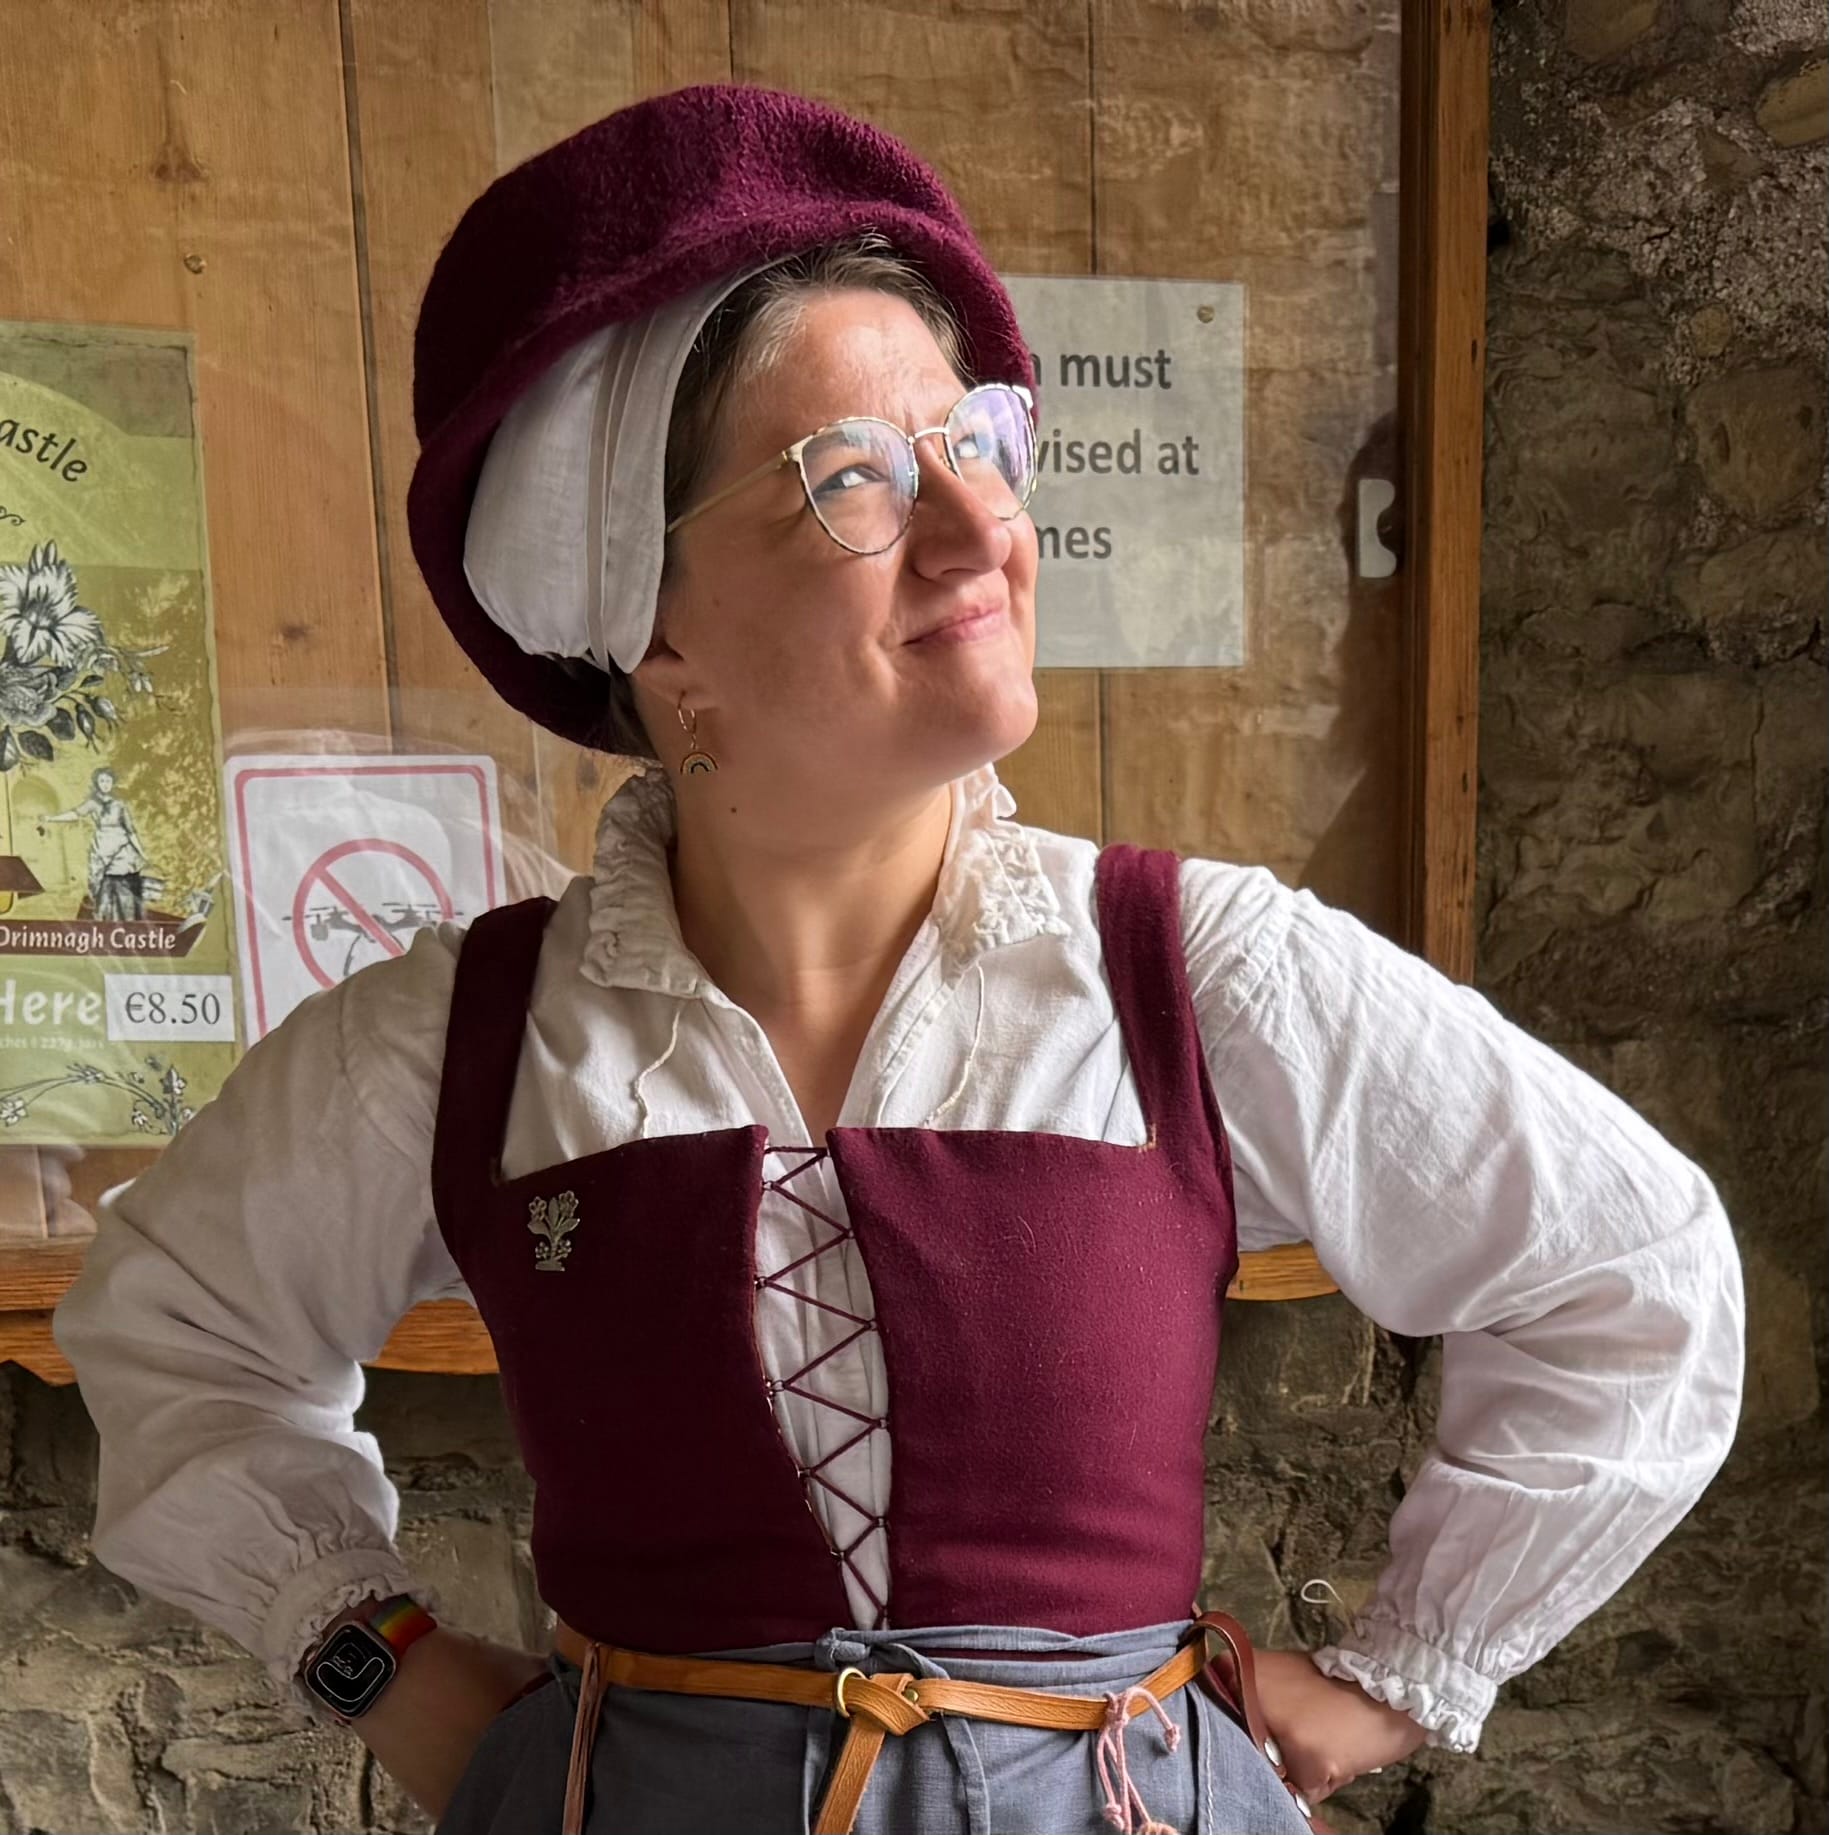
A small selection of the linen coifs I've made since joining the SCA. First two pictures are my St. Brigitta's style cap. Pictures 3,4, and 5 are coifs I've made for commissions. Picture 6 is the set-up I did to make coif sewing kits for people taking my class at Strawberry Raid last year. 7-8 show my Tudor style coif under my red knit cap.
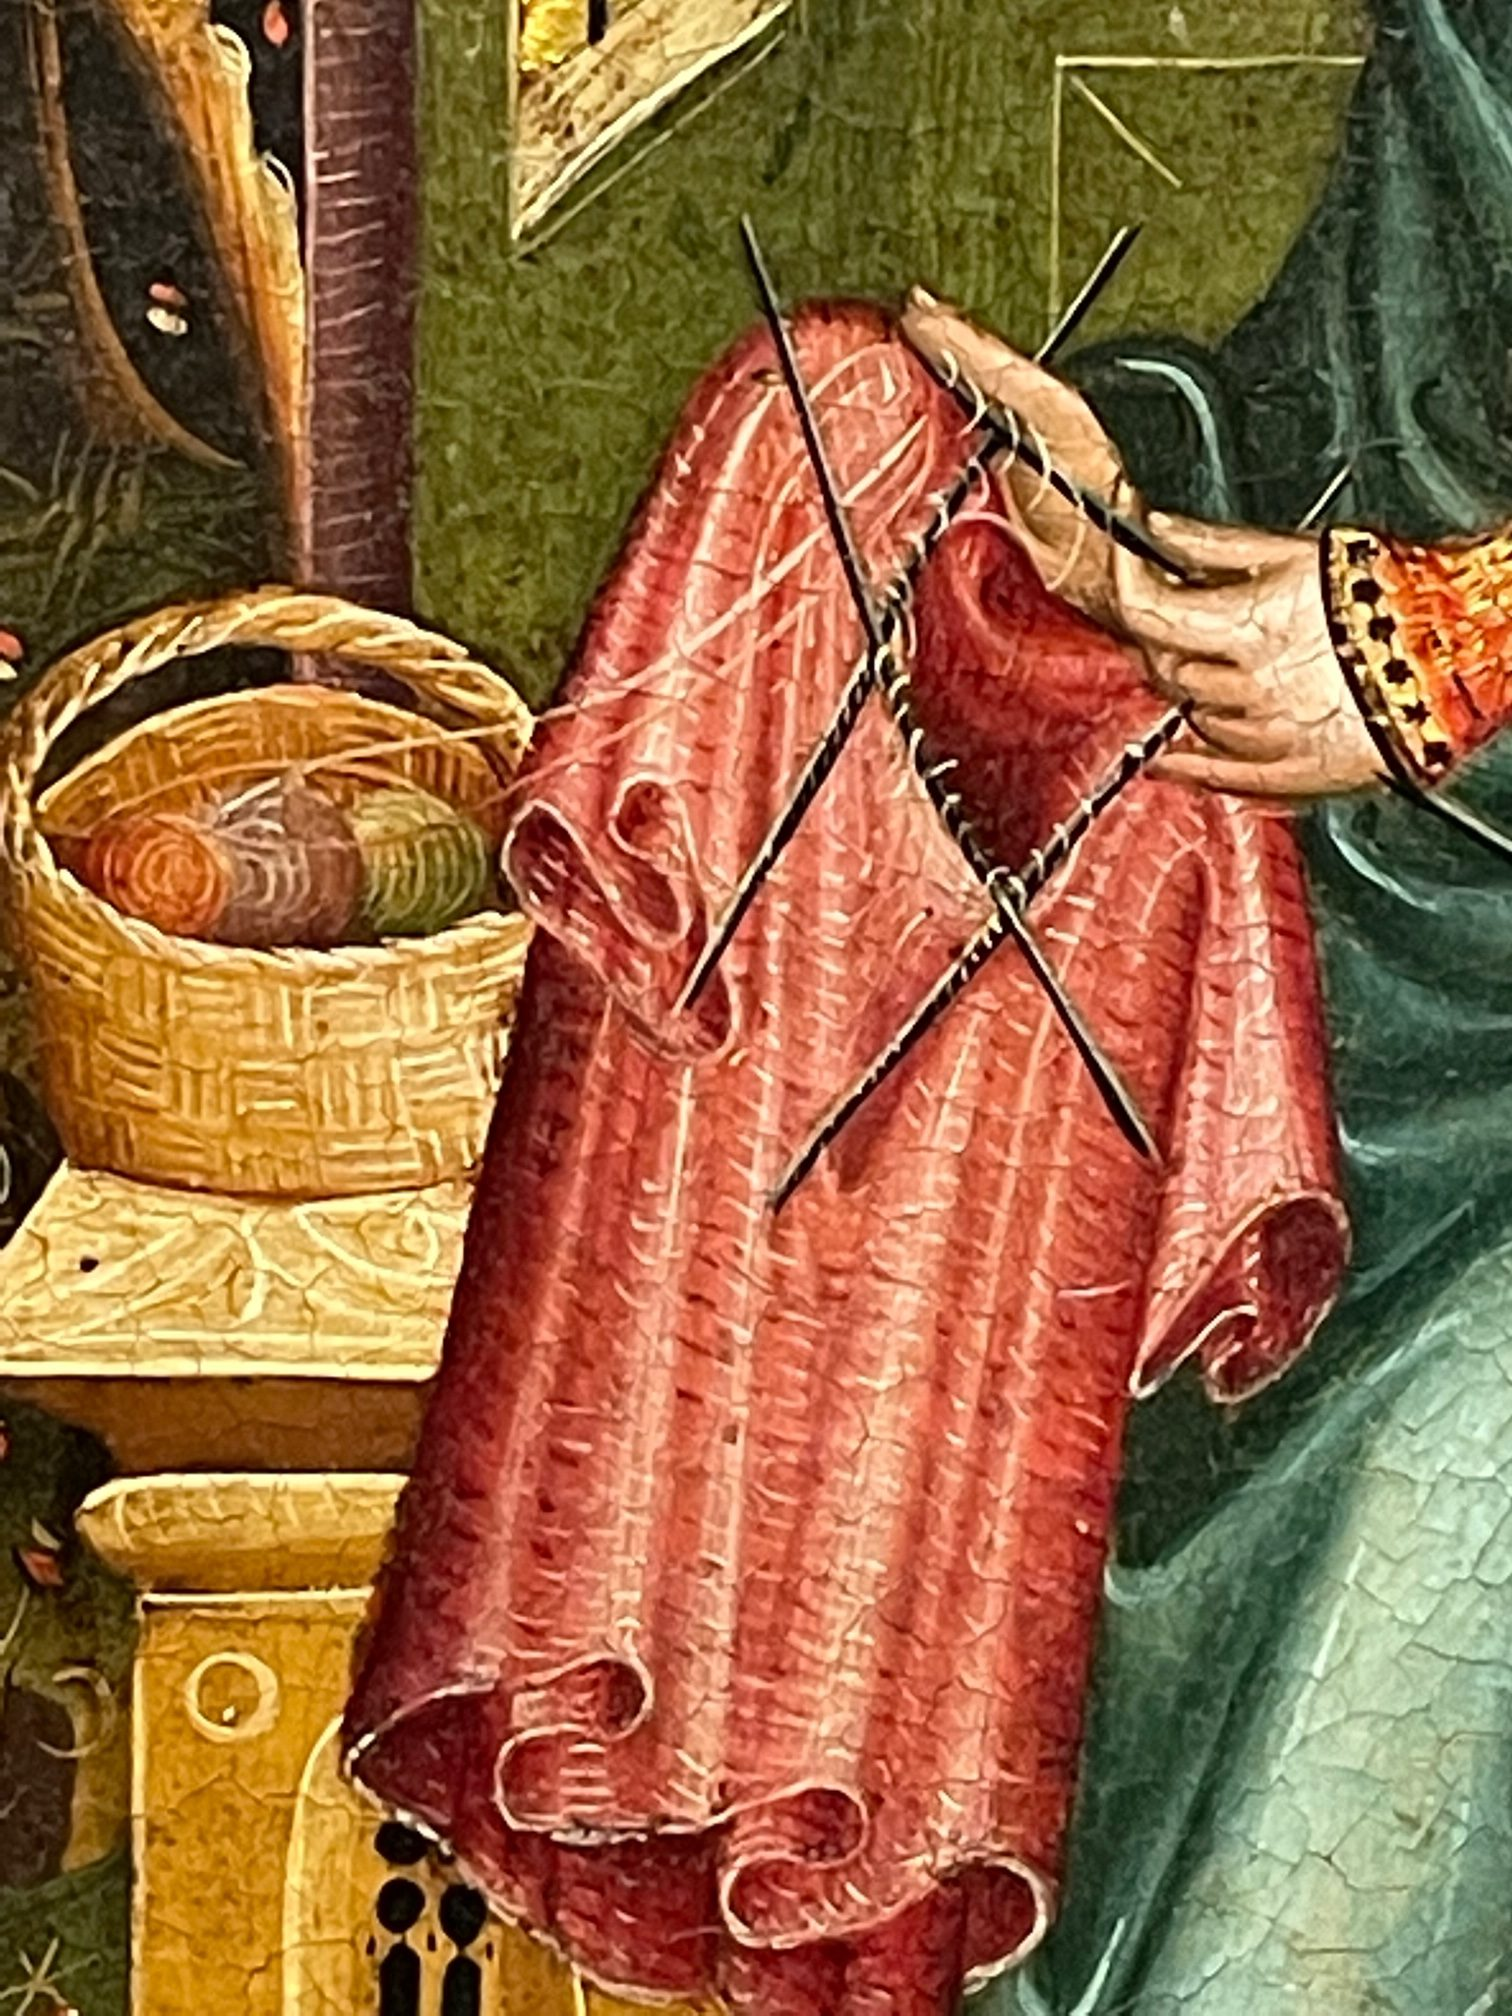
Now that I'm currently smitten with knitting, I wanted to work on a small knitting project that would be historical, easily transportable to arts and sciences gatherings and events, and something that I would like to wear with my garb when it was finished. A knitted coif would fit these requirements perfectly, and be a warm head covering for winter events. However, when a lot of people think about knitting they automatically classify it in their heads as a more modern craft, something that would be out of place in medieval times. But, knitting is much older than we often think, dating back to at least the 11th century. As you start to look for knitting in medieval paintings, you will find evidence of it everywhere. A whole genre of paintings from the 14th century, called the Knitting Madonnas, features the Virgin Mary knitting in the round on double pointed needles.
I have the book ''The Typical Tudor' by Jane Malcolm-Davies and Ninya Mikhaila, and within it there are a few interesting knitting patterns. I have used this book for a lot of my Tudor garb. The instructions are clear, the patterns are well-researched and documented, and there are helpful guidelines about historical materials, colours, and sewing techniques for each project. My Tudor linen coif, smock, kirtle, and apron are all loosely based off of patterns found in this book. I am delighted to be able to start trying out the knitting patterns too.
I decided to start with 'a coif cap', a knitting pattern found in the book. There is a sources section for each pattern in the book, and it's a wonderfully simple way to find the surviving historical pieces that the book is helping you to recreate. Aside from just looking at the surviving pieces, it's nice to get a sense of the colours that were historically used, shapes, and knitting techniques, and also how these items were worn by people of the time. Among the sources referenced are several knitted coif caps in the Victoria and Albert Museum and another one in the Museum of London, all from the 16th century.


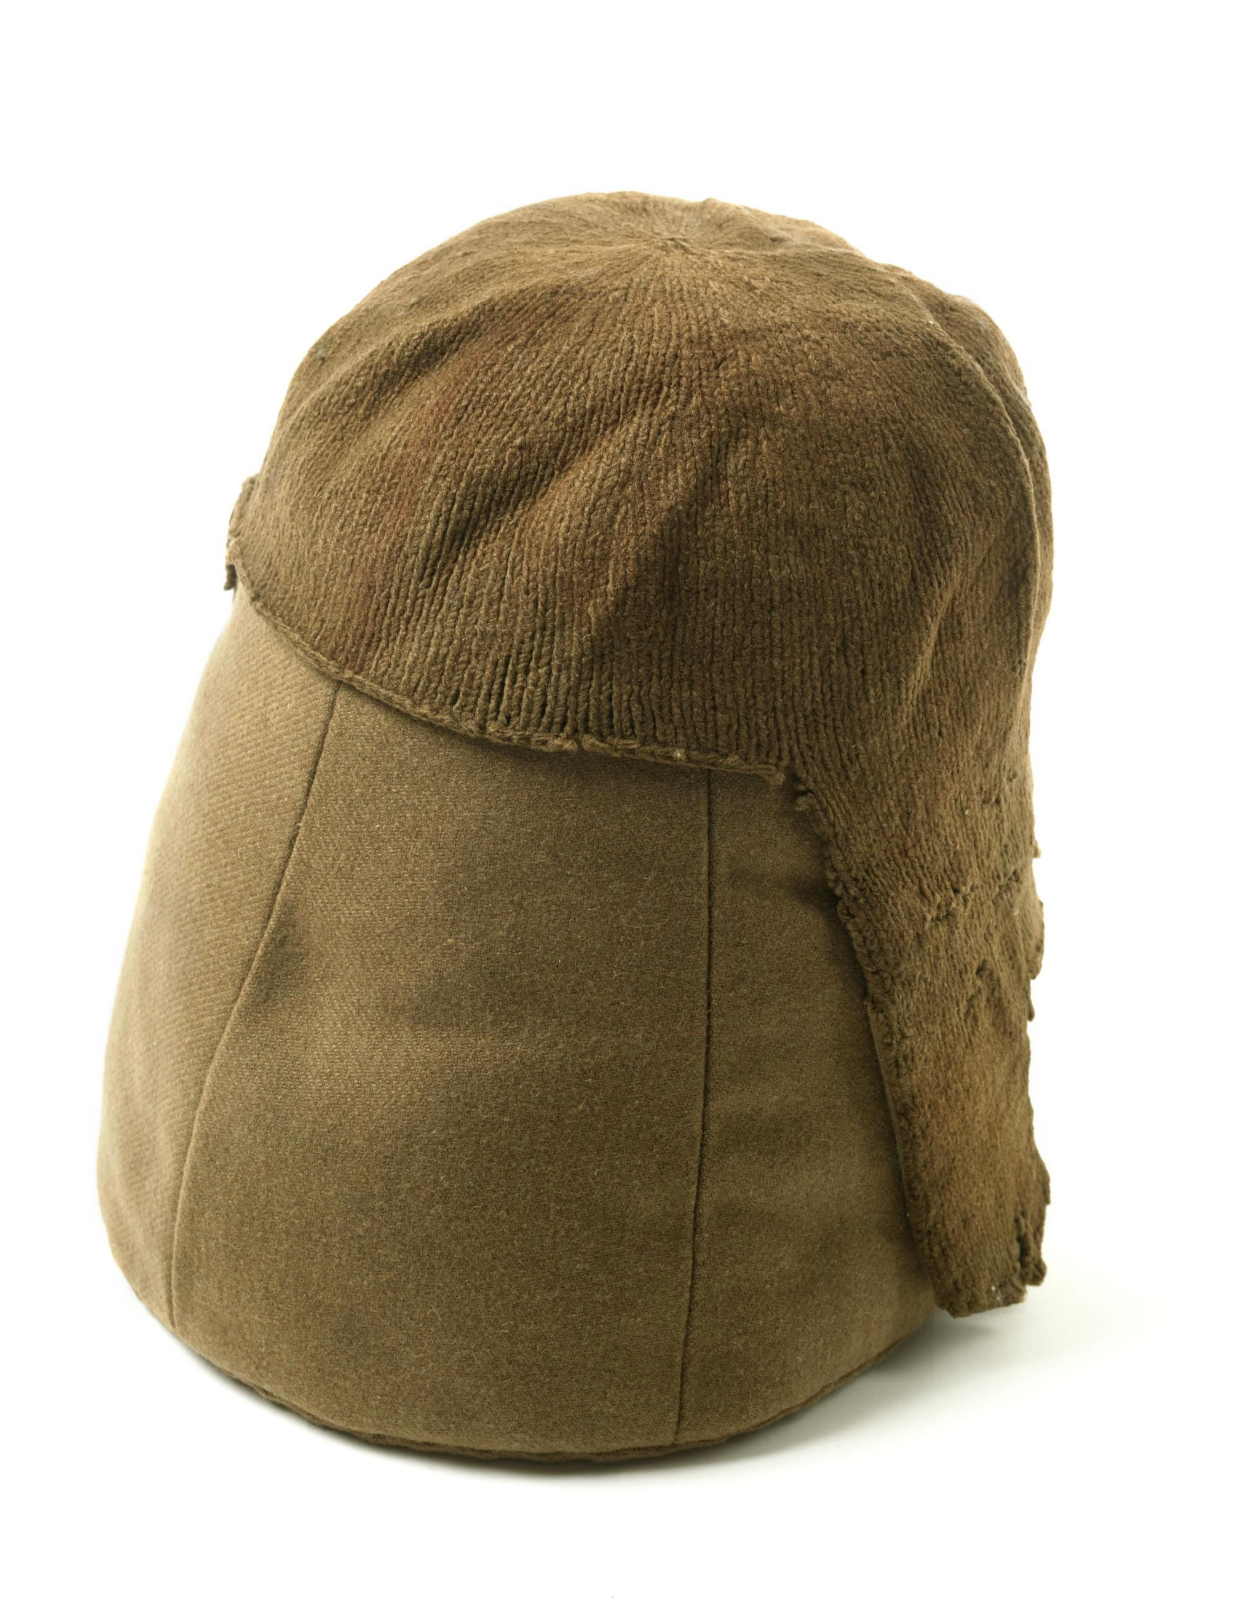
Left: Unknown creator, Knit cap. 1500-1550, wool, hand-knit, fulled. Victoria and Albert Museum, https://collections.vam.ac.uk/item/O124661/cap-unknown/. Middle: Unknown creator, Cap (Headgear). 16th century, wool, hand-knit, fulled. Victoria and Albert Museum, https://collections.vam.ac.uk/item/O368493/cap-headgear-unknown/ Right: Unknown creator, Cap, coif. 16th century, wool. Museum of London, Object ID A6339, https://www.londonmuseum.org.uk/collections/v/object-92170/cap-coif/.
Knitting the Coif:
The knit coif cap pattern in the book calls for a DK weight yarn in a wool that has not been treated to be machine washable. You need to be able to lightly felt the finished product after you finish knitting it, and a superwash wool would never be able to achieve that finish. I had some John Arbon Mills DK weight non -superwash wool in my stash, in a lovely brownish-yellow shade called 'Tea and Biscuits' that closely matched the colour of the sample coif in the book and some of the historical sources too. I especially like that it looks like a colour that I could have achieved with natural dyes, using a mix of alder cones or walnut leaves and weld.
I cast-on the project the evening before we went to our local arts and sciences gathering in Galway. This is the first time I have used double pointed needles, and I found them really tricky at the start. I kept twisting the work and loosing stitches. After many, many false starts and watching YouTube video tutorials for a long time, I finally got into a bit of a rhythm with them and started increasing. The next day, at the A&S gathering, I realized I had been increasing at the wrong rate and had to frog the progress I had made and start over from the beginning. It's all practice, right?
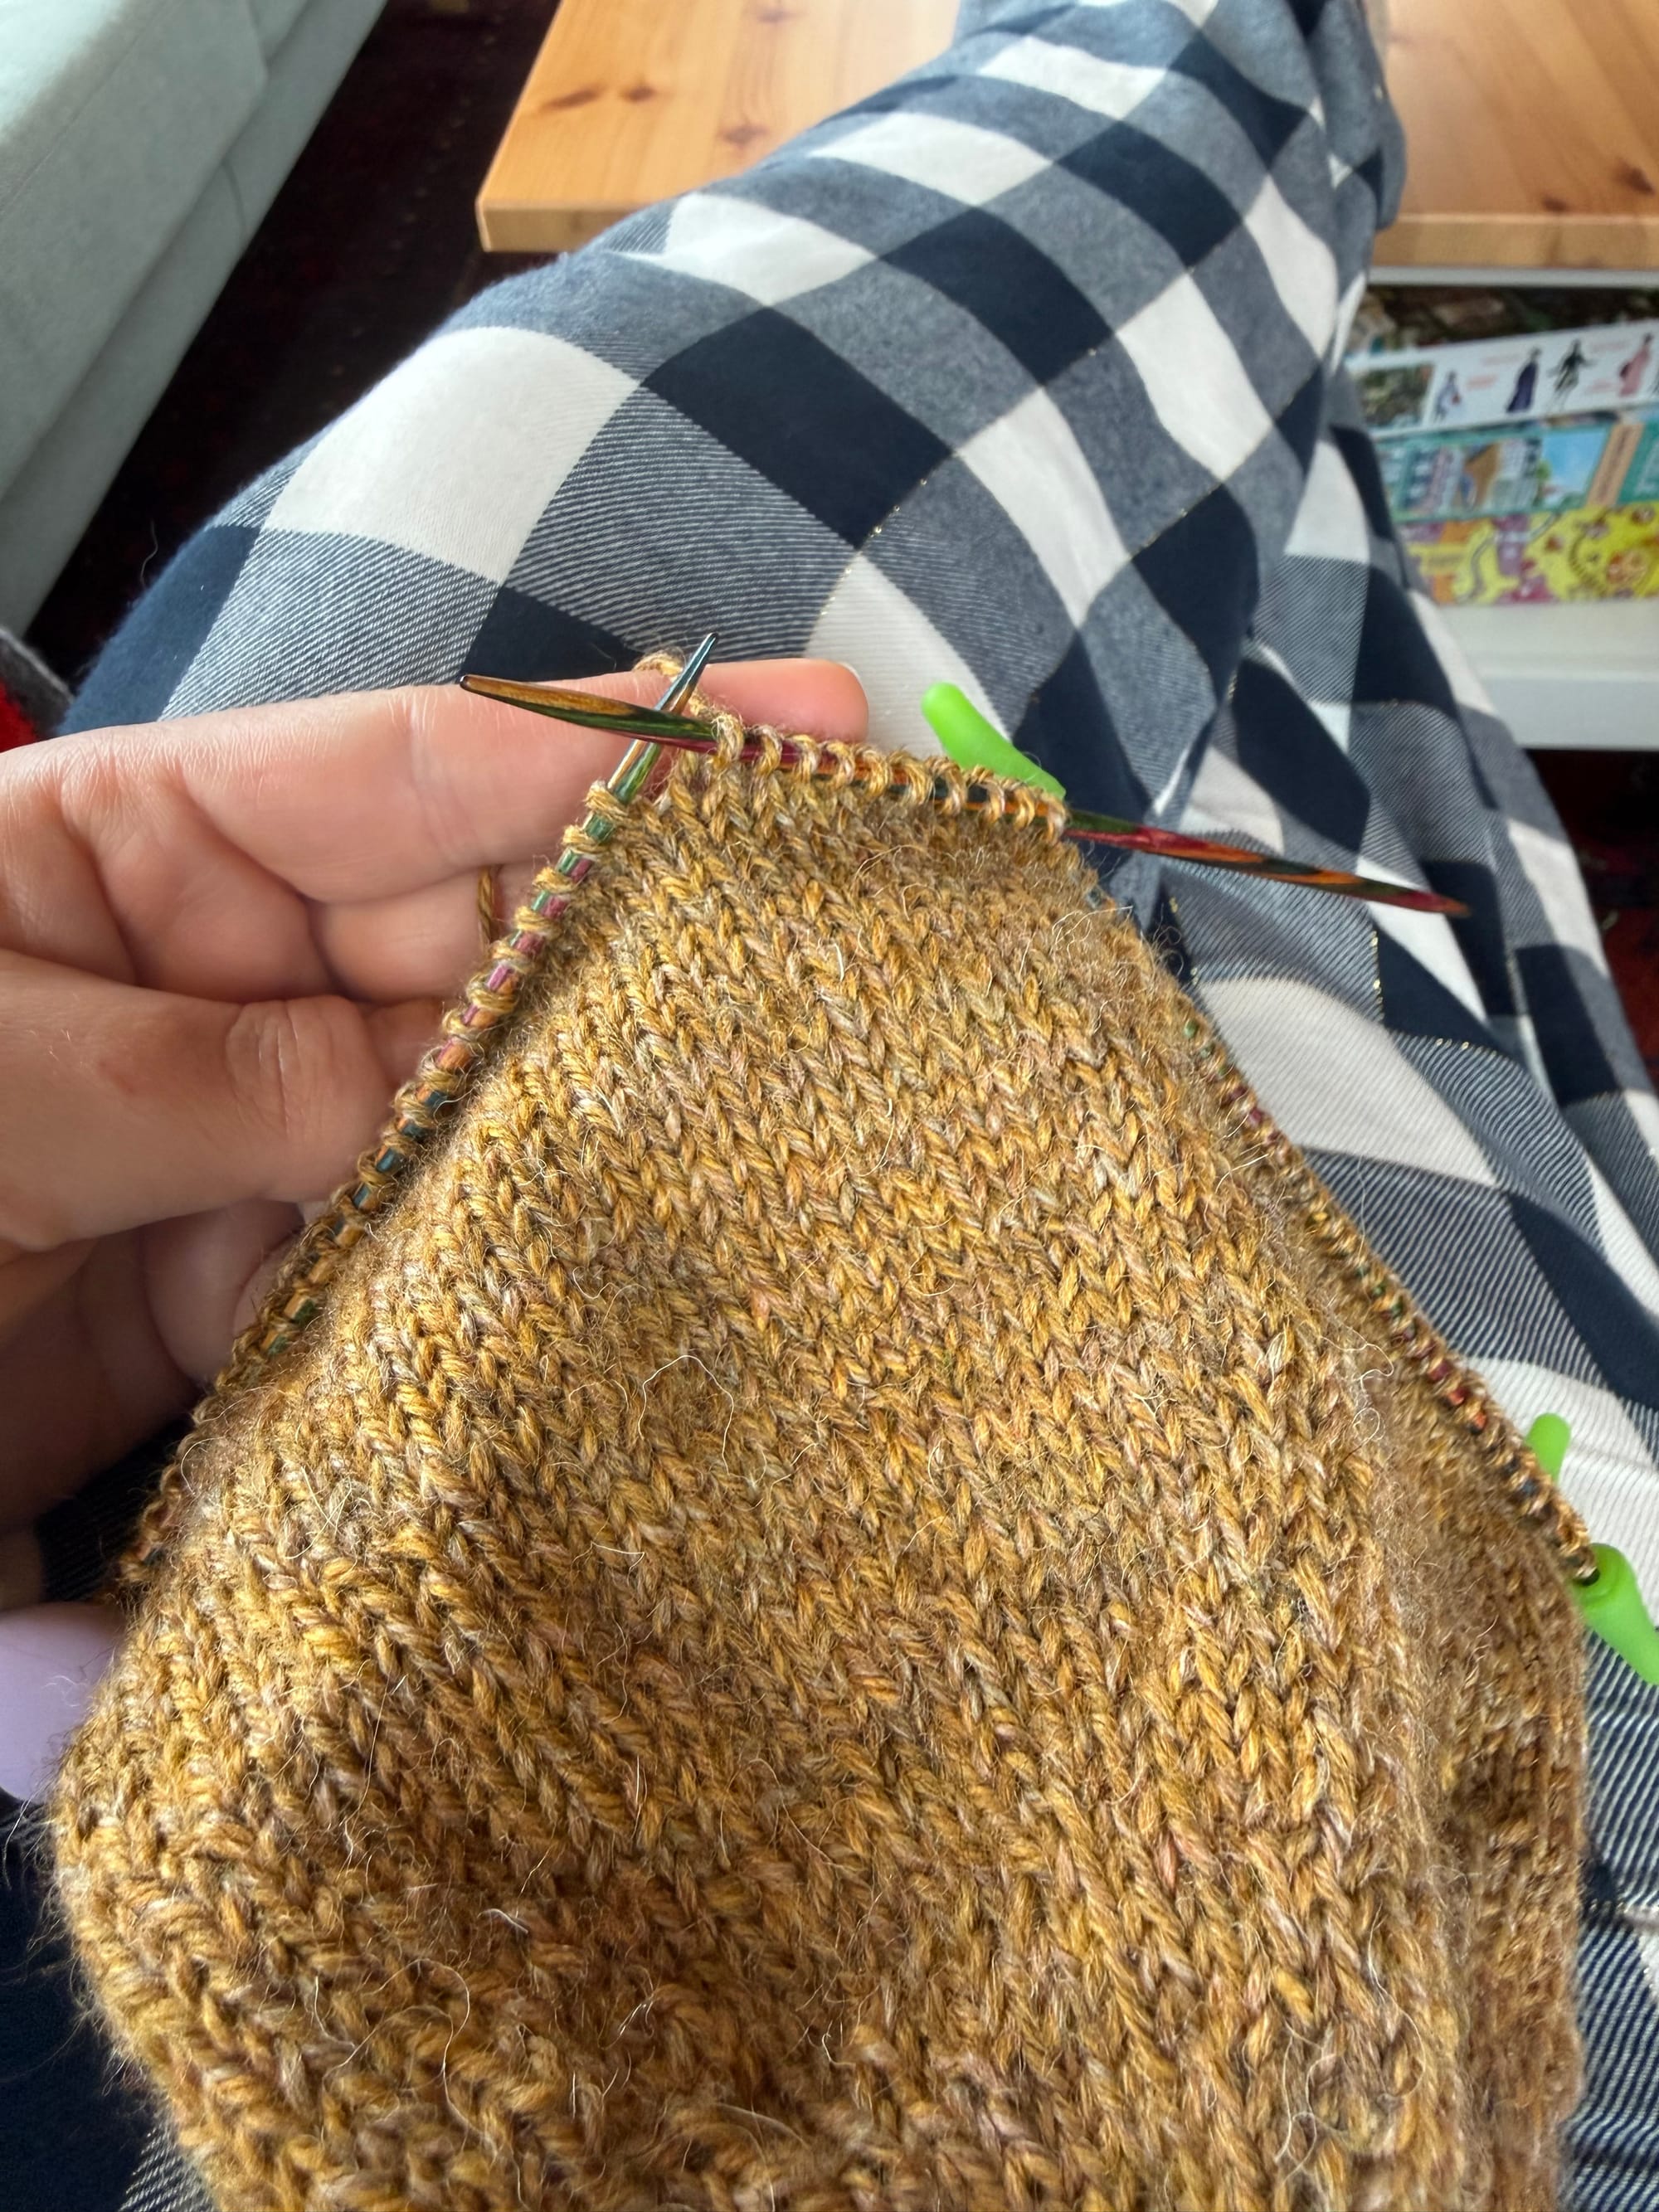
After that initial rocky start, I found that the cap knit up really quickly and easily. Caps are so much smaller and quicker to knit than long scarves and bulky sweaters! I flew through this project, working on it a little bit each day, including during a knit and chat hang out on Zoom with some friends. I think the project would have been even more enjoyable if I had been able to change to circular needles once I got past the initial tiny circle of stitches at the crown of the coif. These double pointed needles were the only needles I had in the required size of 3mm, so I stuck with them until the end, even when the pattern called for straight needles to knit back and forth across the back of the head. I've now ordered a set of 3mm interchangeable needles to go with the rest of my interchangeable set. I plan to make a few more of these coifs to give away to friends in the SCA, and I want the process to feel as straightforward as possible.
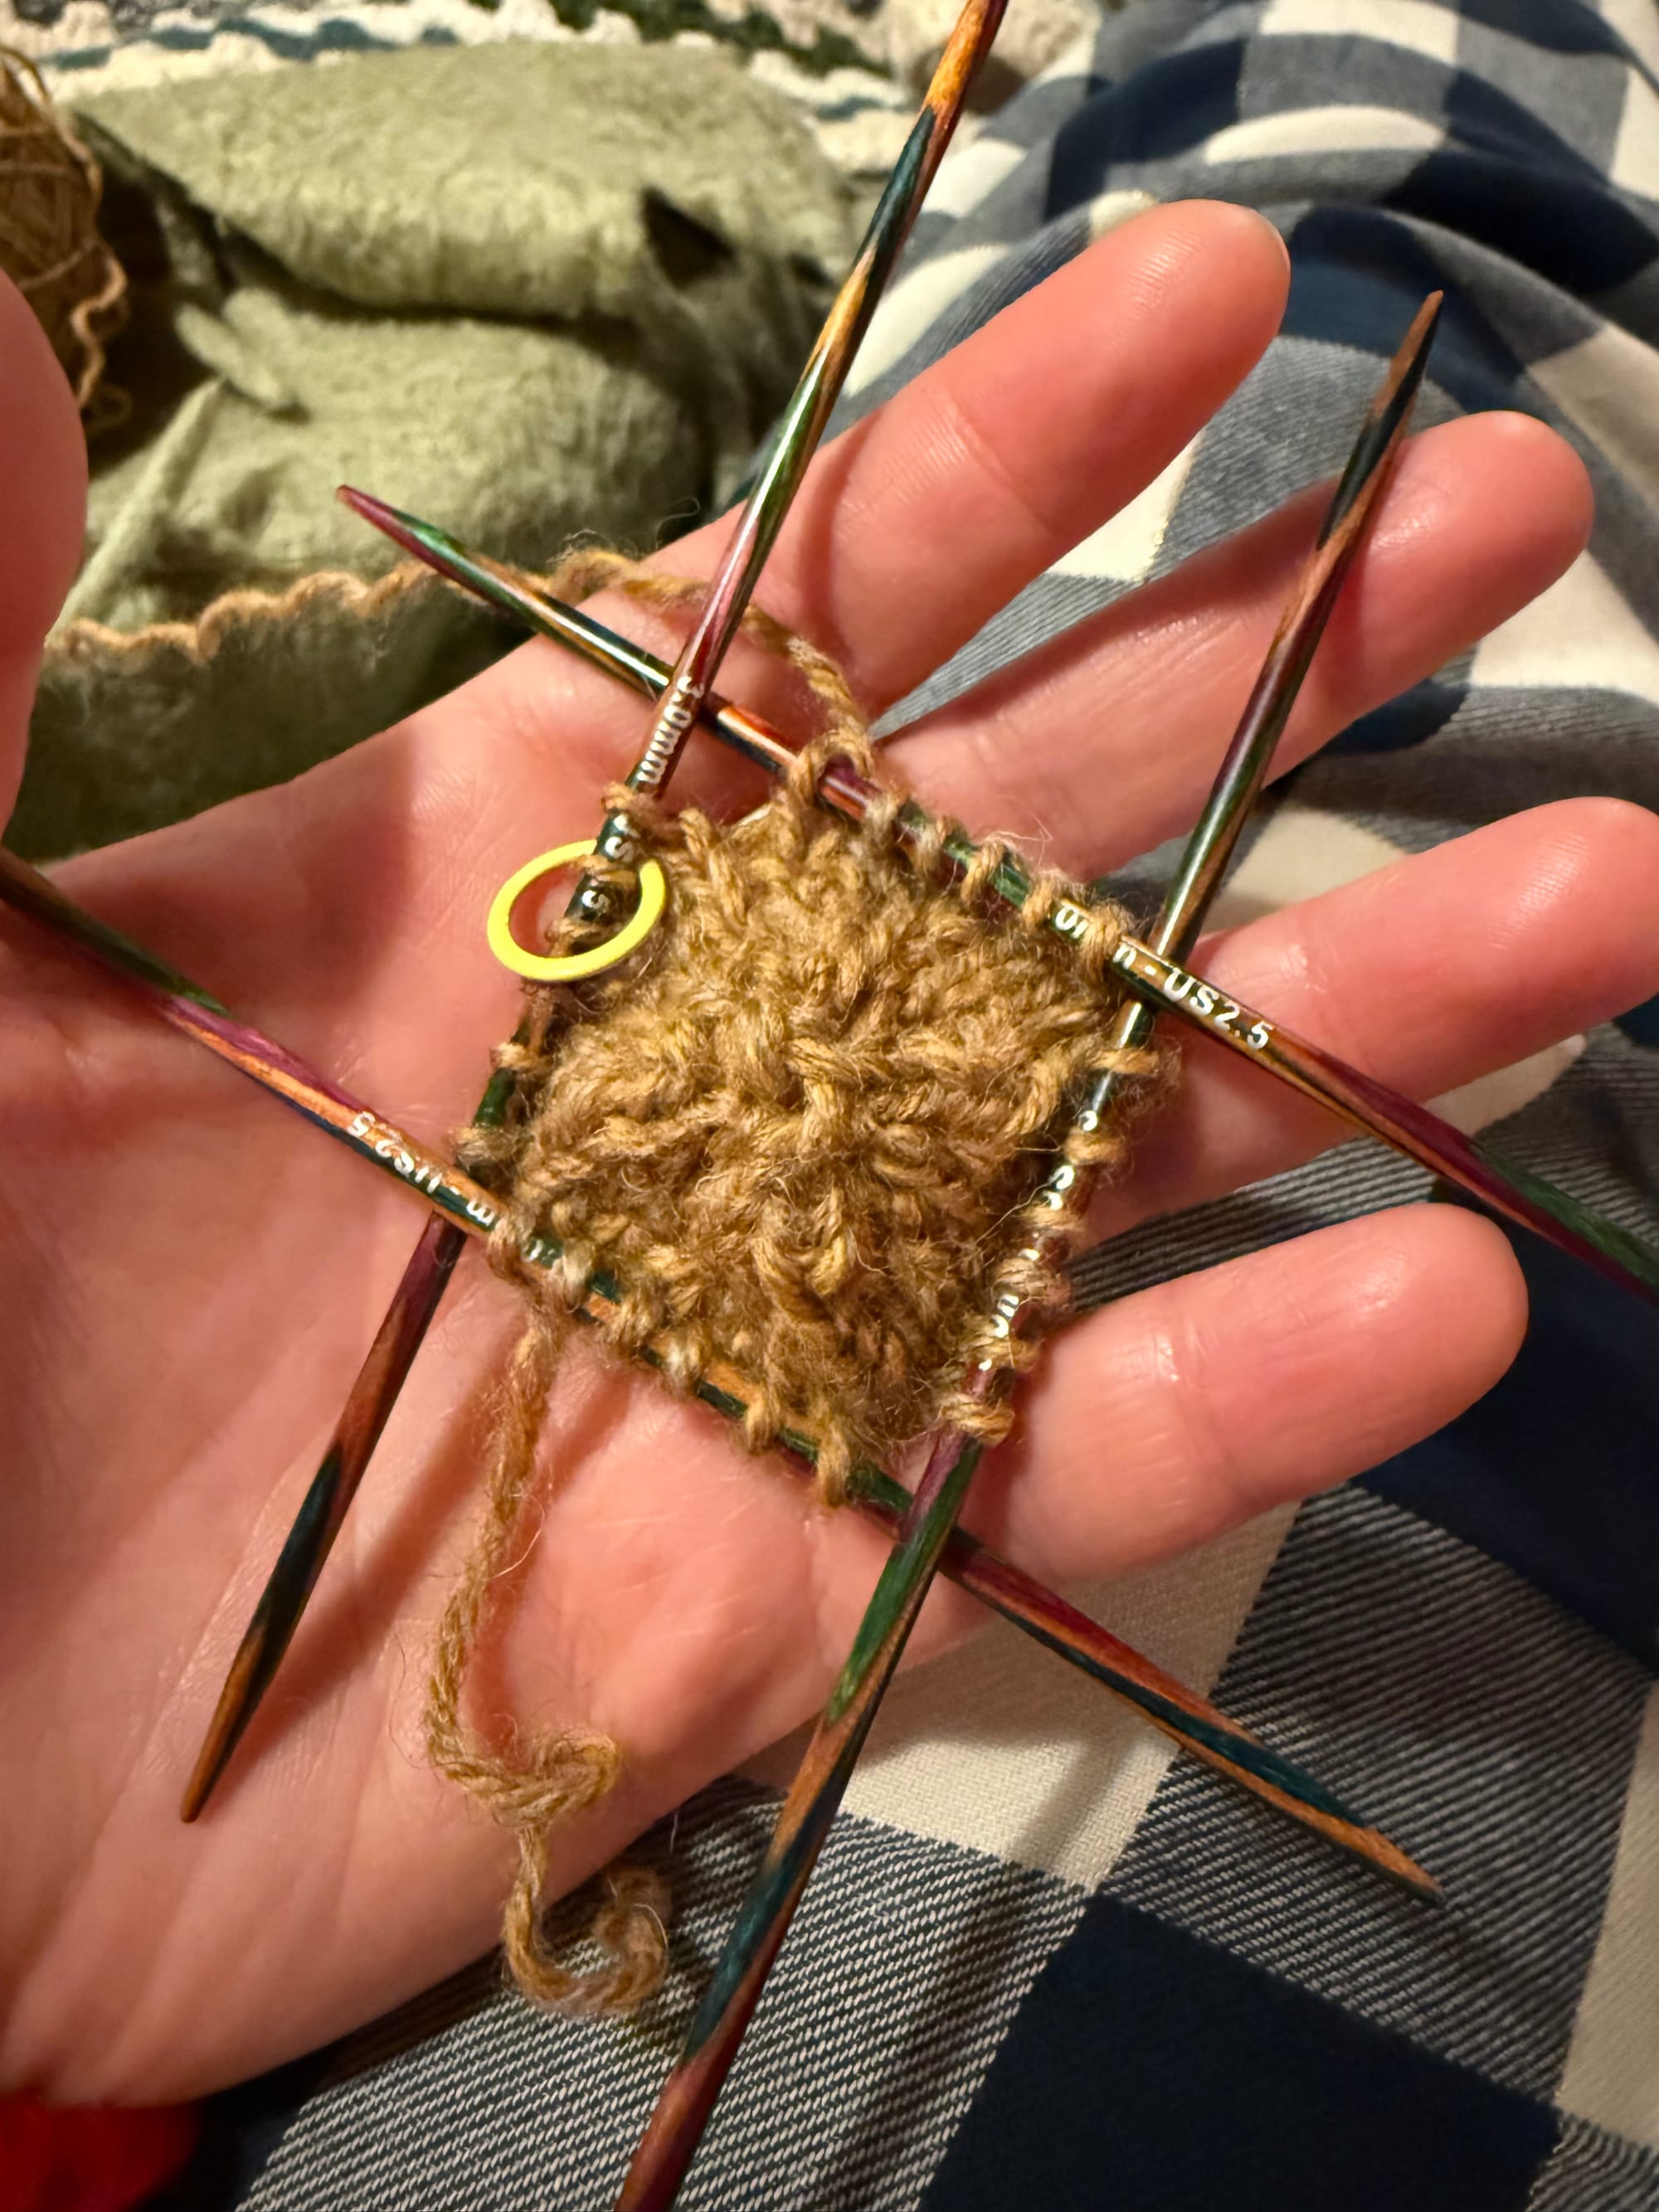
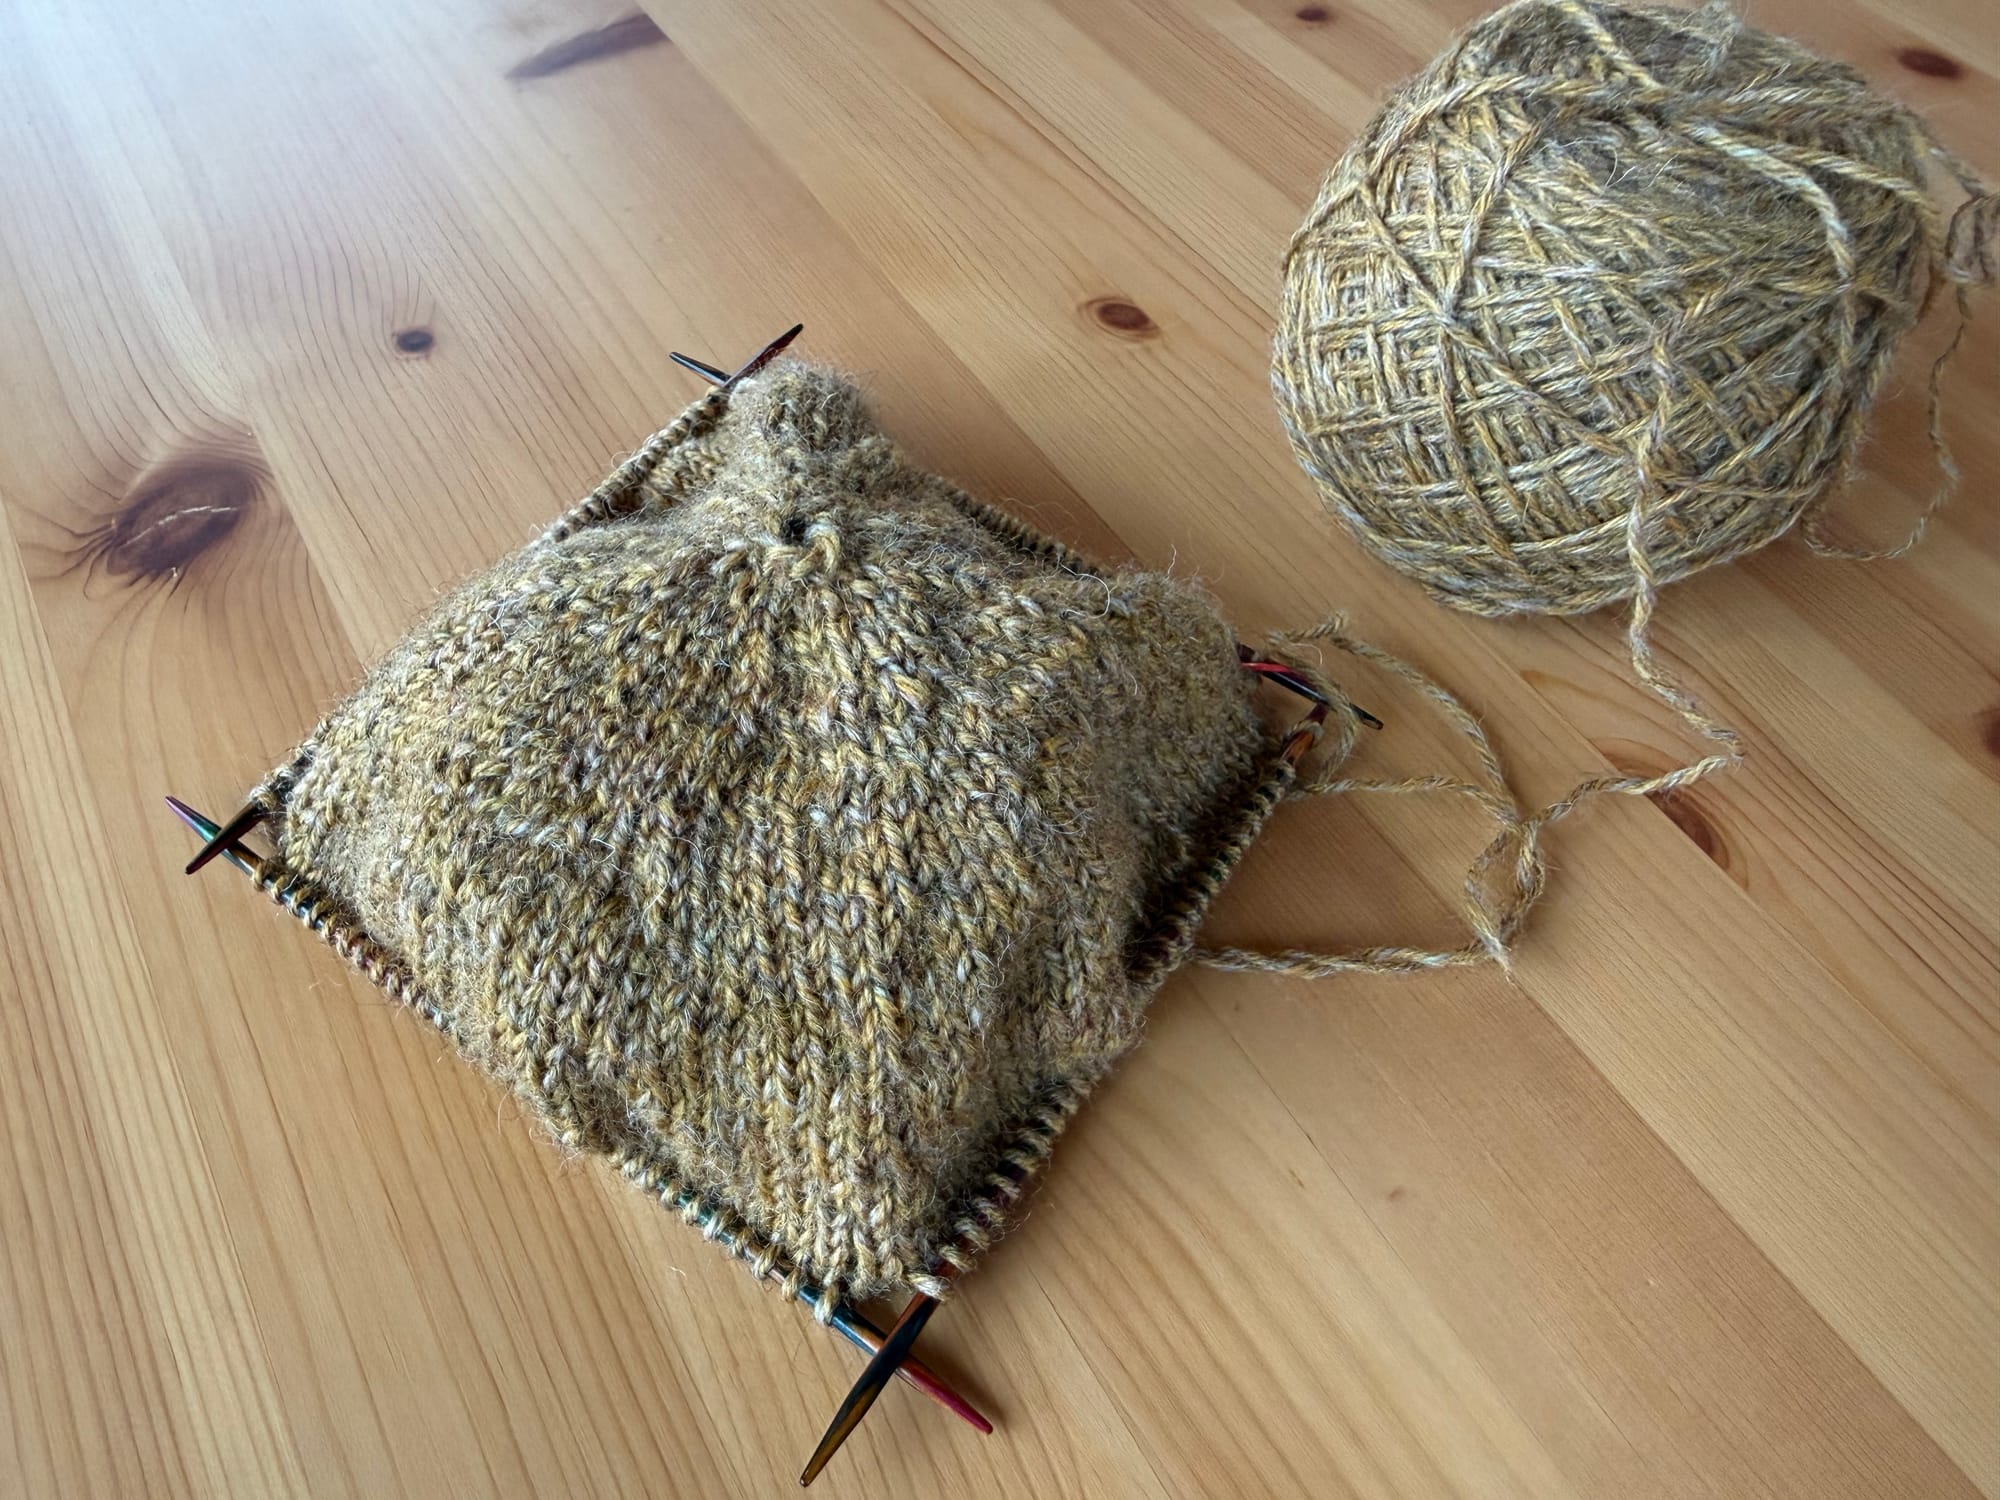
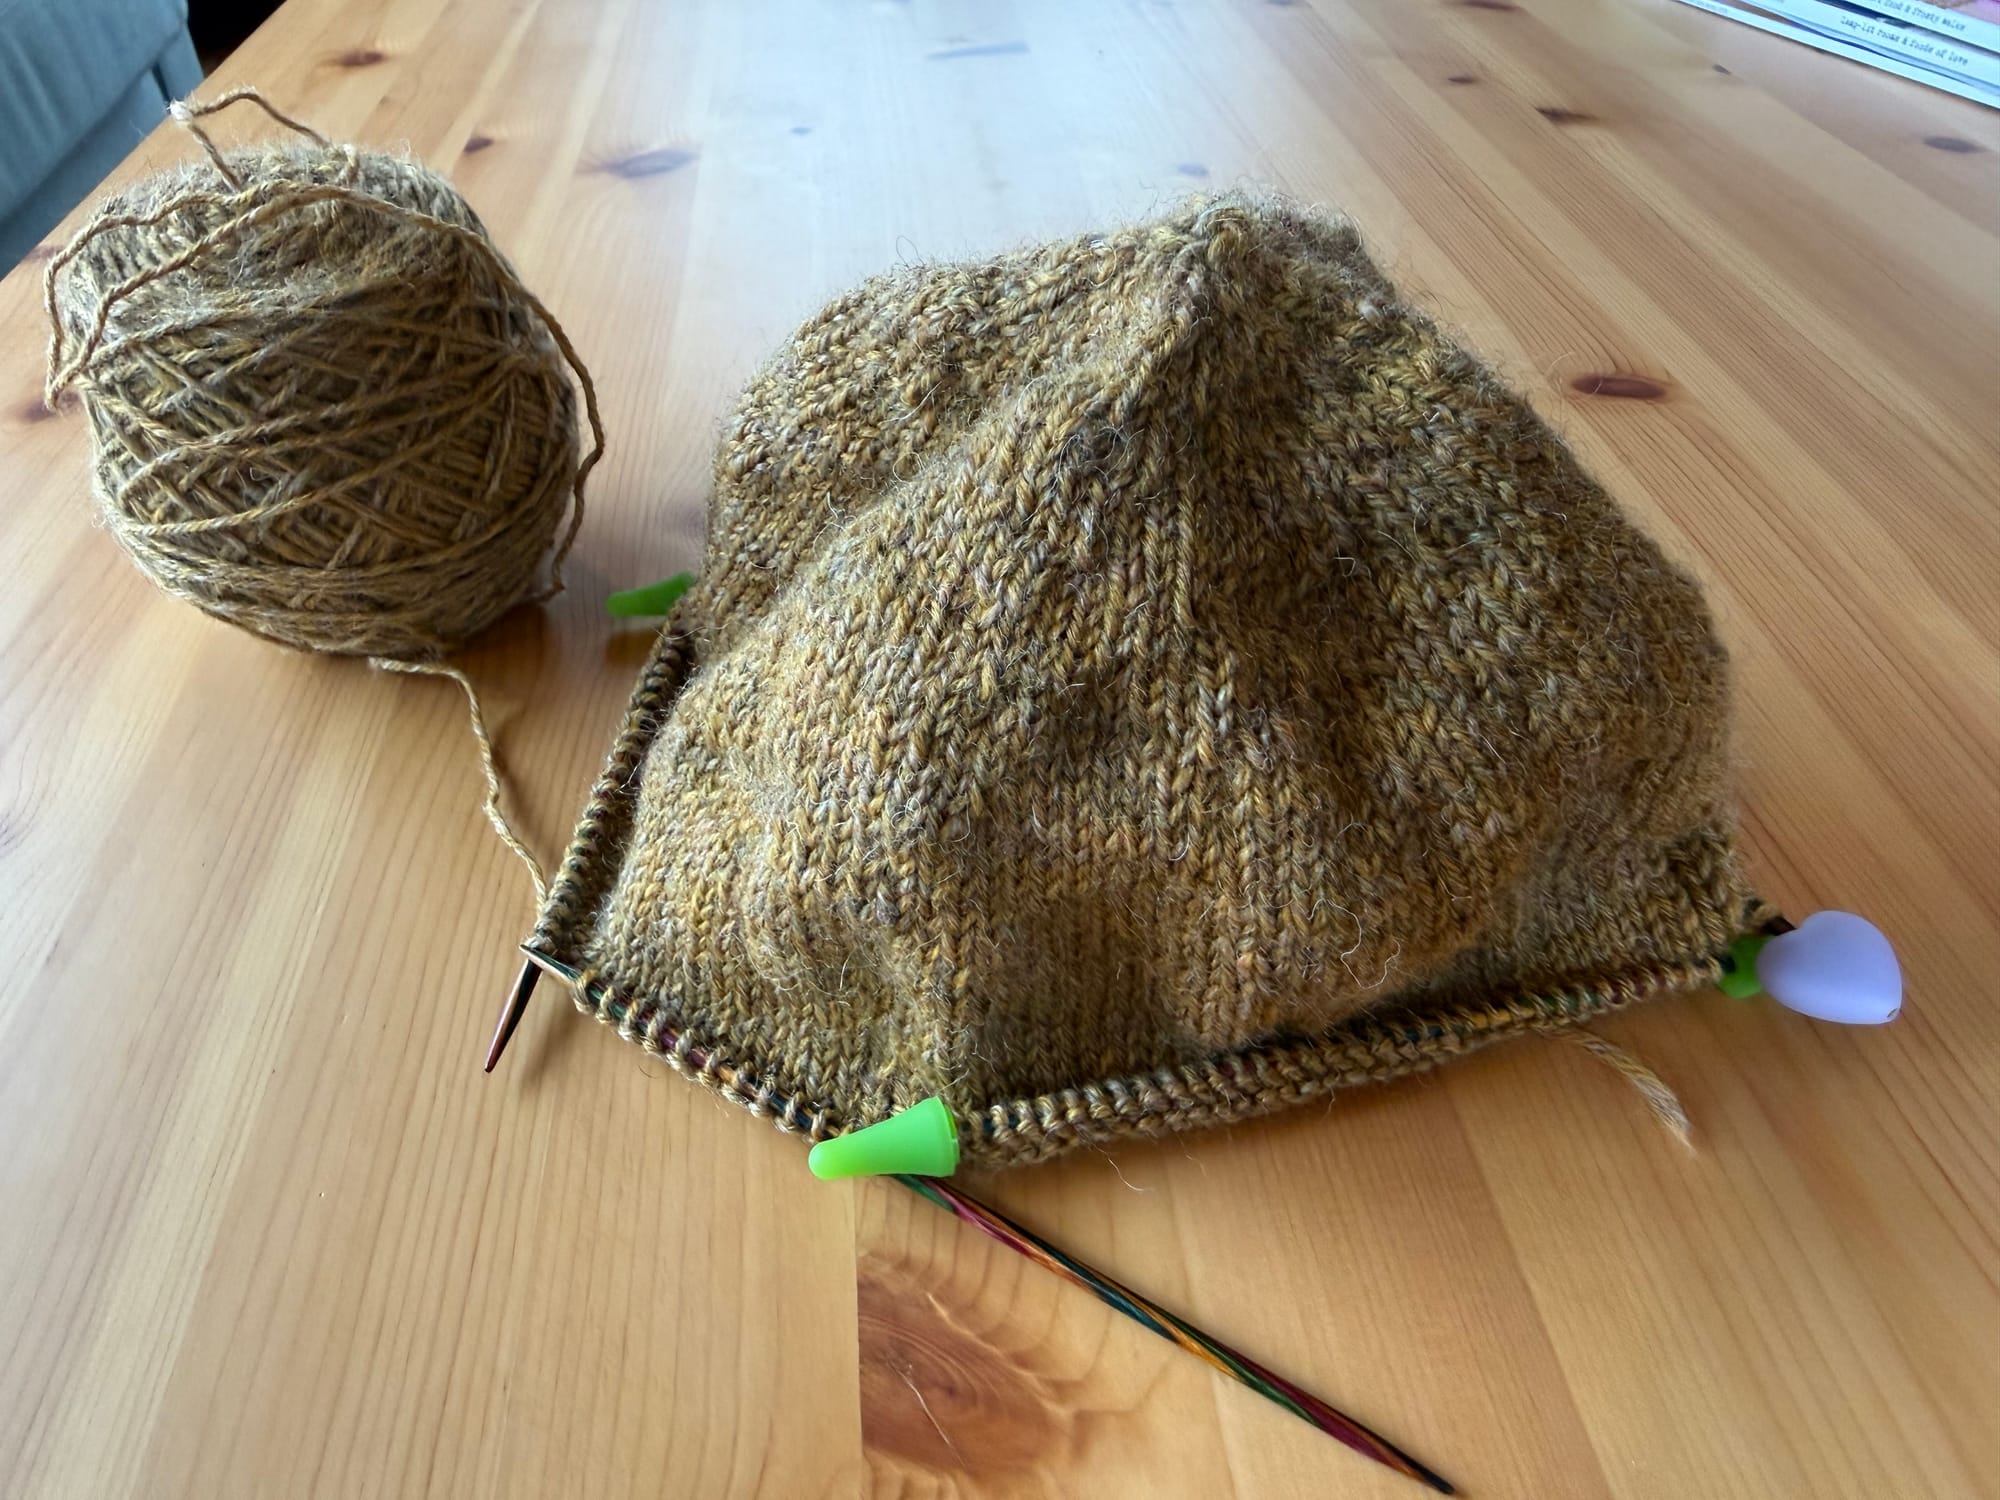
Casting on to DPNs for the first time and then quick progress!
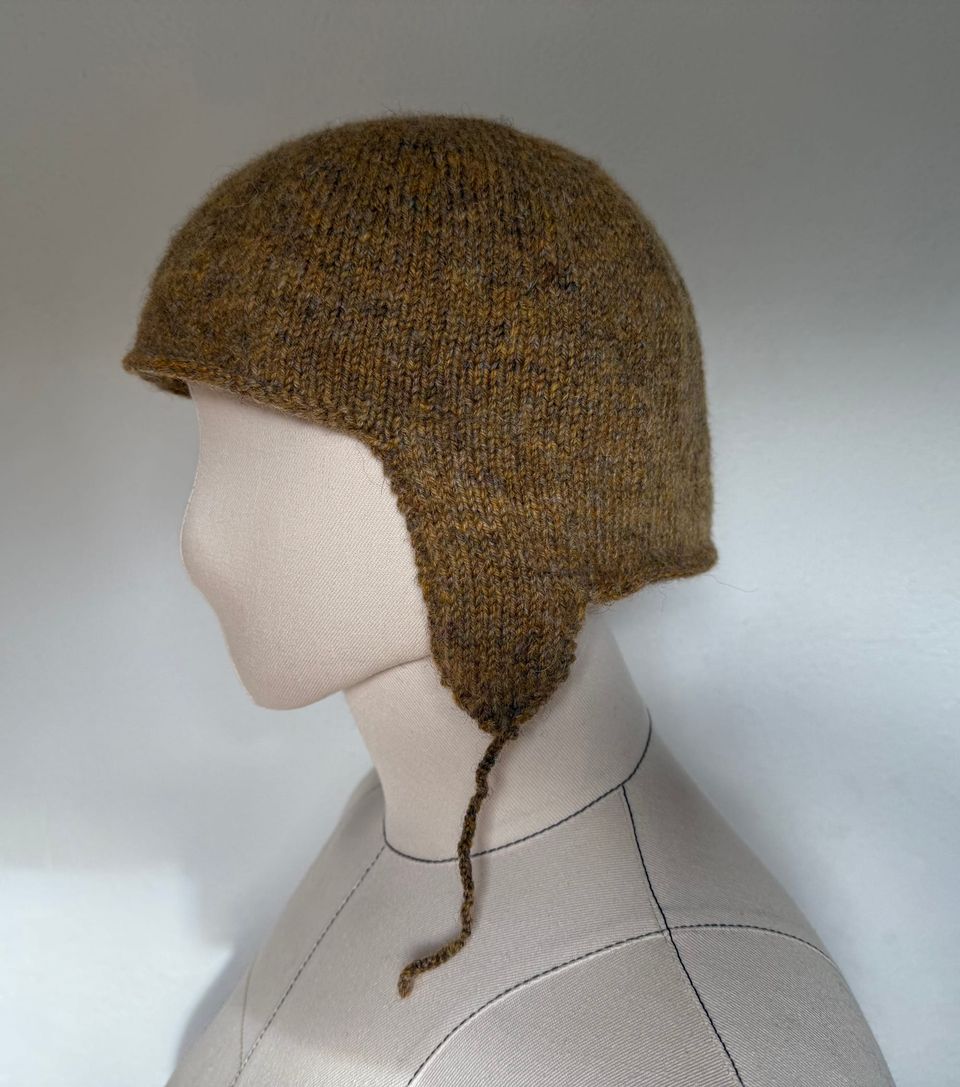
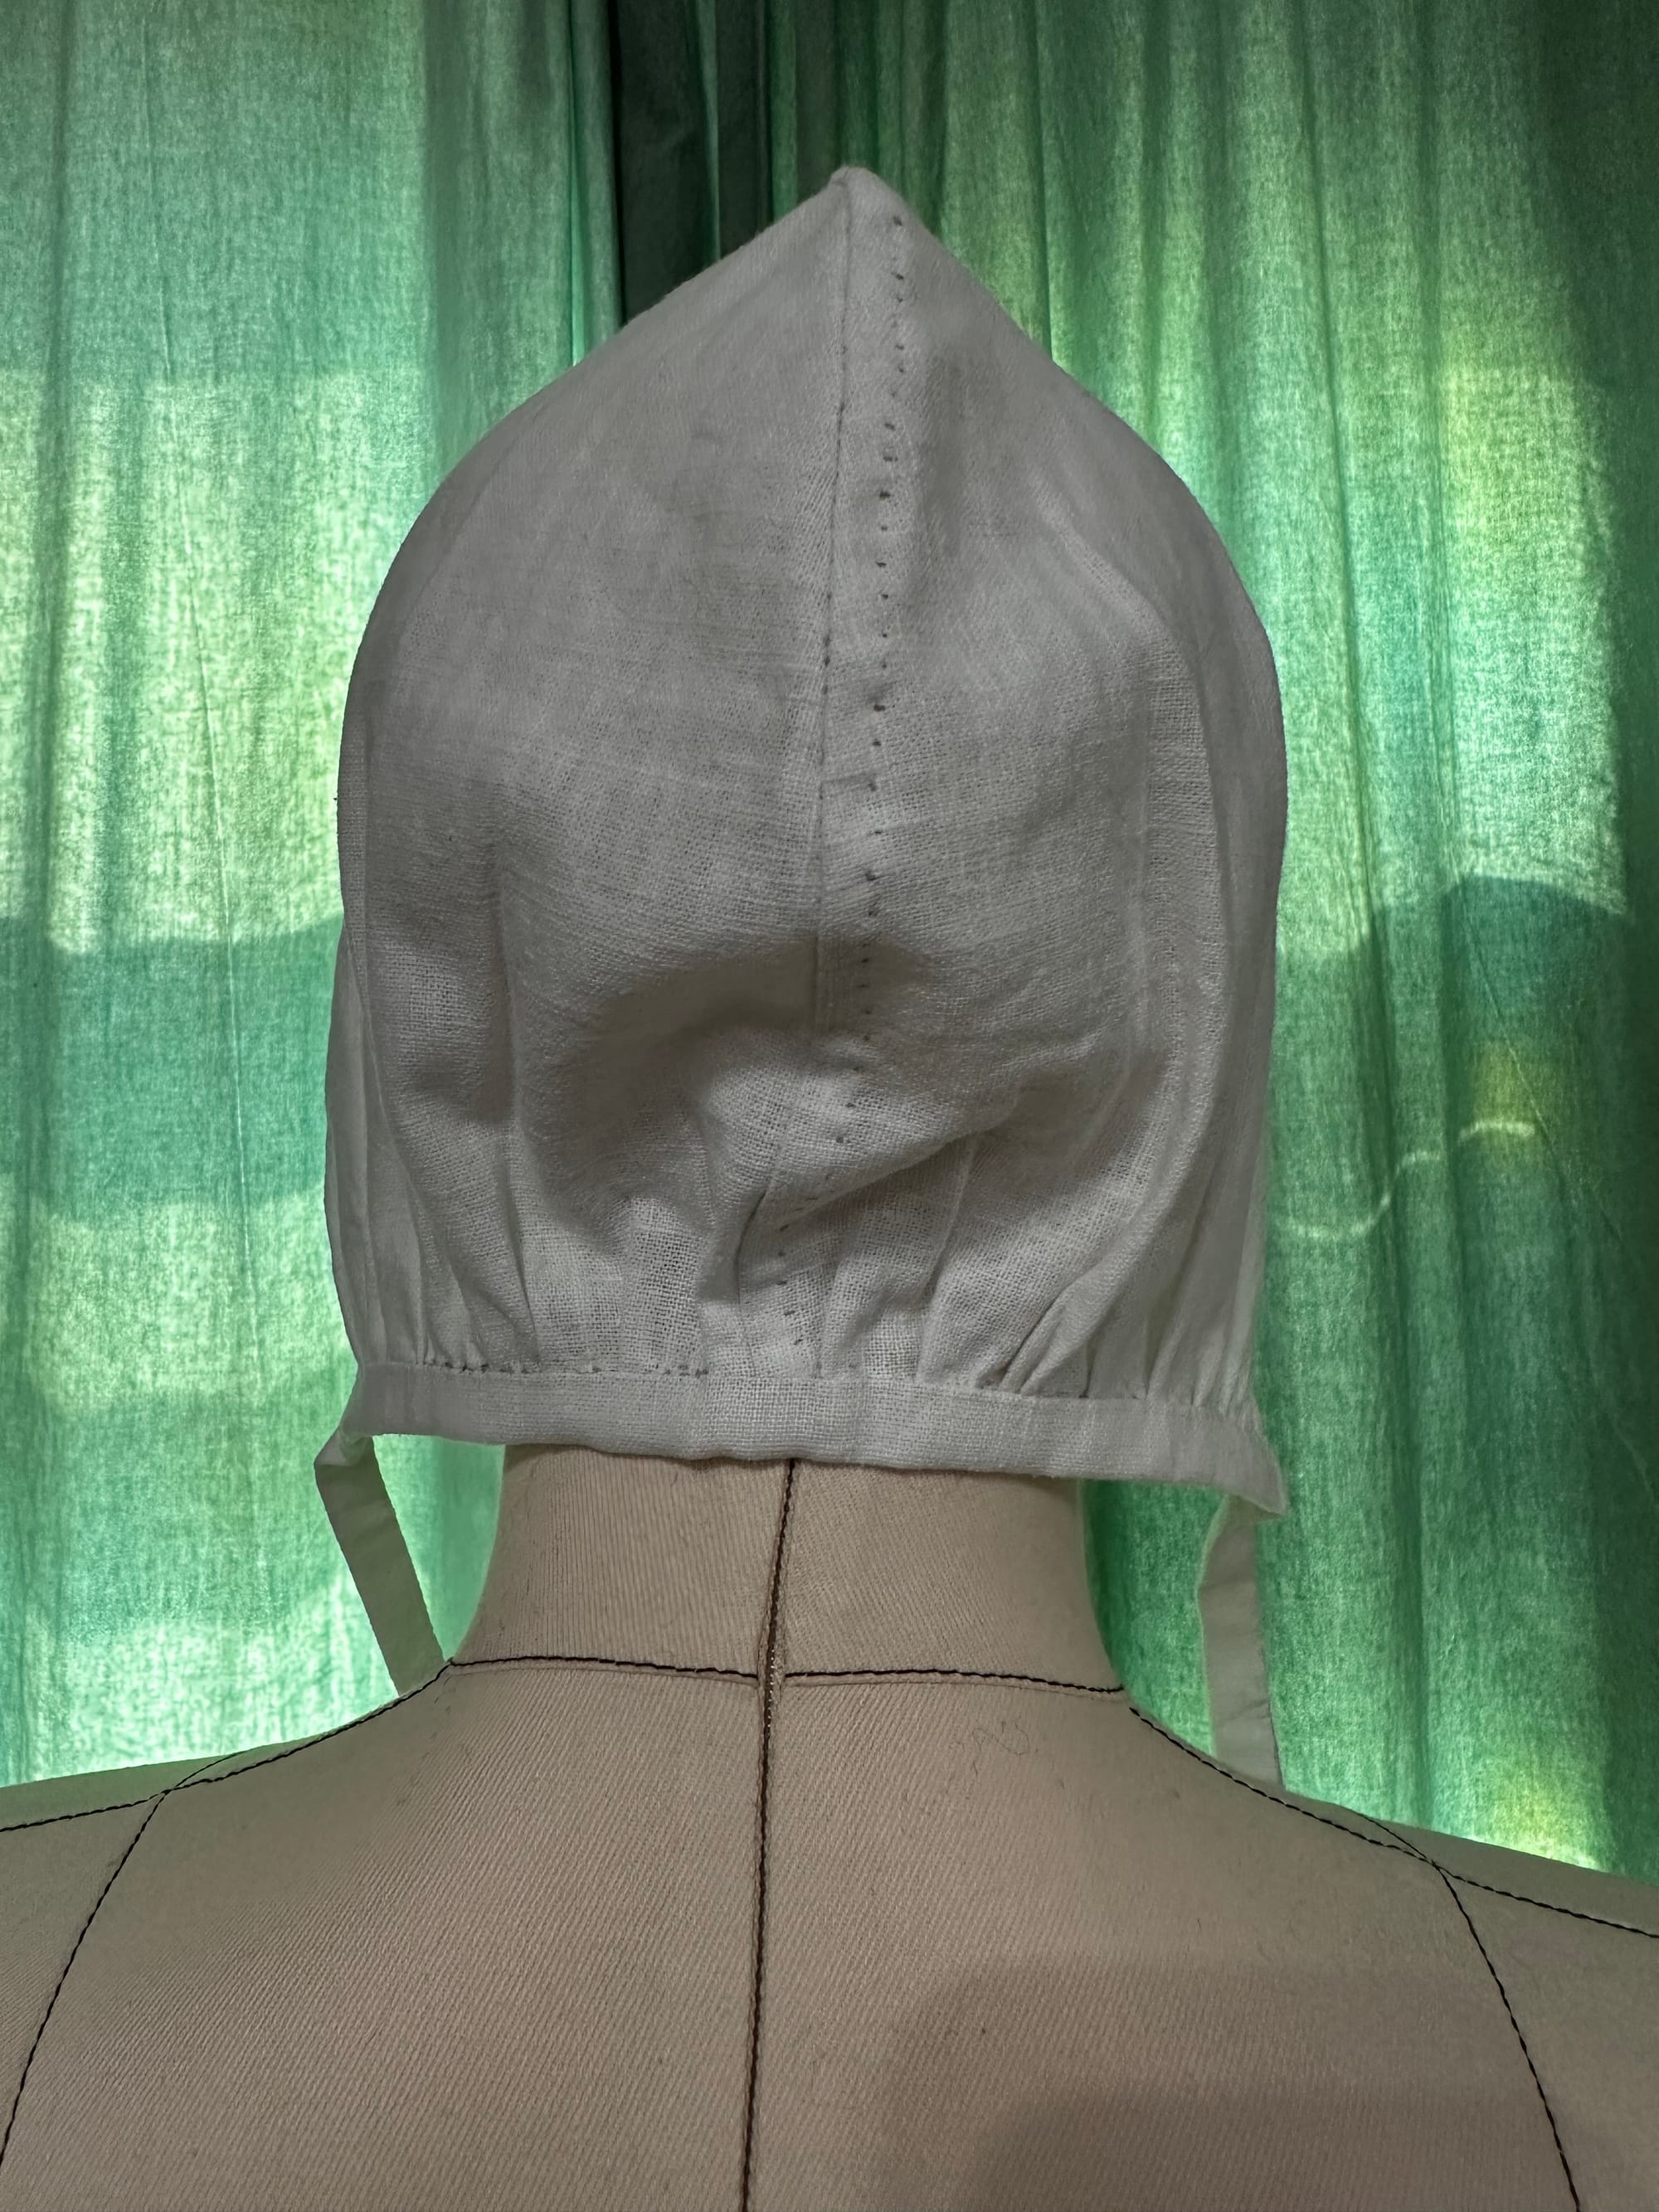
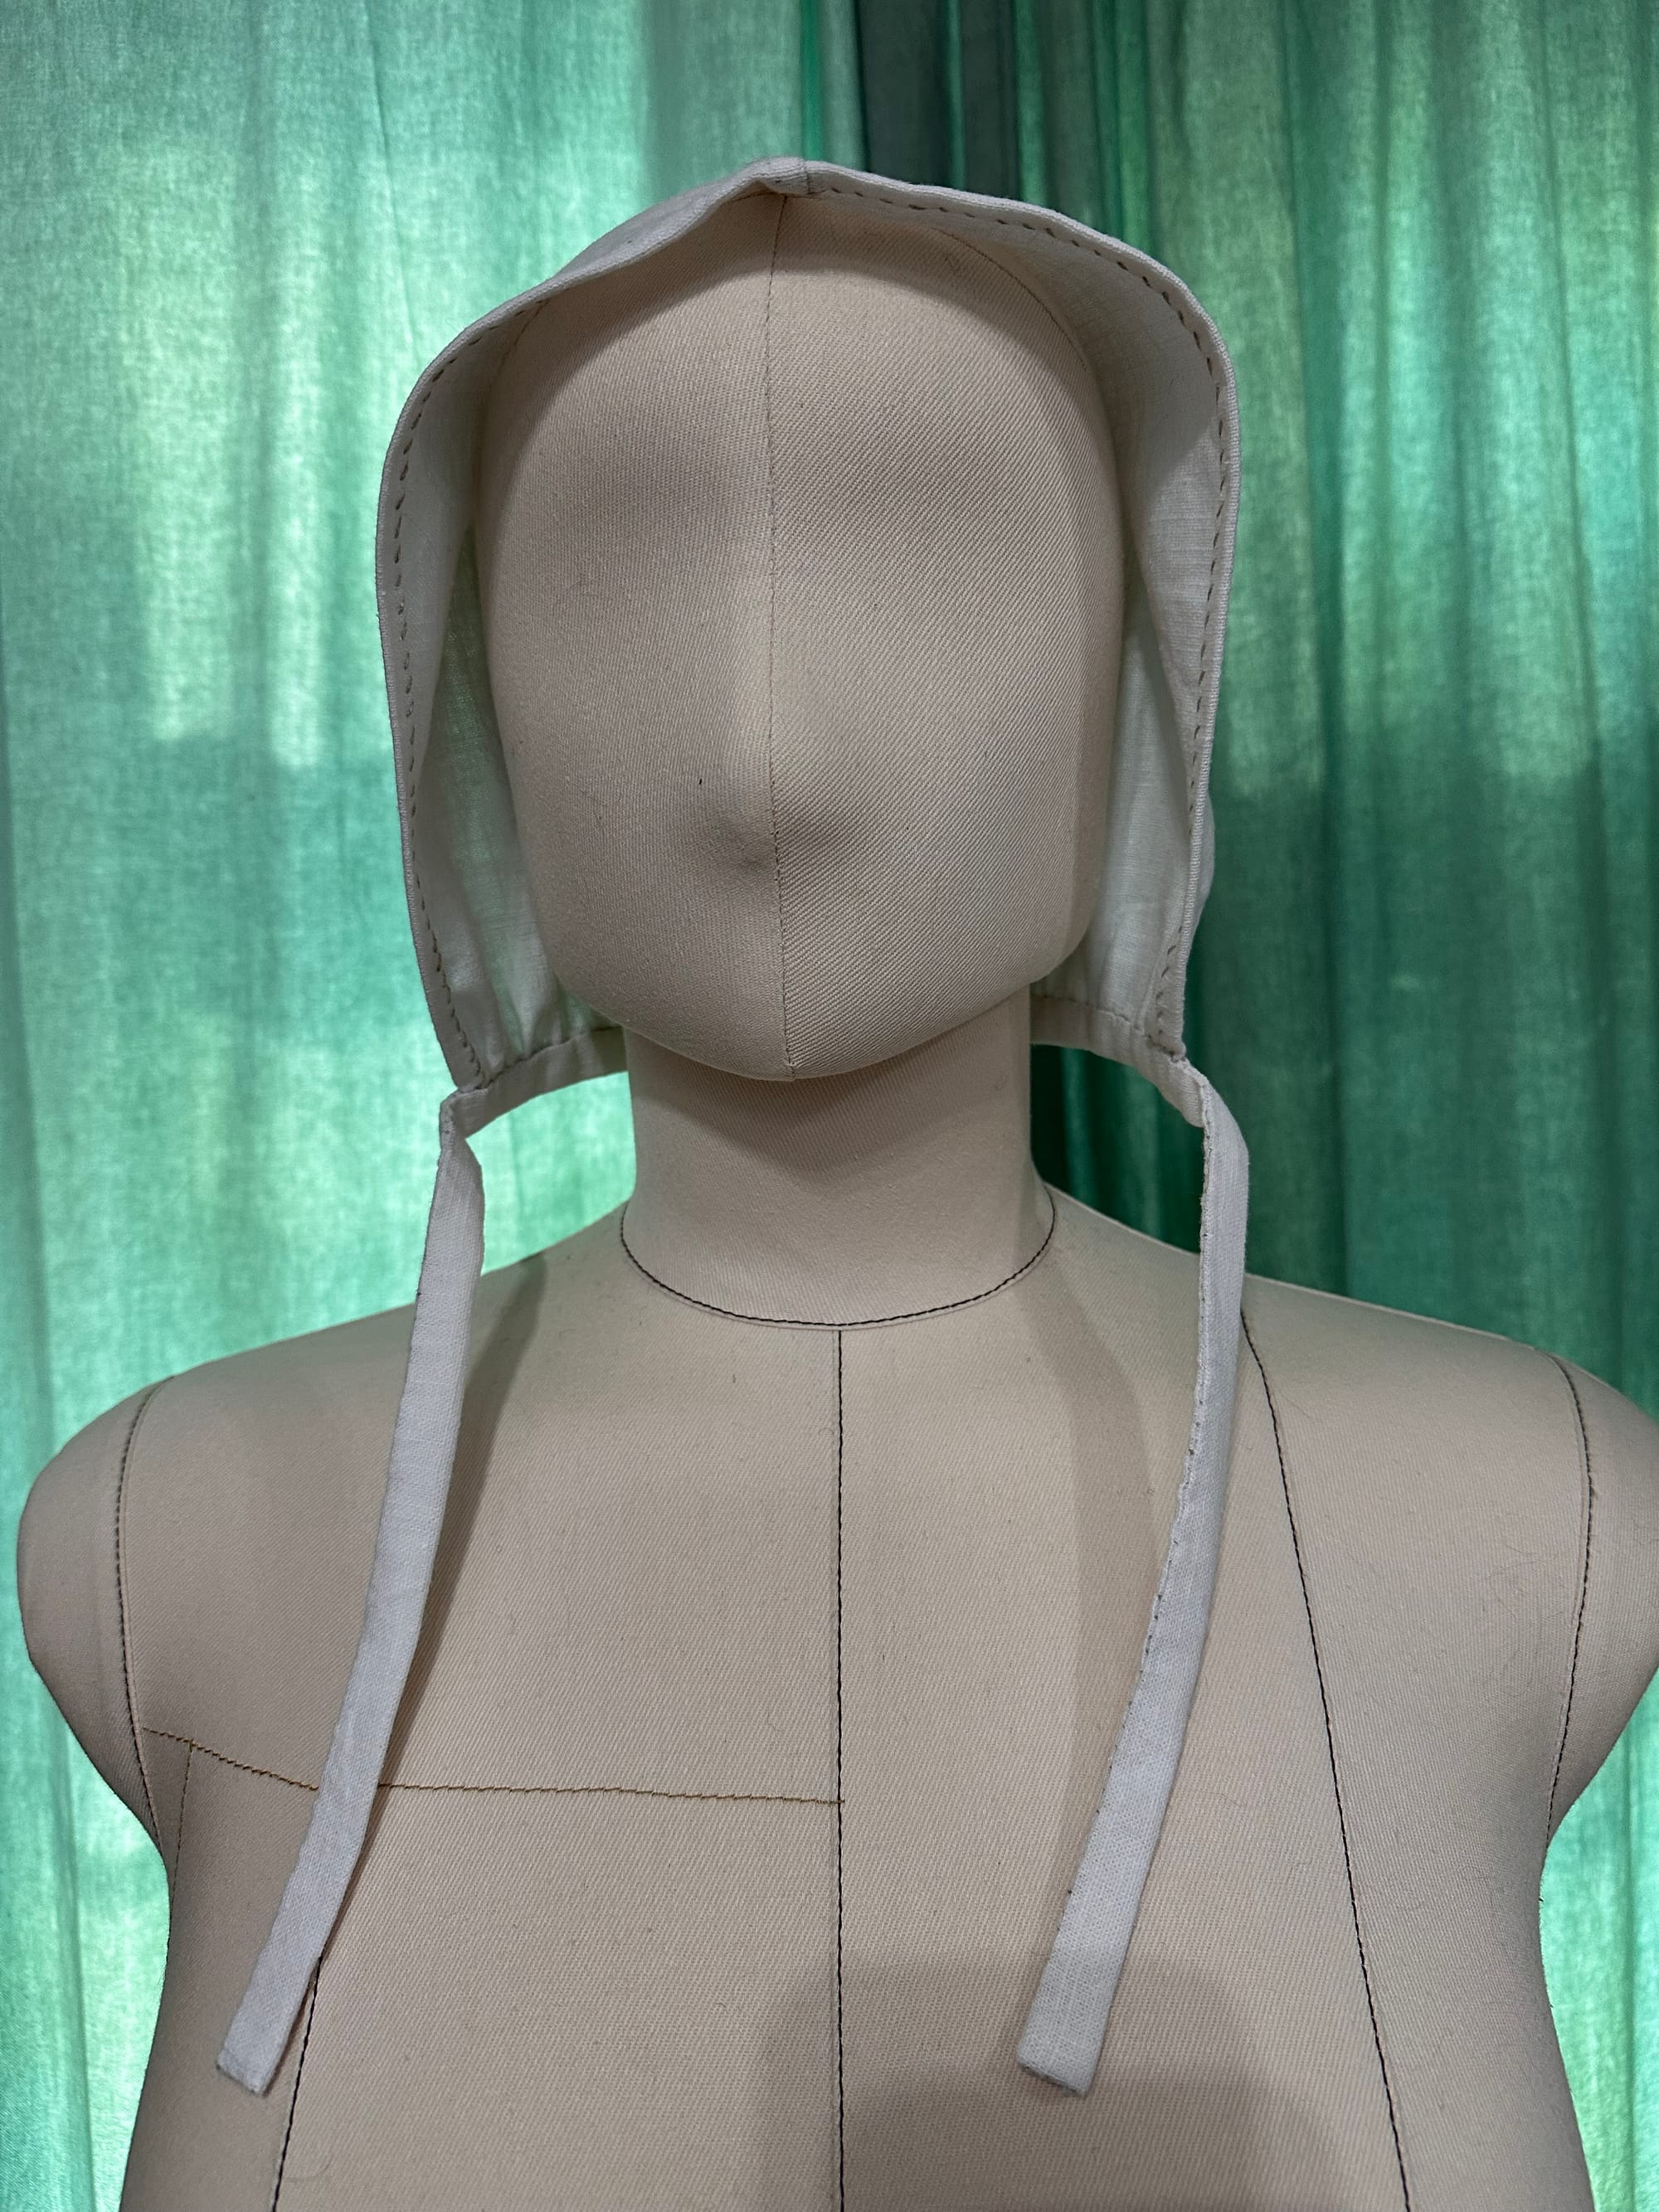
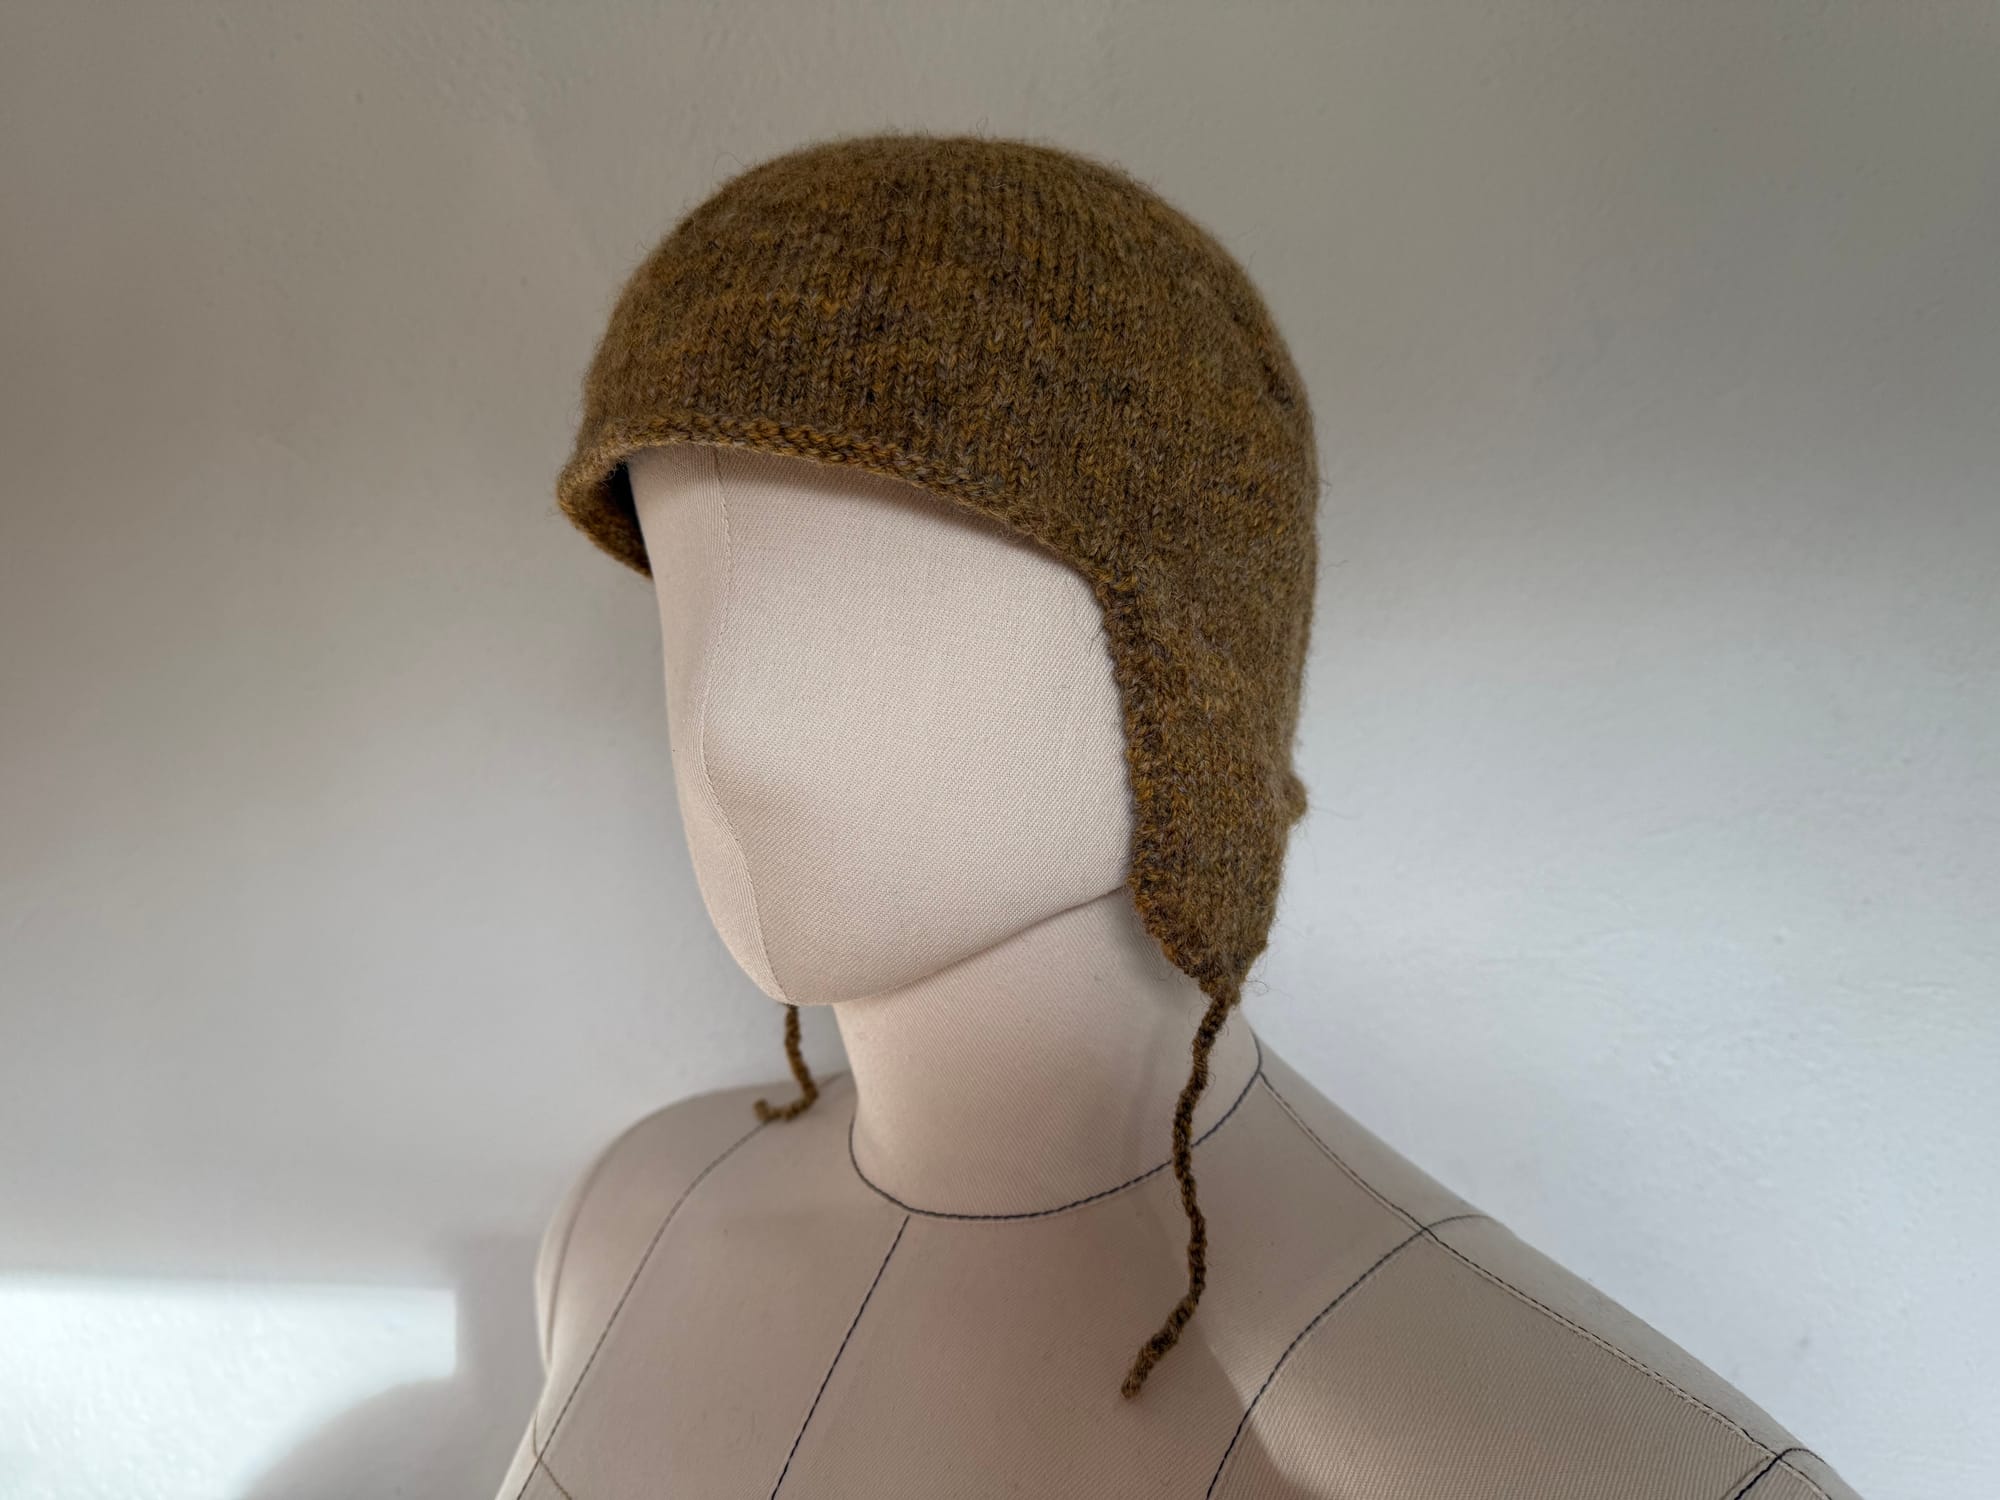
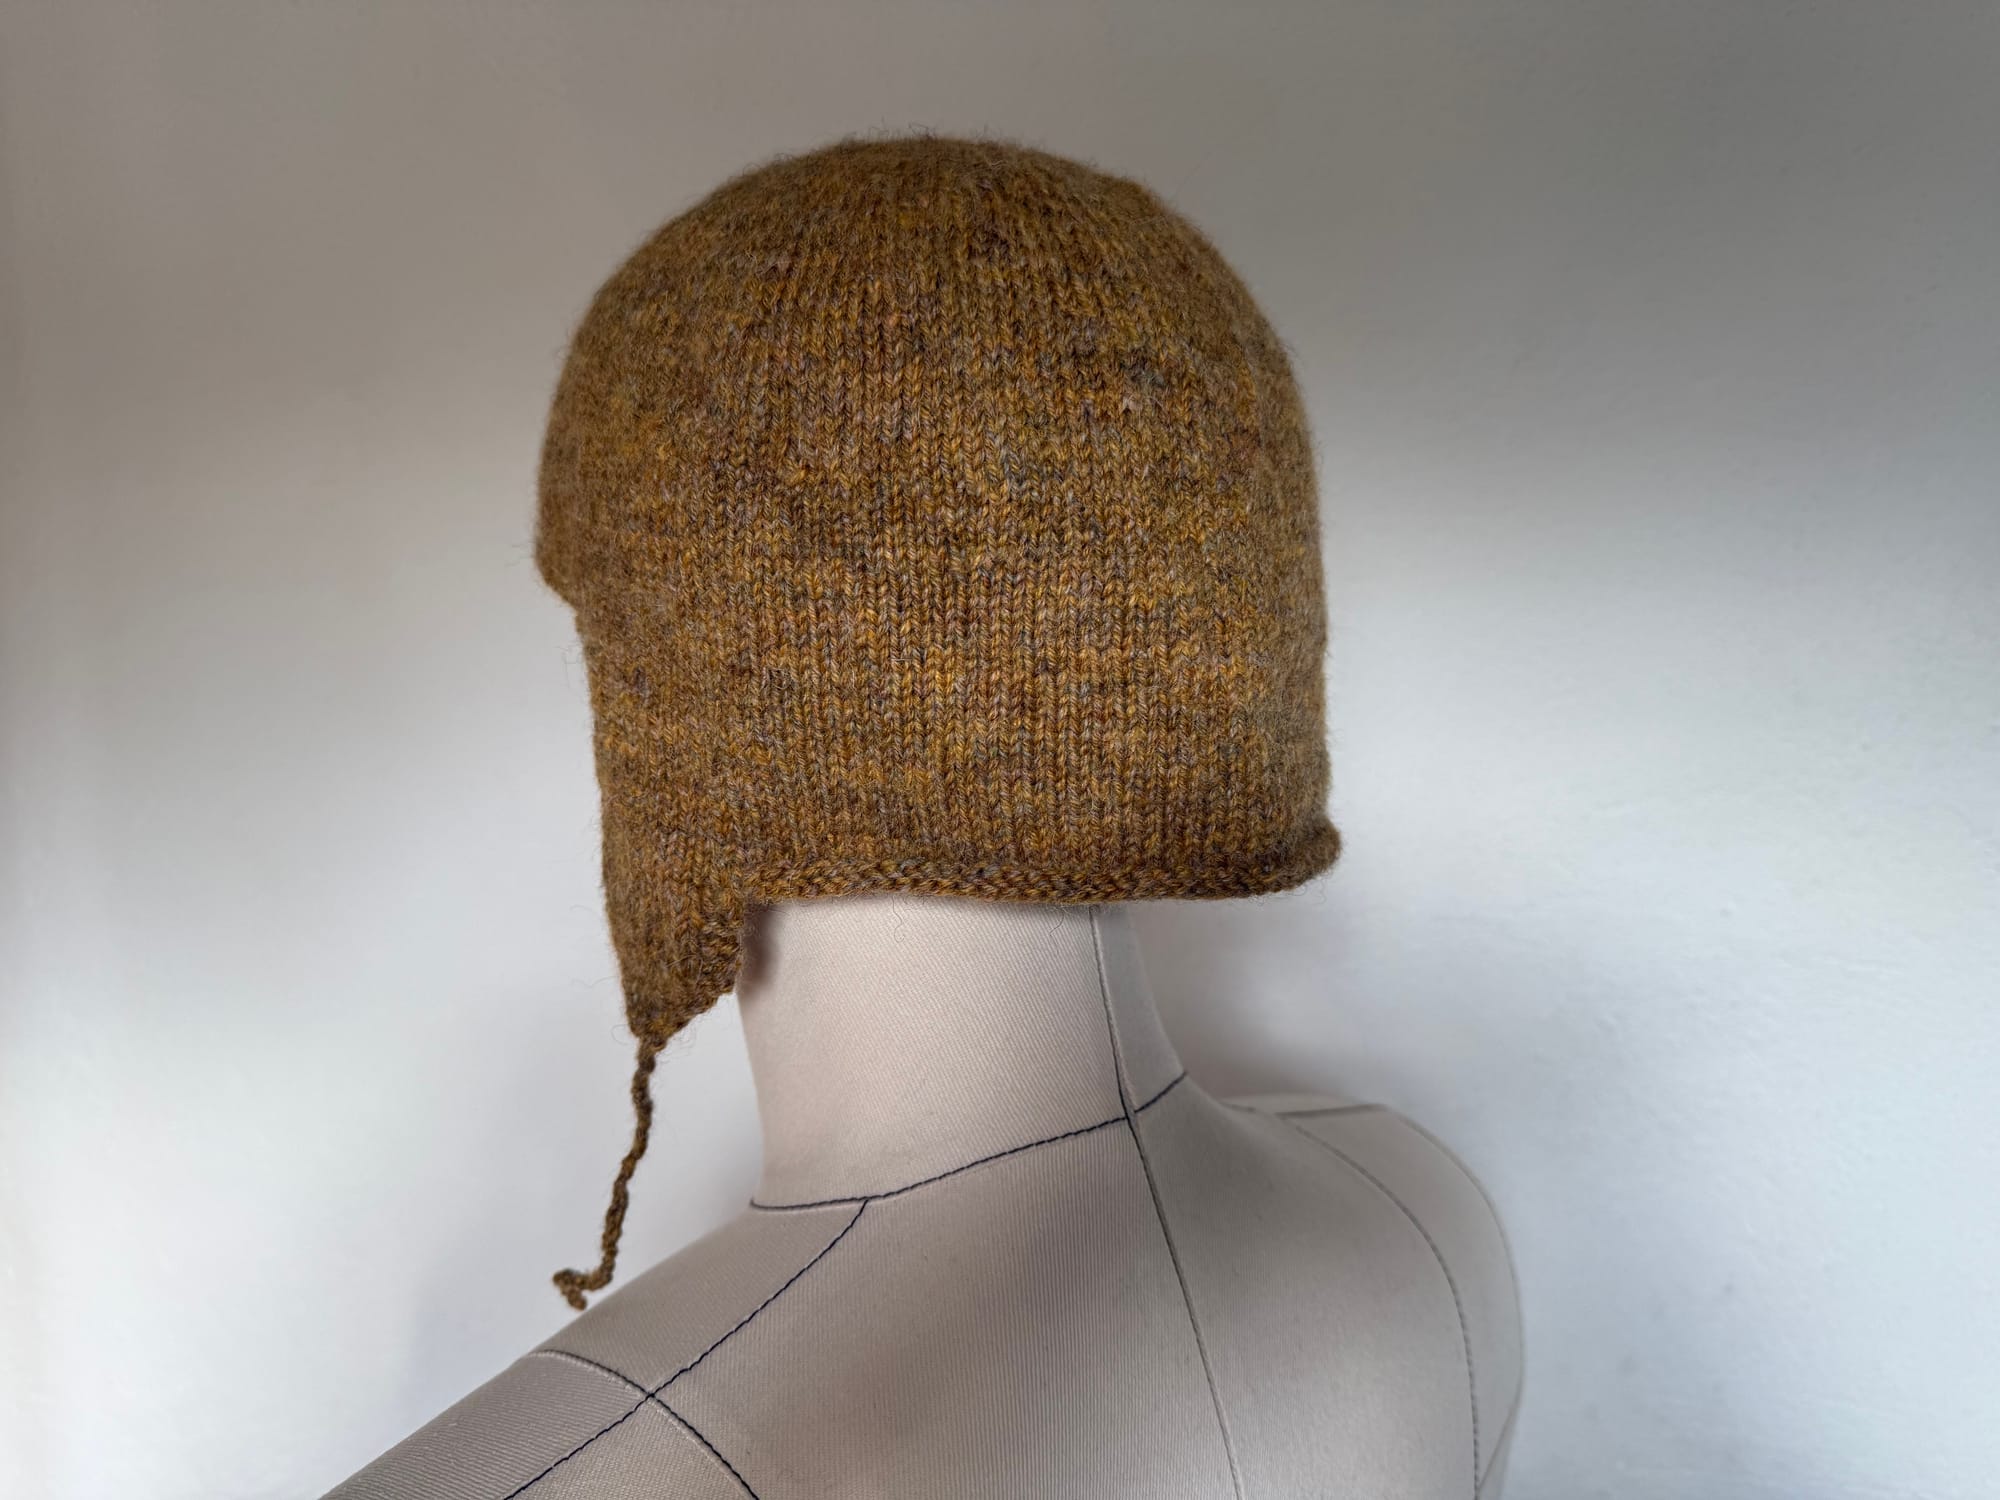
I finished knitting the coif and was pleased to find that it fit my head a little bit loosely, just like the pattern said it should. My edges were curling and the entire thing felt a little floppy and light-weight, but overall I really liked how it was looking. I took some photos of the coif at this stage on my mannequin because I was slightly afraid of the step that came next, and I wanted to document what I had achieved so far, just in case I ruined the cap!
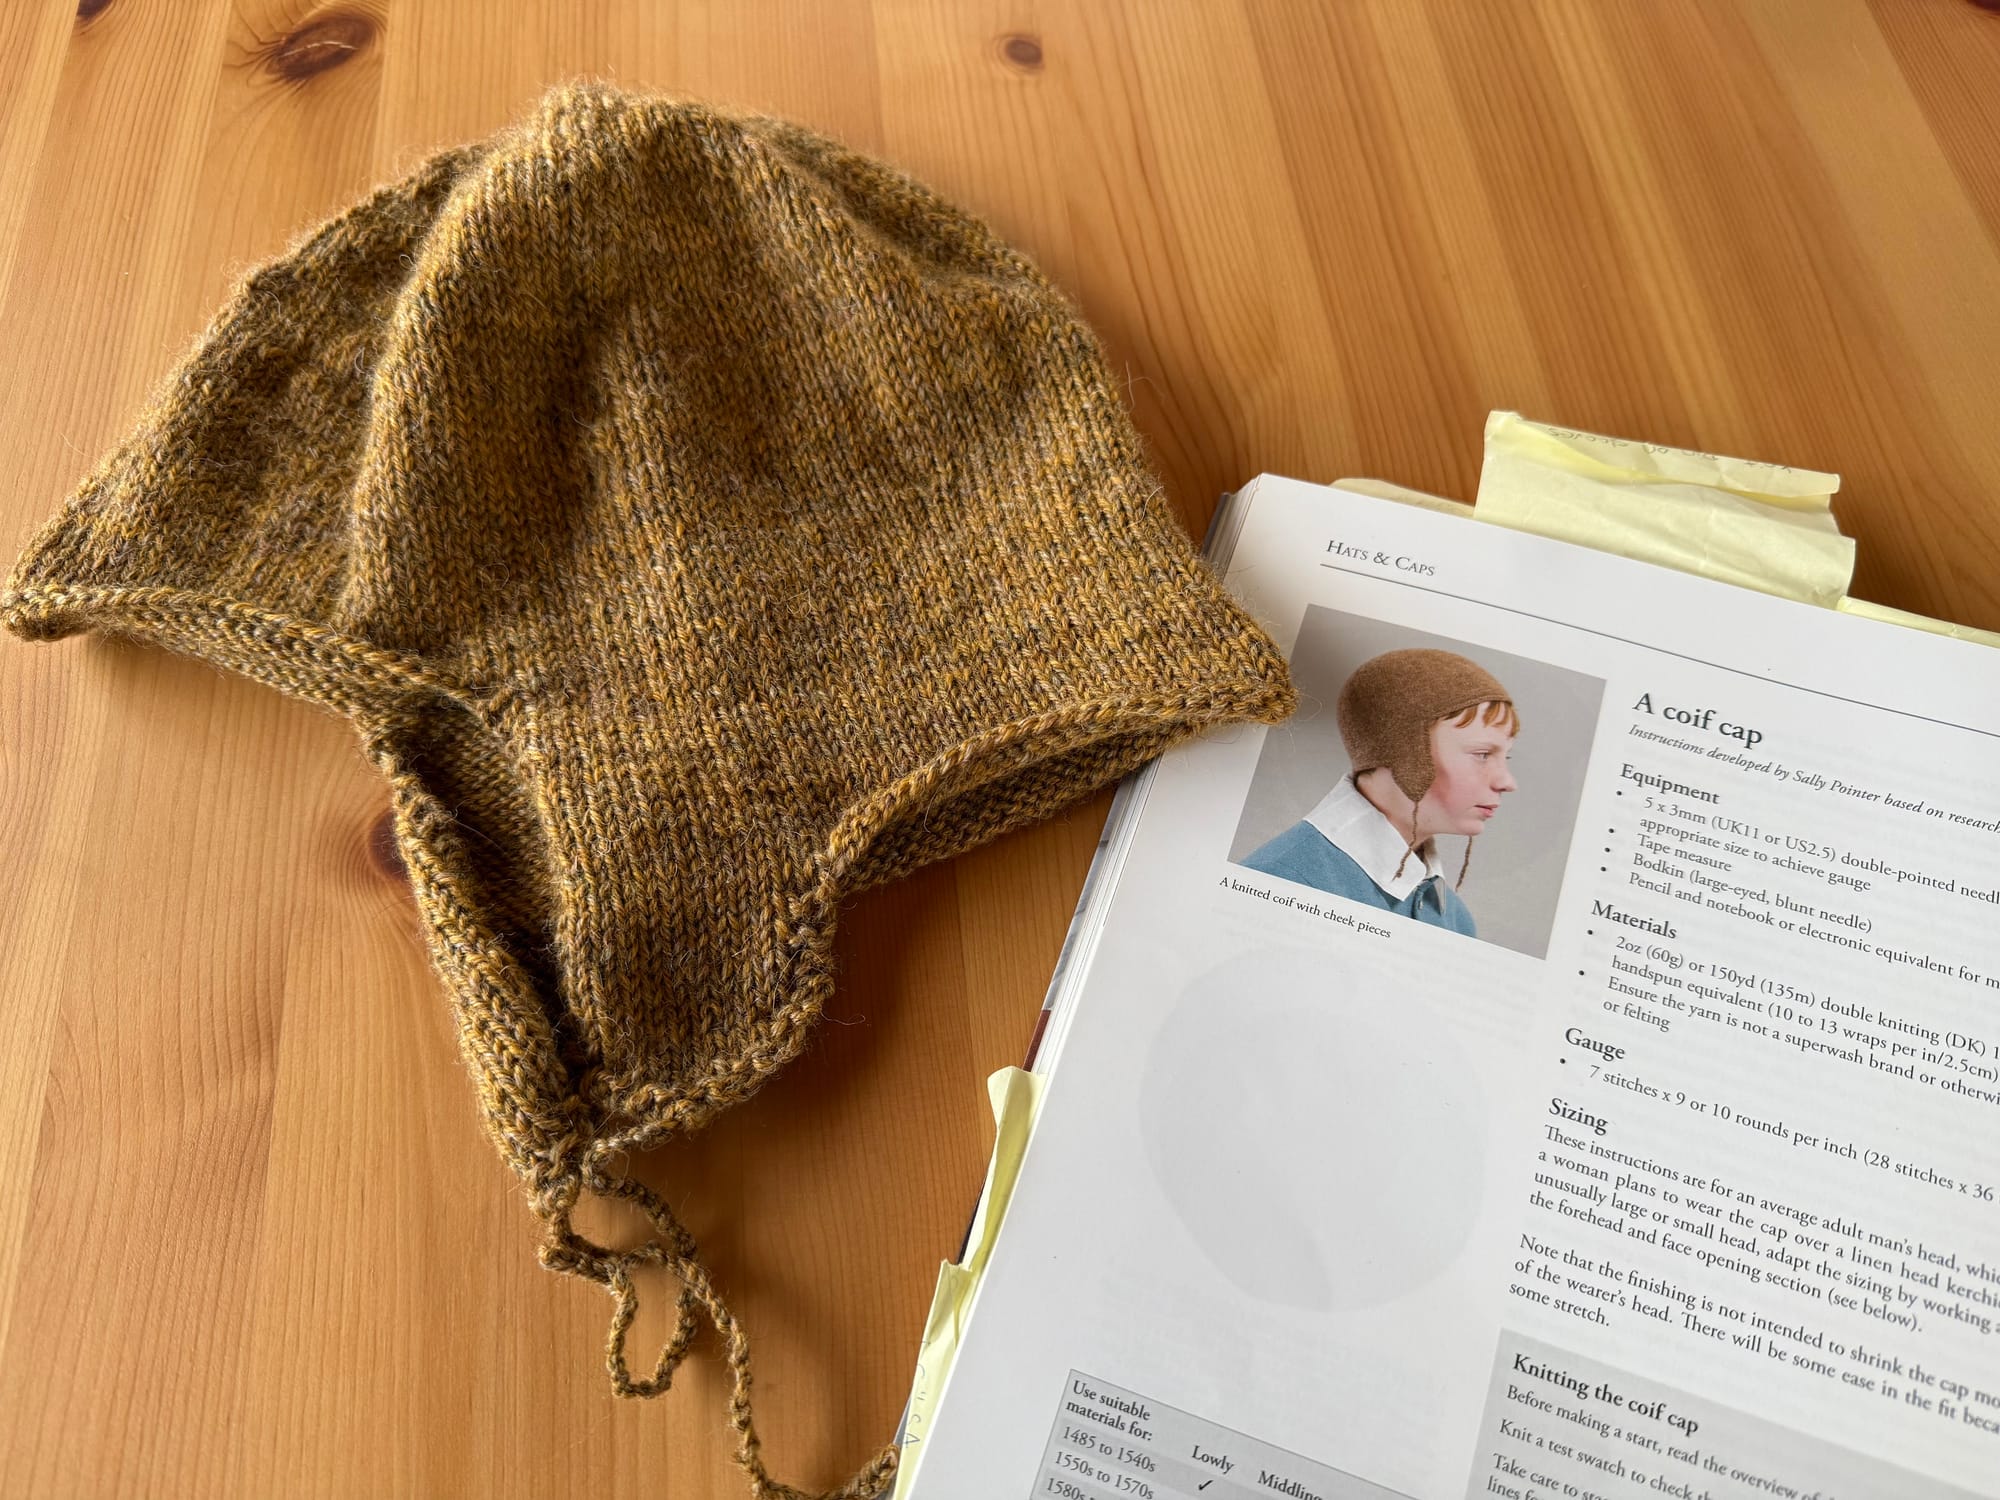
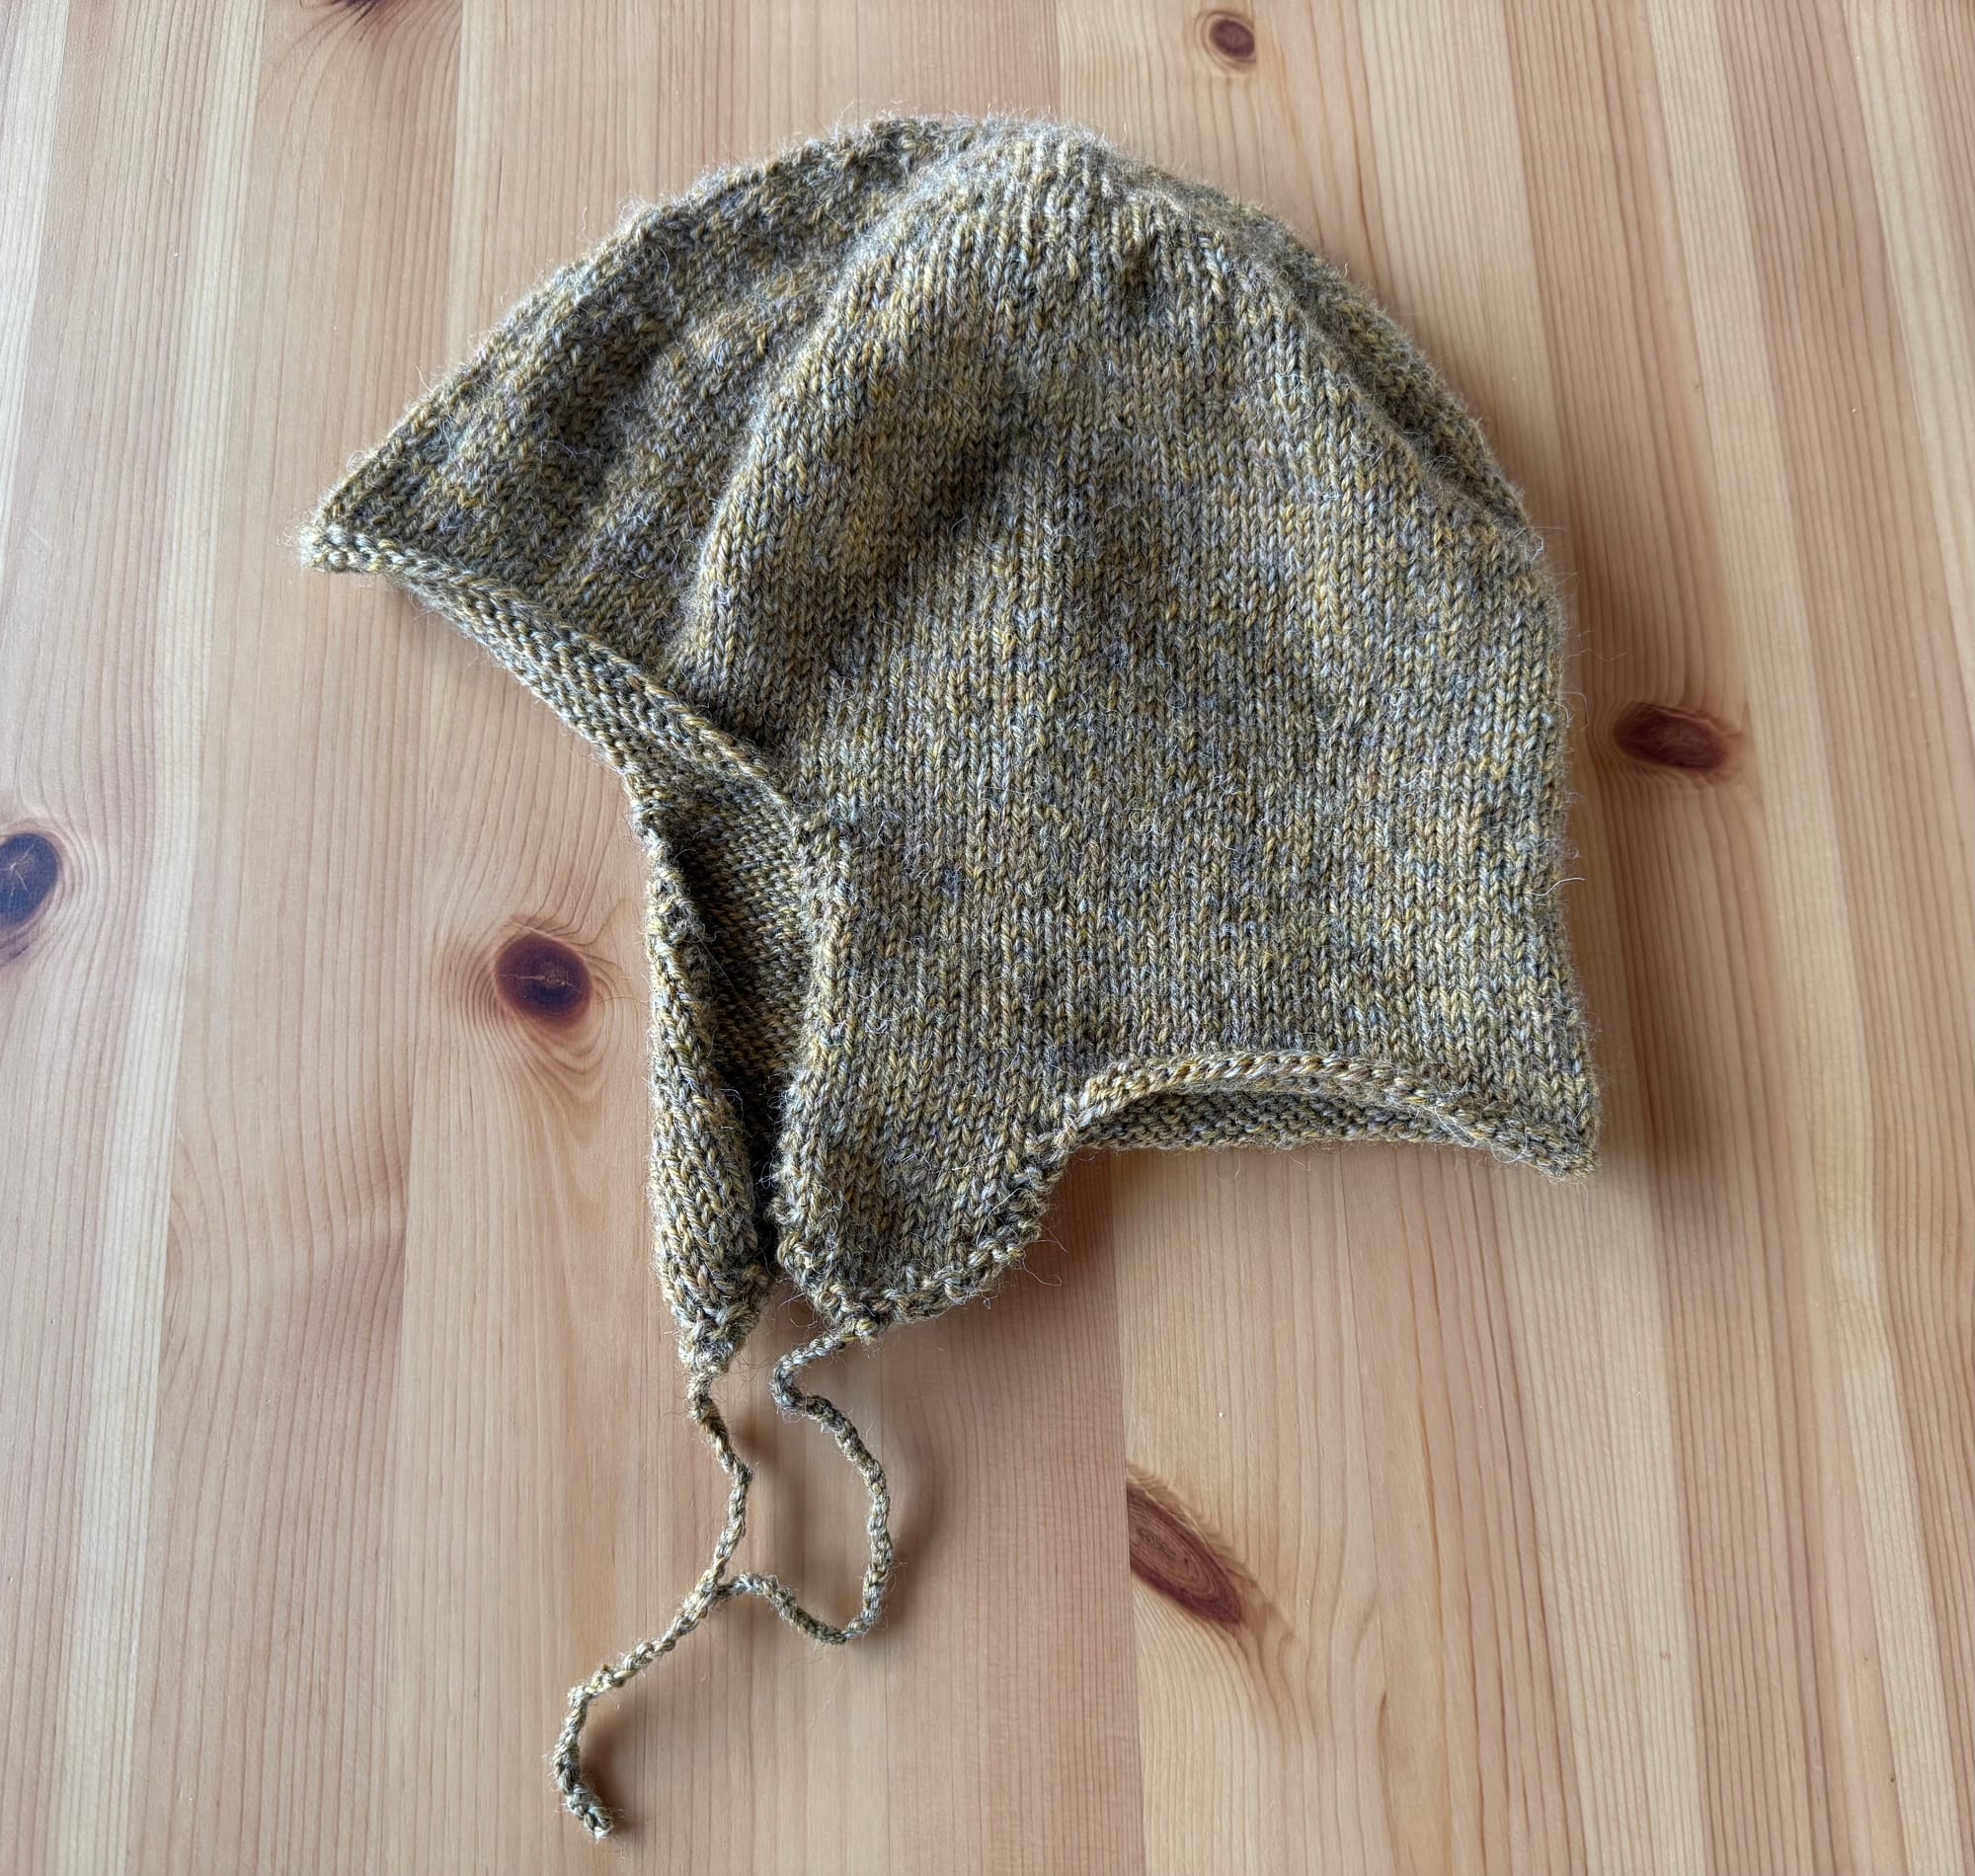
This is what the coif looked like immediately after coming off the needles.
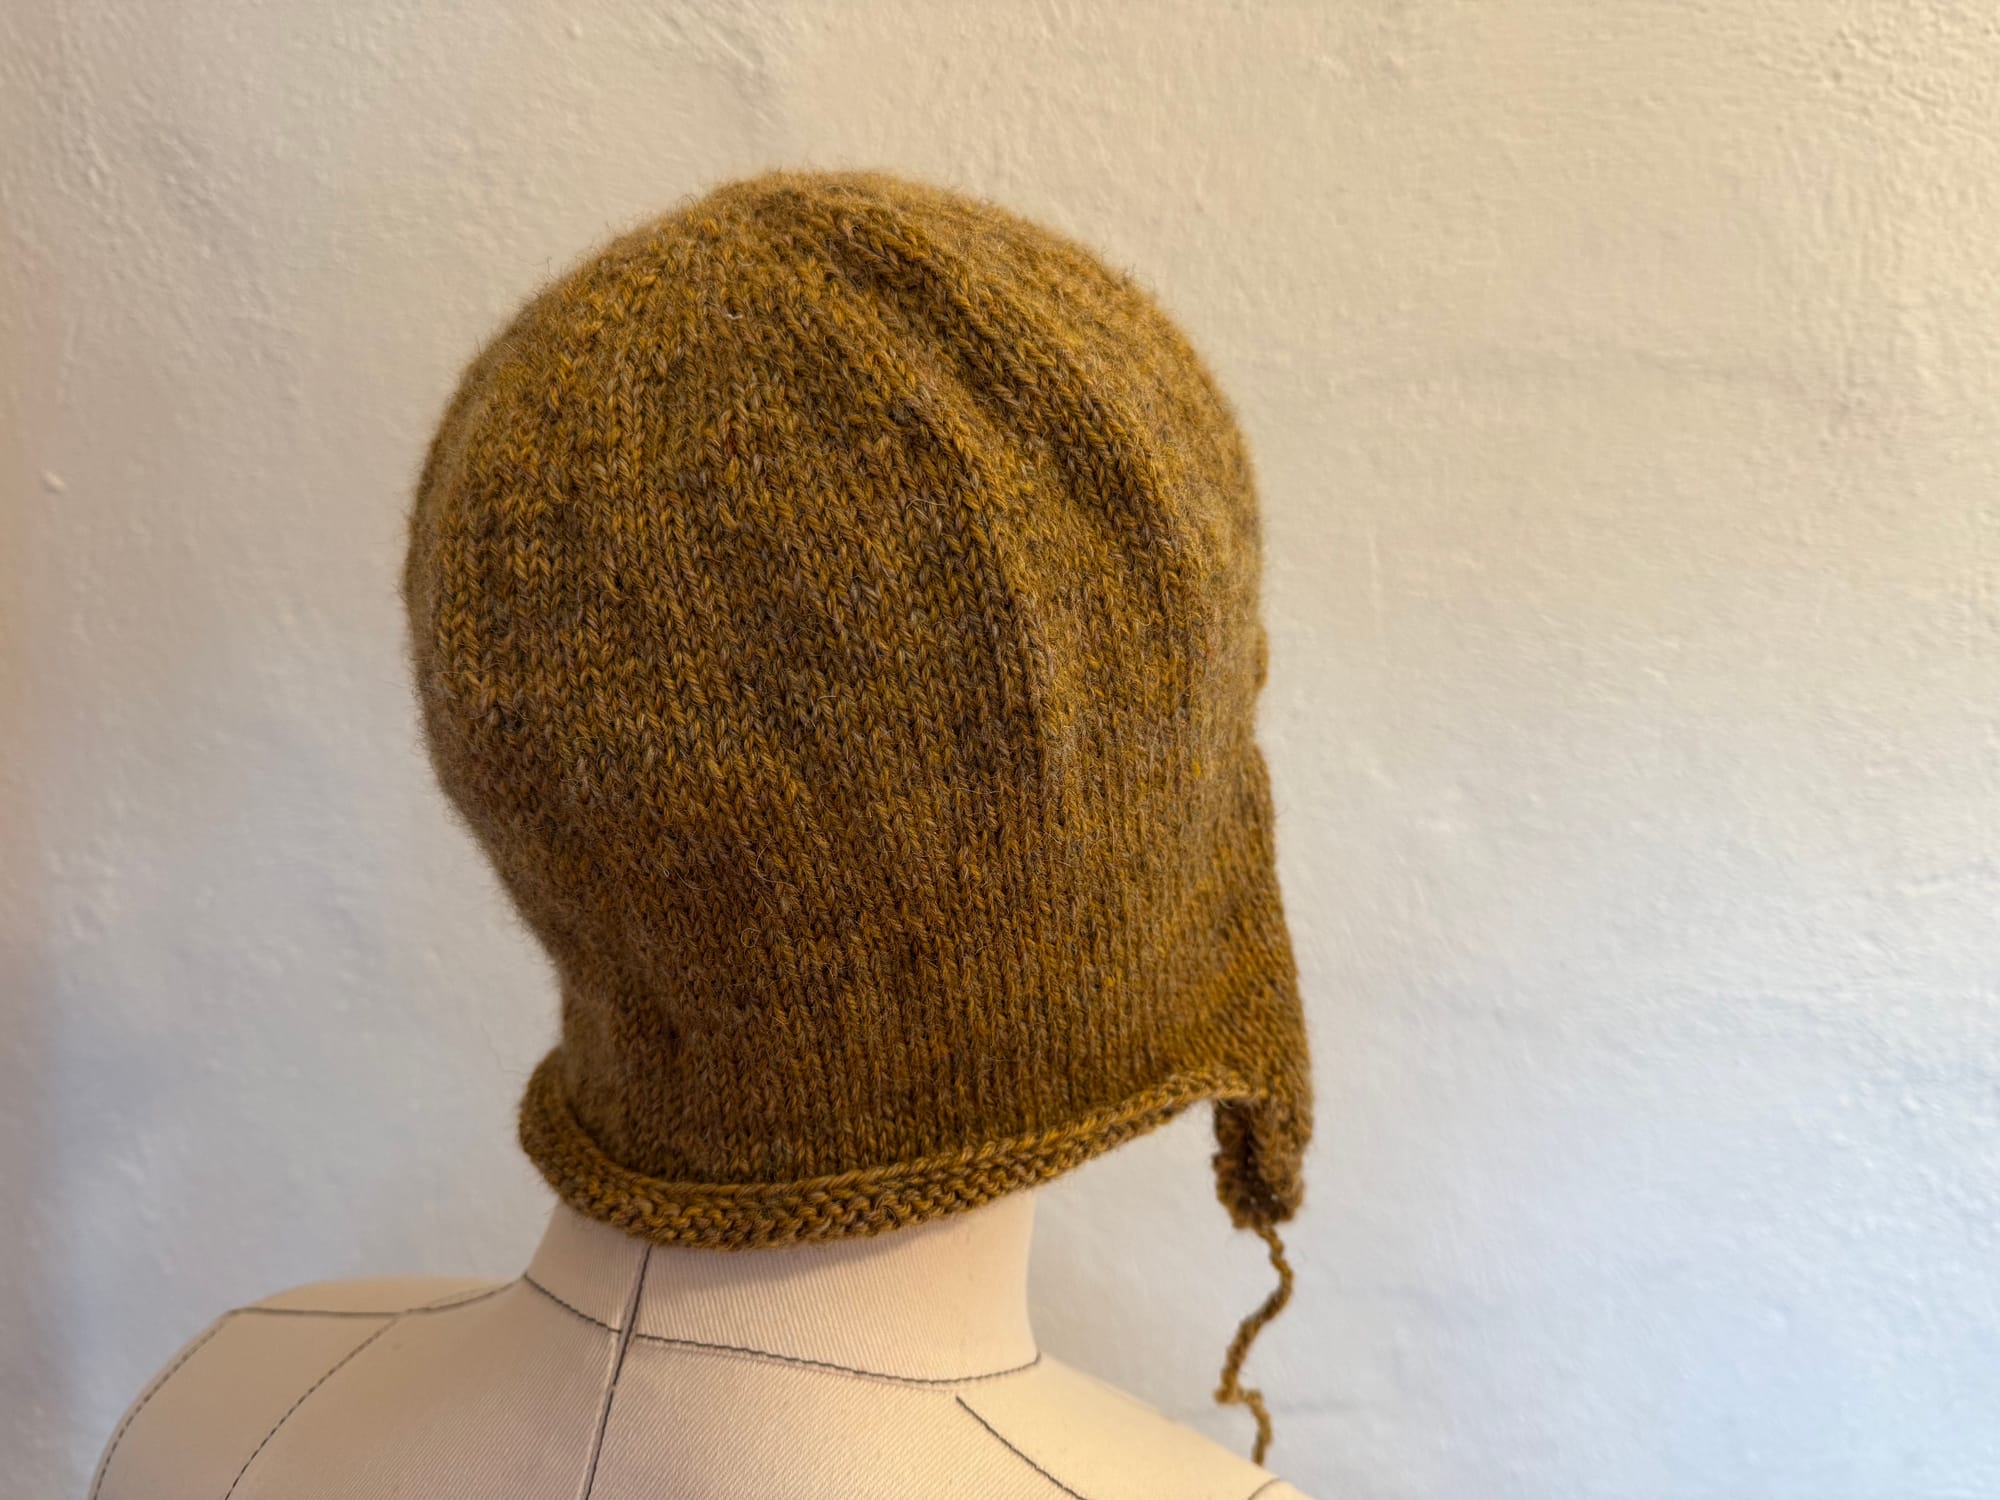
The 'before' fulling glamour shots.
After knitting the coif, the pattern calls for the cap to be 'lightly fulled'. The book includes instructions on traditional fulling methods, which call for a specific kind of soap, wooden mallets, vigorous rubbing and washing, and hours of strenous work to beat the knit surface into a soft, lightly felted texture. Or, you can follow the 'quick fulling method' that is described in the book and simply chuck the item into the washing machine with your regular load of laundry and hope for the best. Can you guess which method I chose?
With a hope and a prayer, I tossed the cap into a lingerie bag and it went into the washing machine at 30c. When I took it out after the cycle, I found a little lump of wool, slightly matted together, but with a lightly felted texture. After straightening the coif out and flattening the edges some, I popped the wet cap onto my head, stretching it slightly to make it fit, and was delighted to see that it had shrunk just the right amount. My knit stitches are still visible, which I like, but the overall fabric has felted a bit into a thicker, sturdier, and warmer cap than it was before the fulling process.
There were some odd lumps and creases after I took the cap out of the washing machine, and the edges were still determined to curl up on themselves, so I took the cap to my iron to help steam it into shape and relax the creases that had formed. I used a wicker hat stand and wrapped it in two tea towels to help absord moisture and also be closer to the size and shape of my head. With my iron on high, I steamed the entire hat, being careful to never touch the iron to the wool. When the wool was very hot and steamy, I used my hands to carefully smooth any lumpy spots and even out the tension all around to achieve a smooth, round shape over the crown of the head. I focused on the edges too, applying a lot of steam, flattening them down with my hands until they cooled slightly and then pinning them in place on my makeshift hat form. The entire steaming process took time, and I went over the most creased sections several times, gradually easing the coif into the shape I wanted.
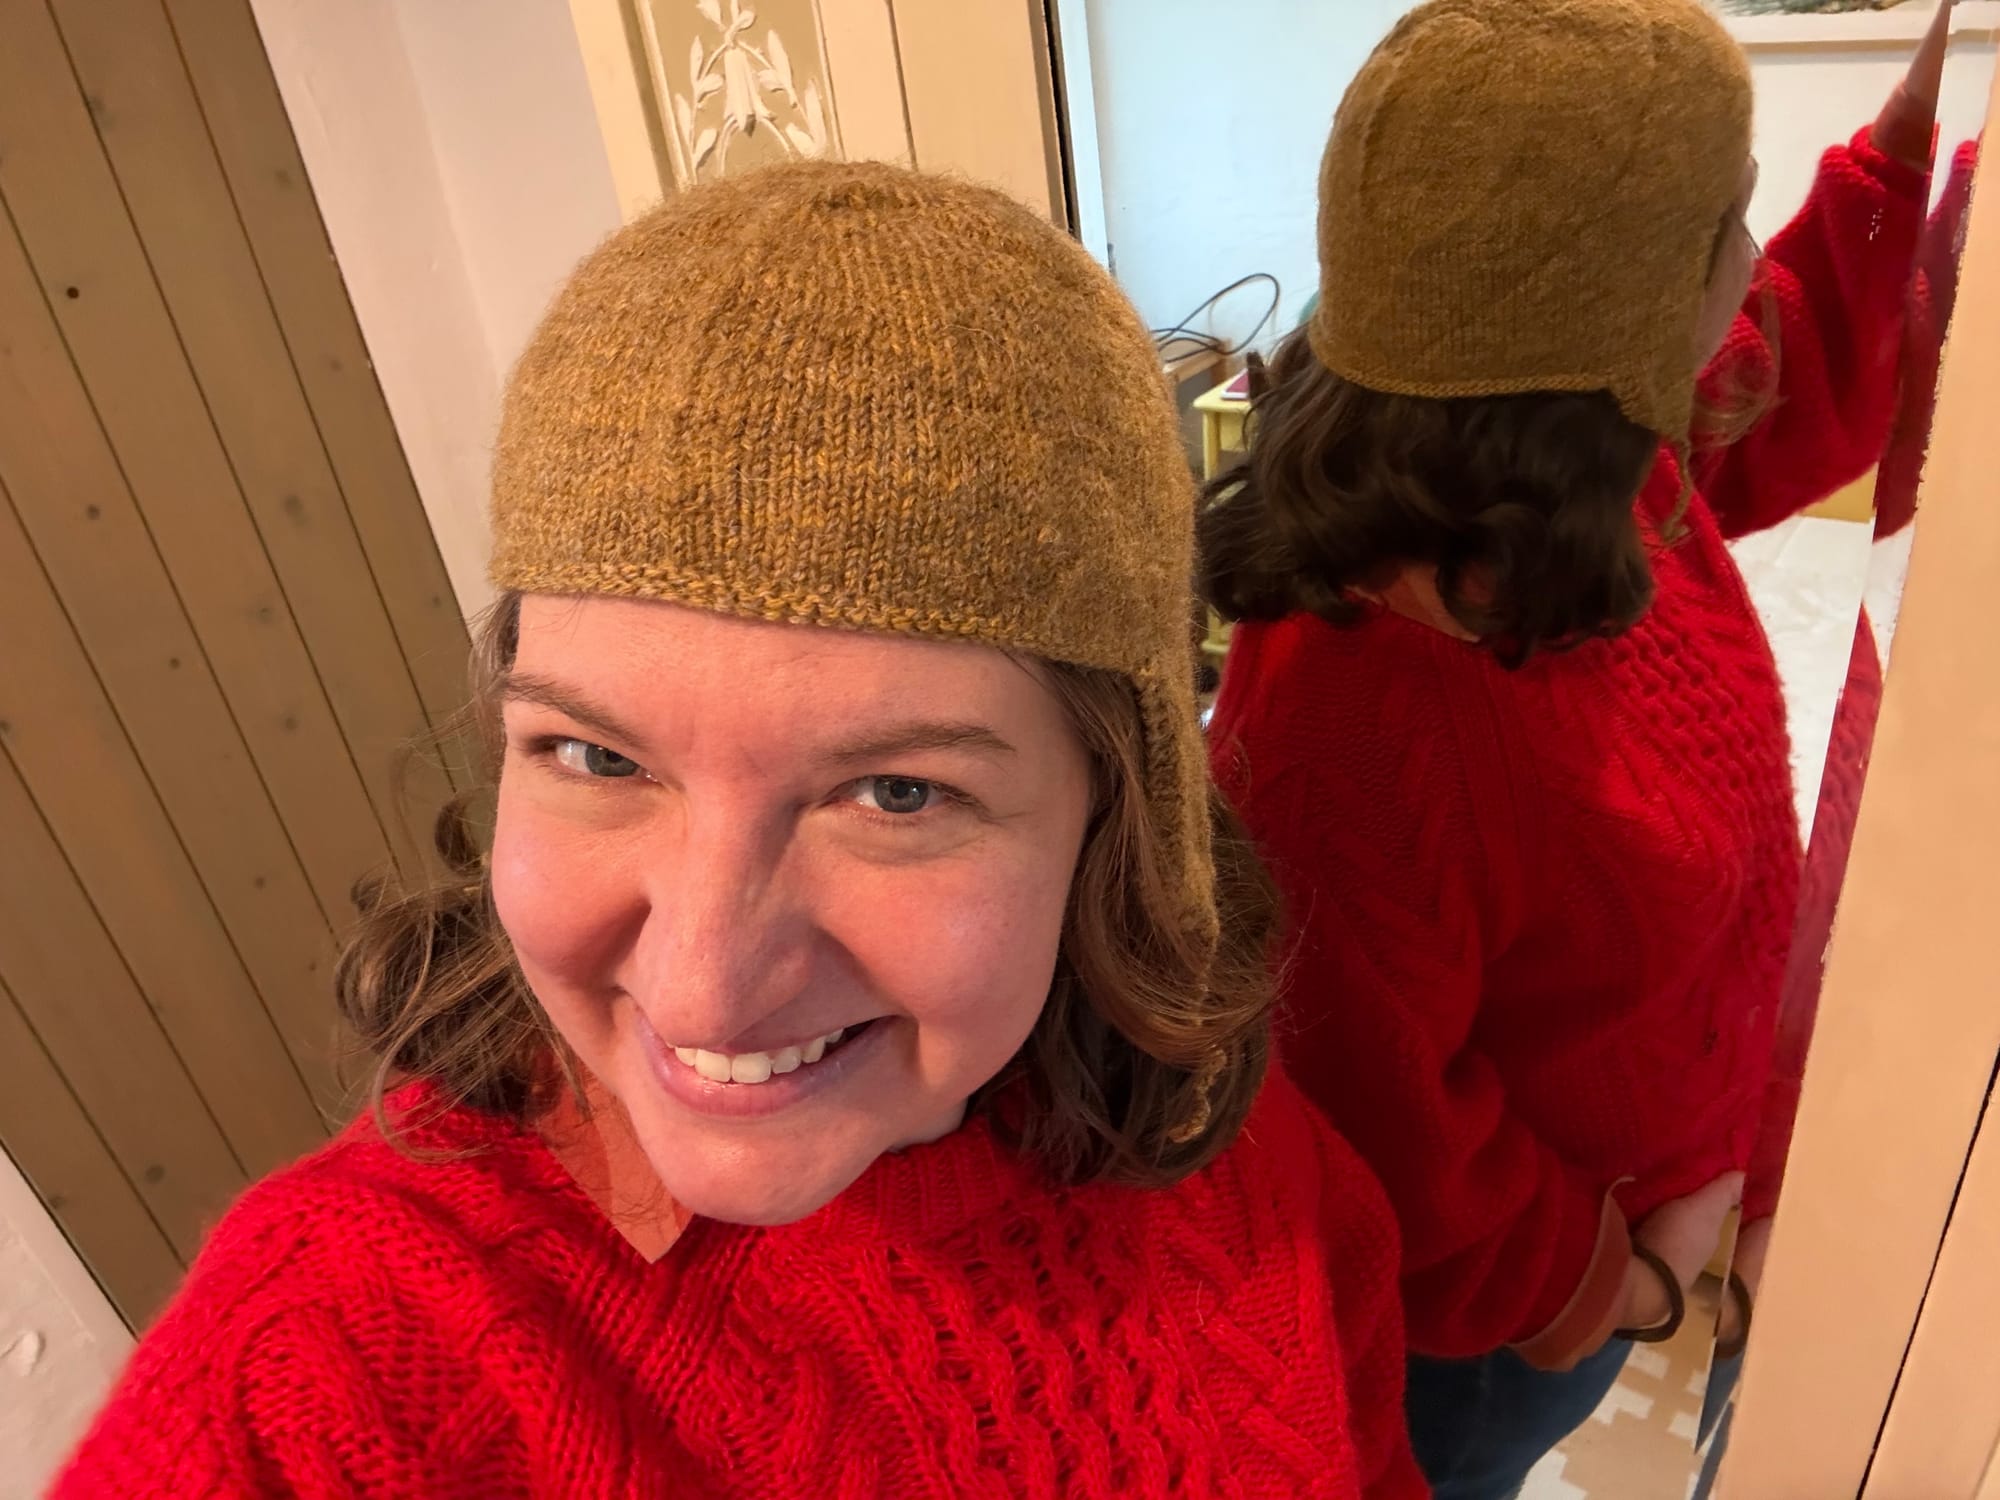
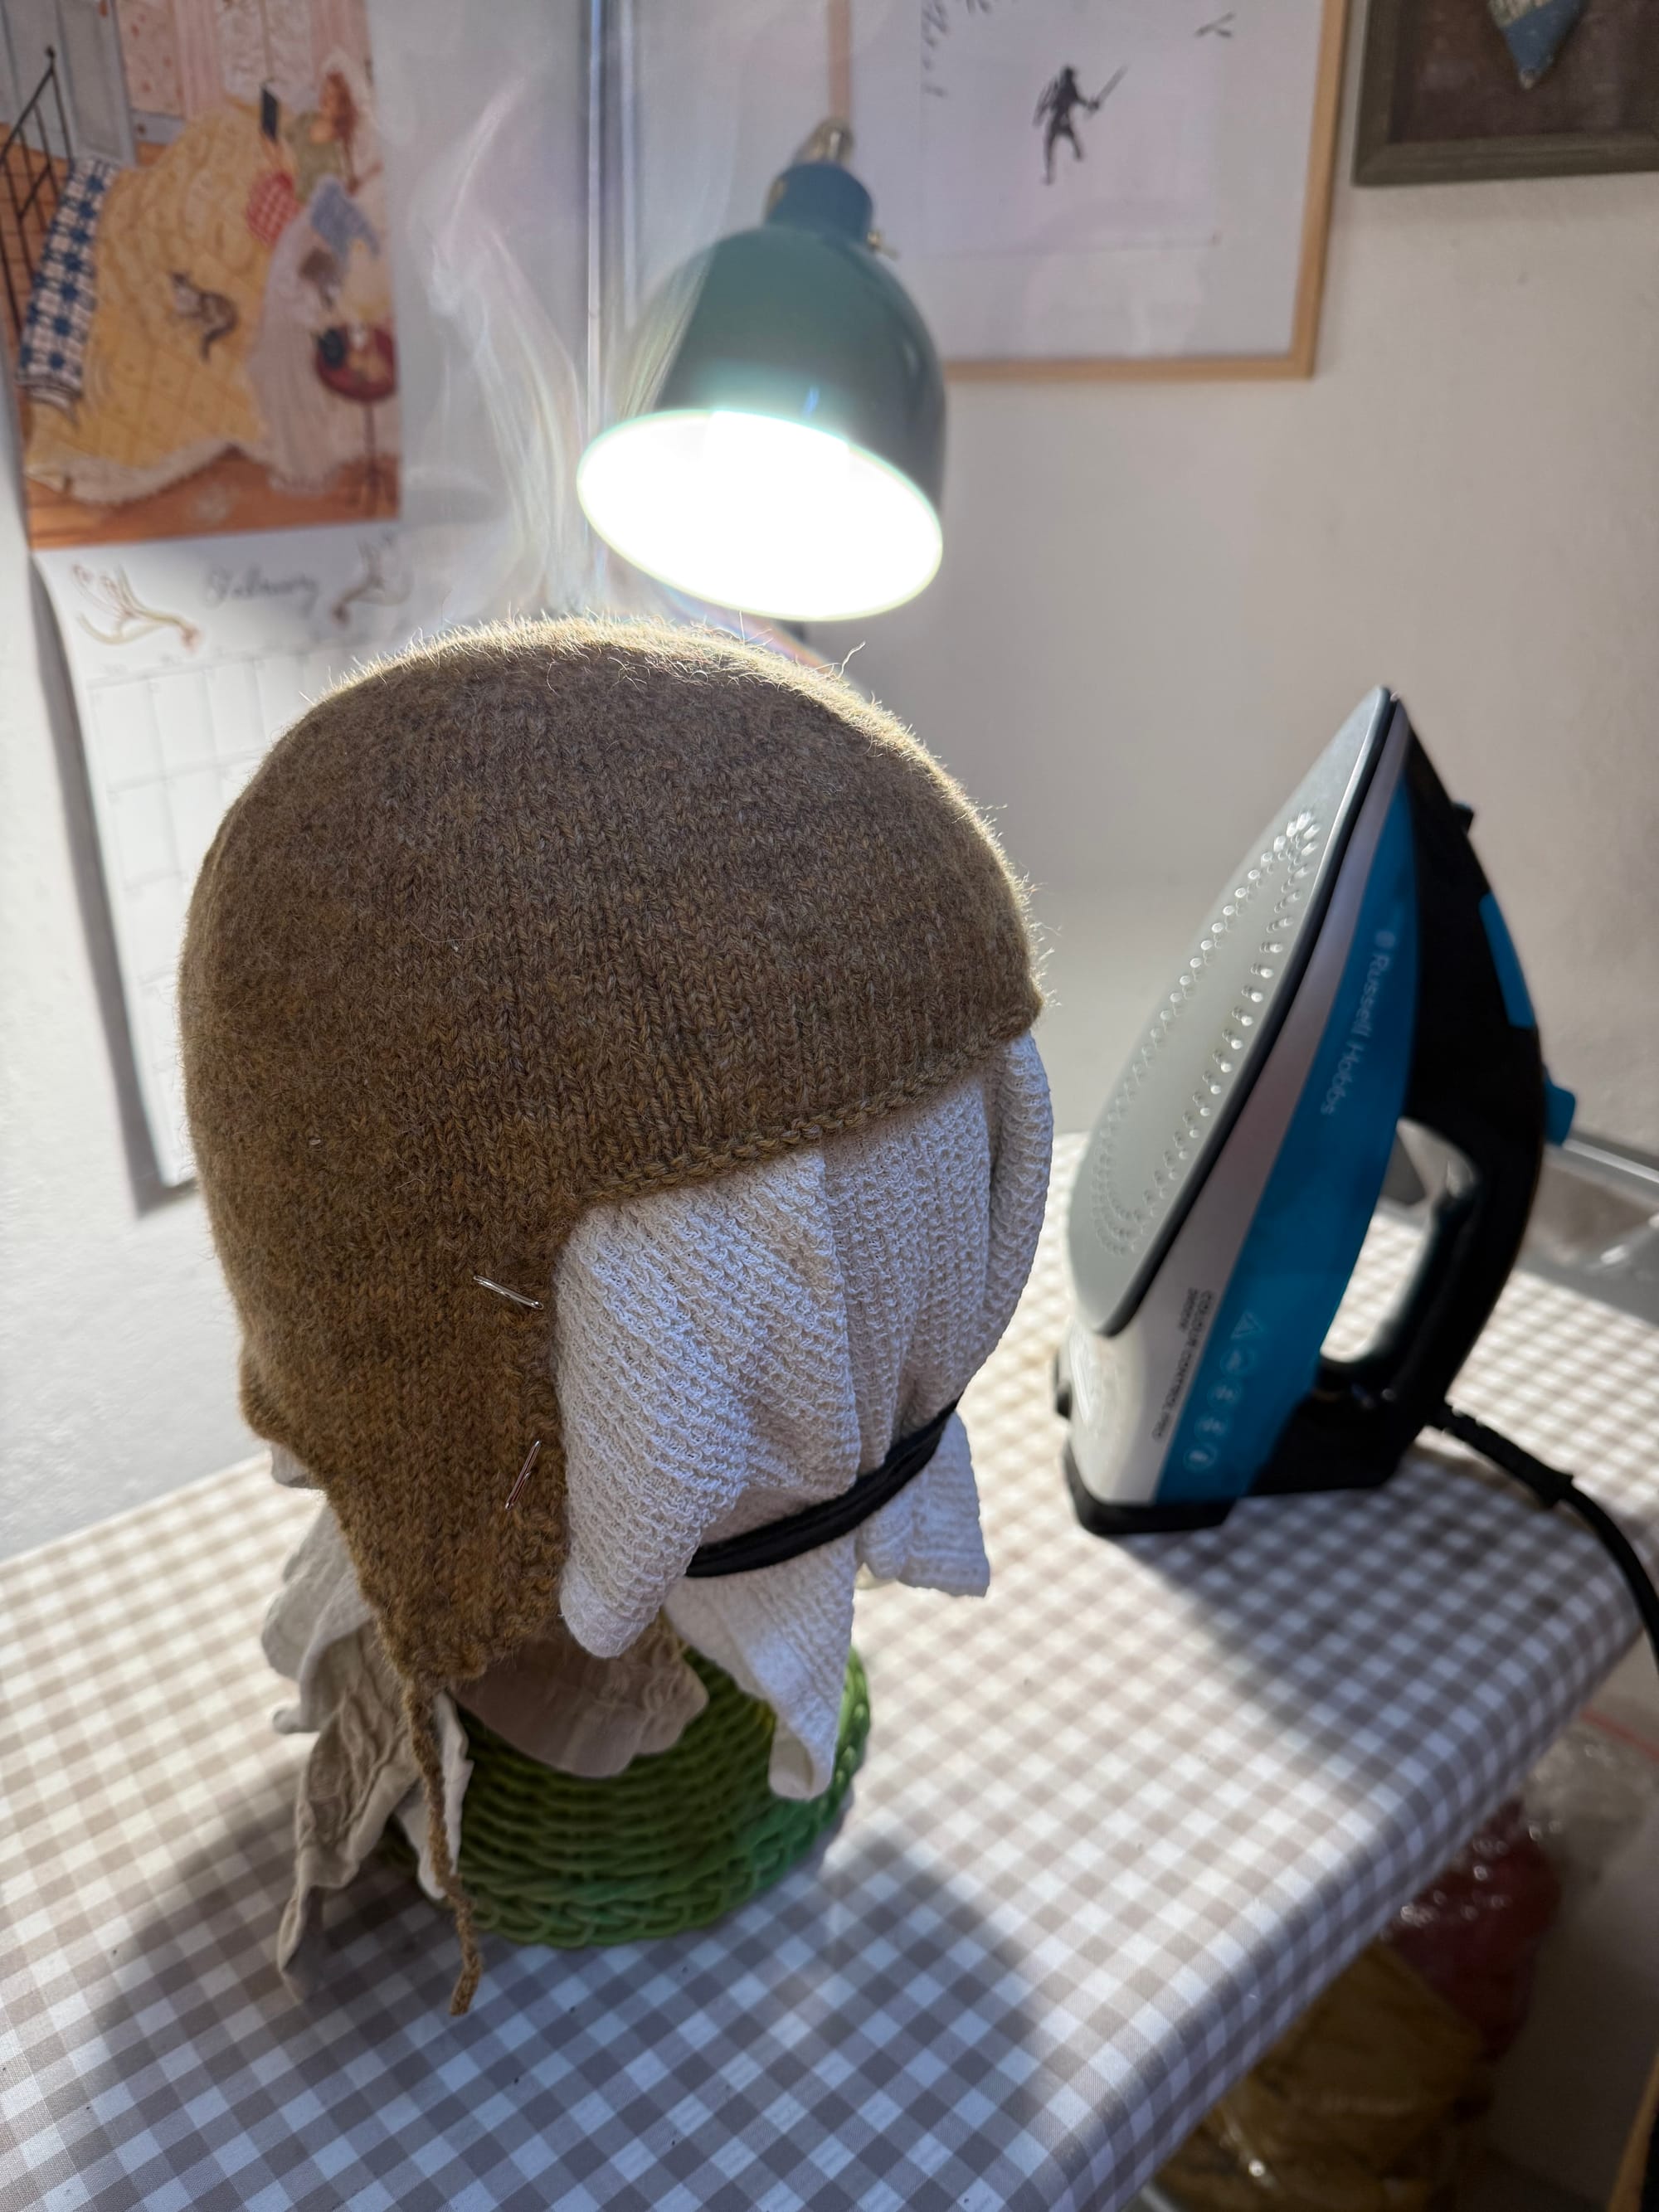
An initial try-on after the fulling process (it's still very wet in this photo! 😄); steaming the coif into shape using my iron.
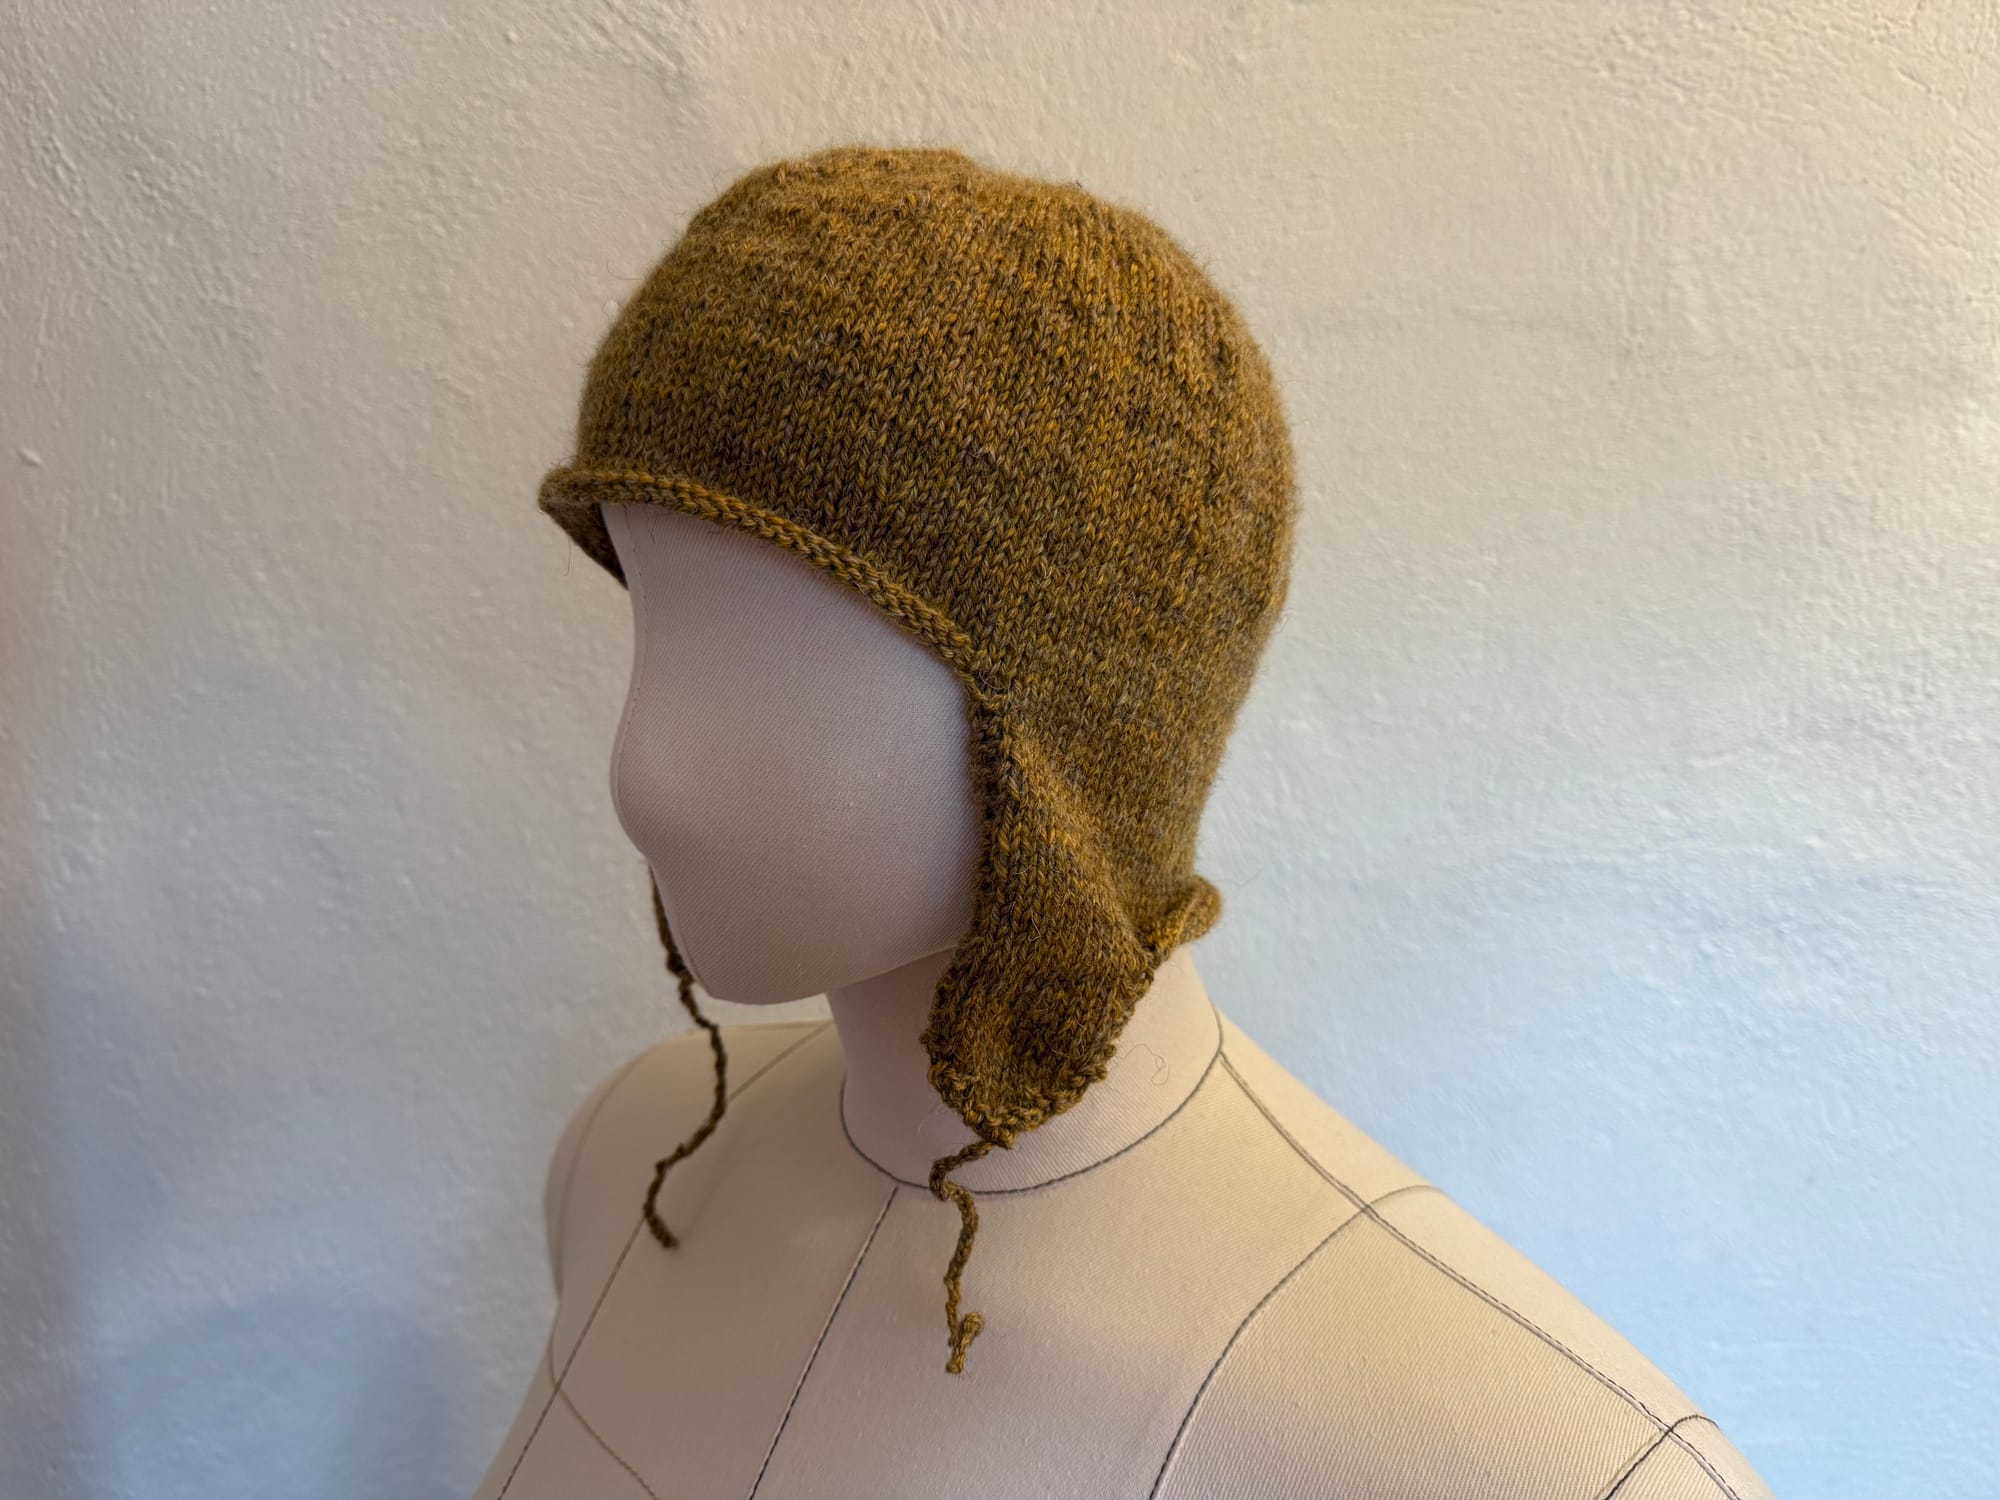
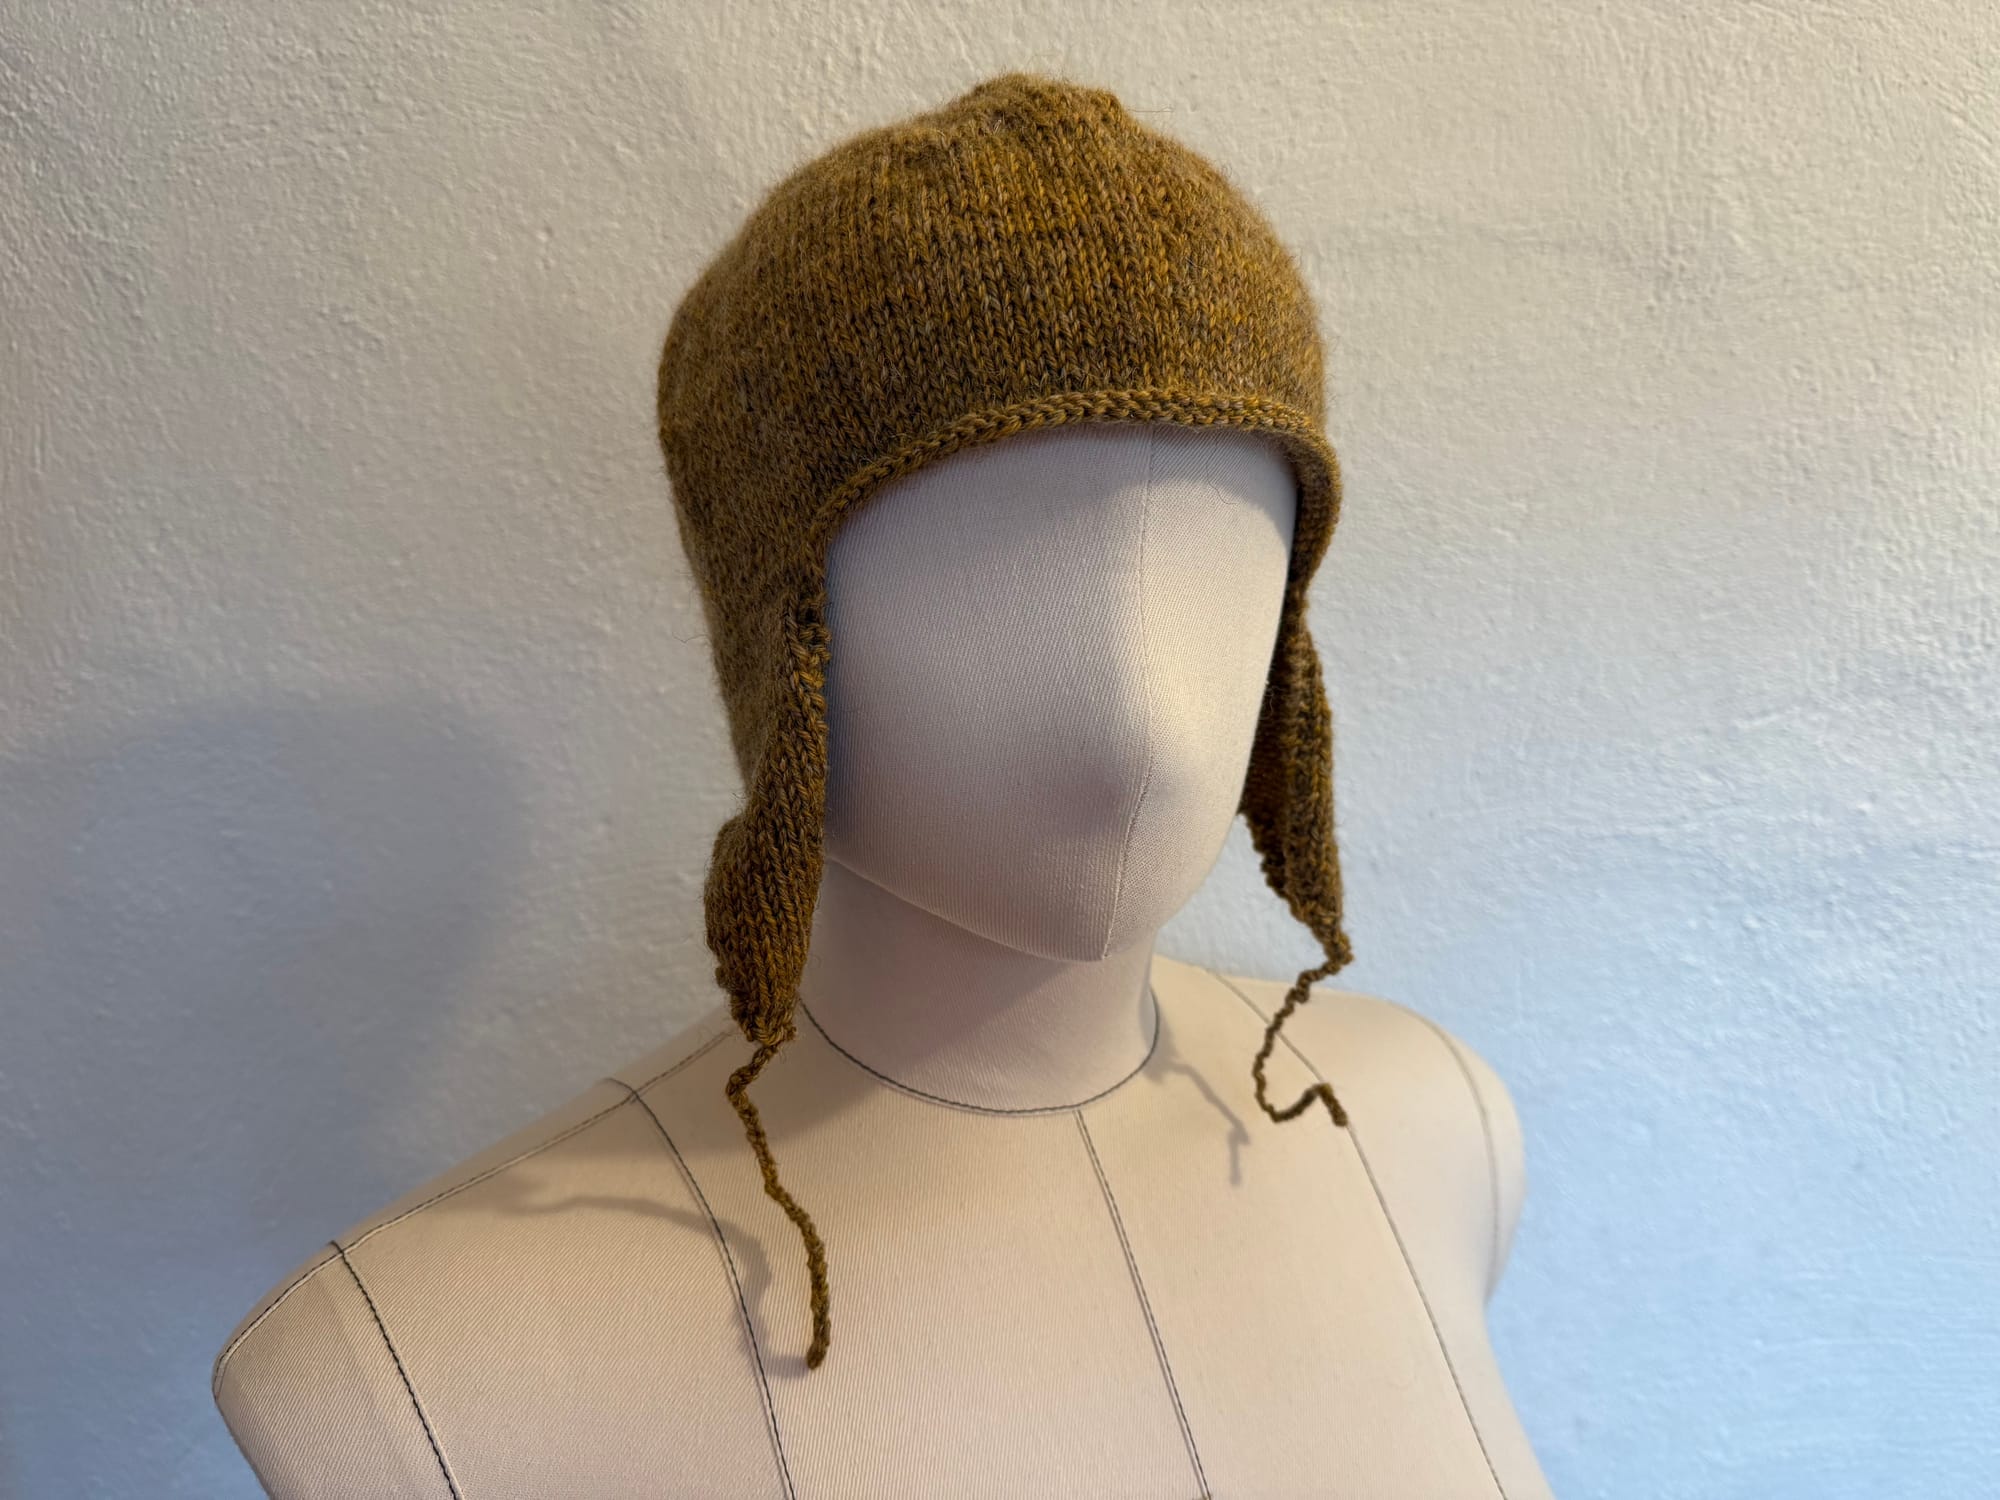
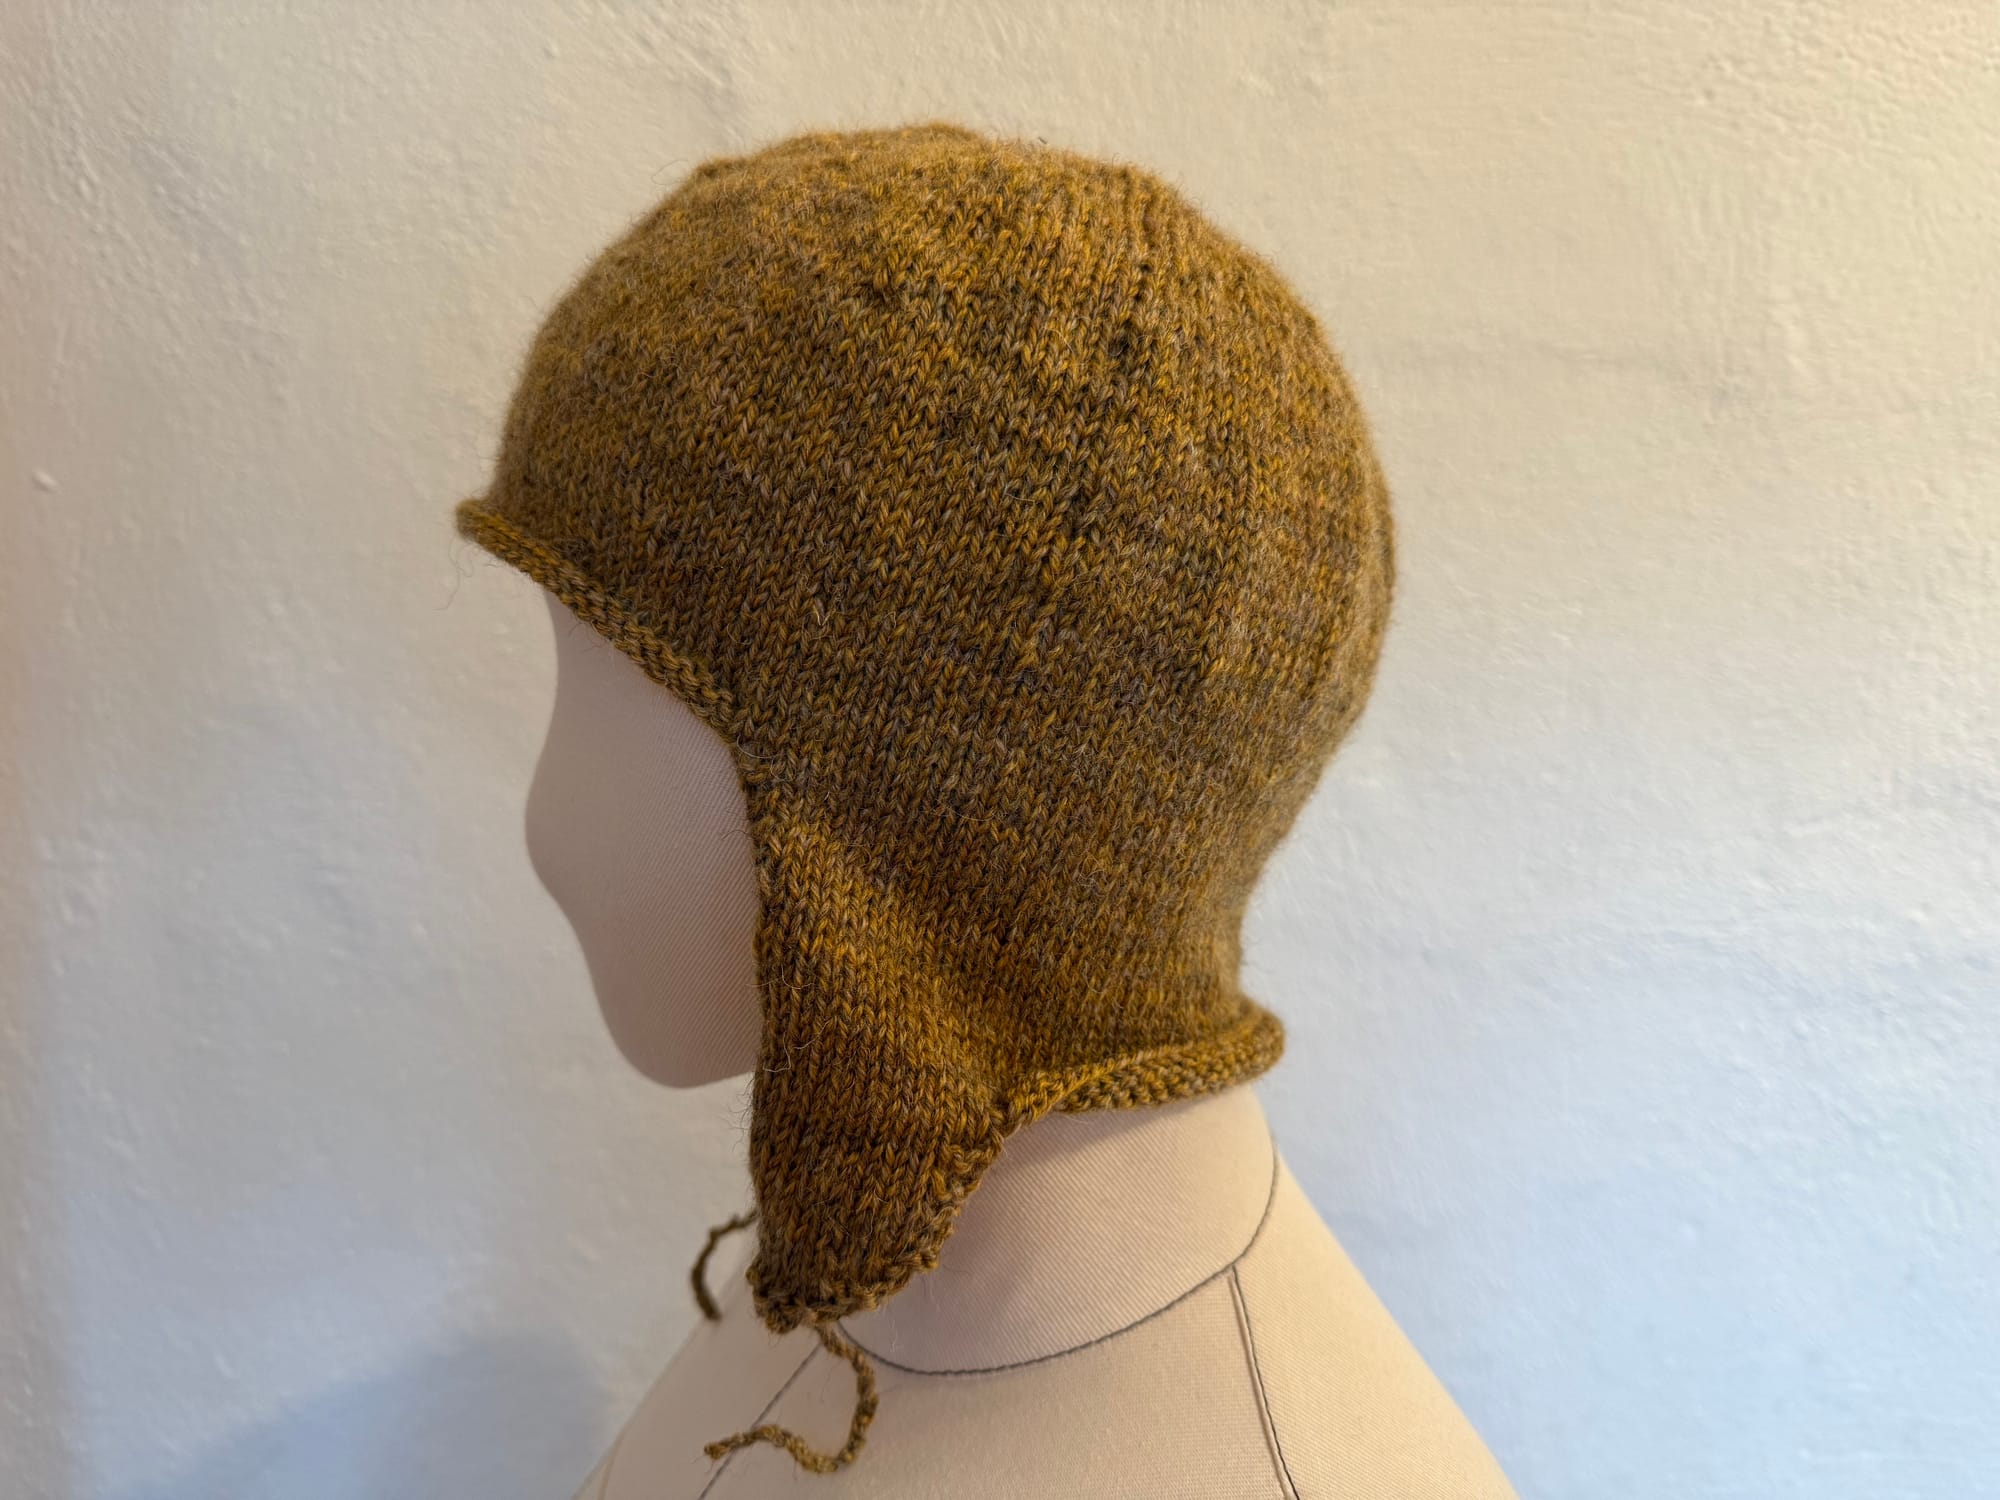
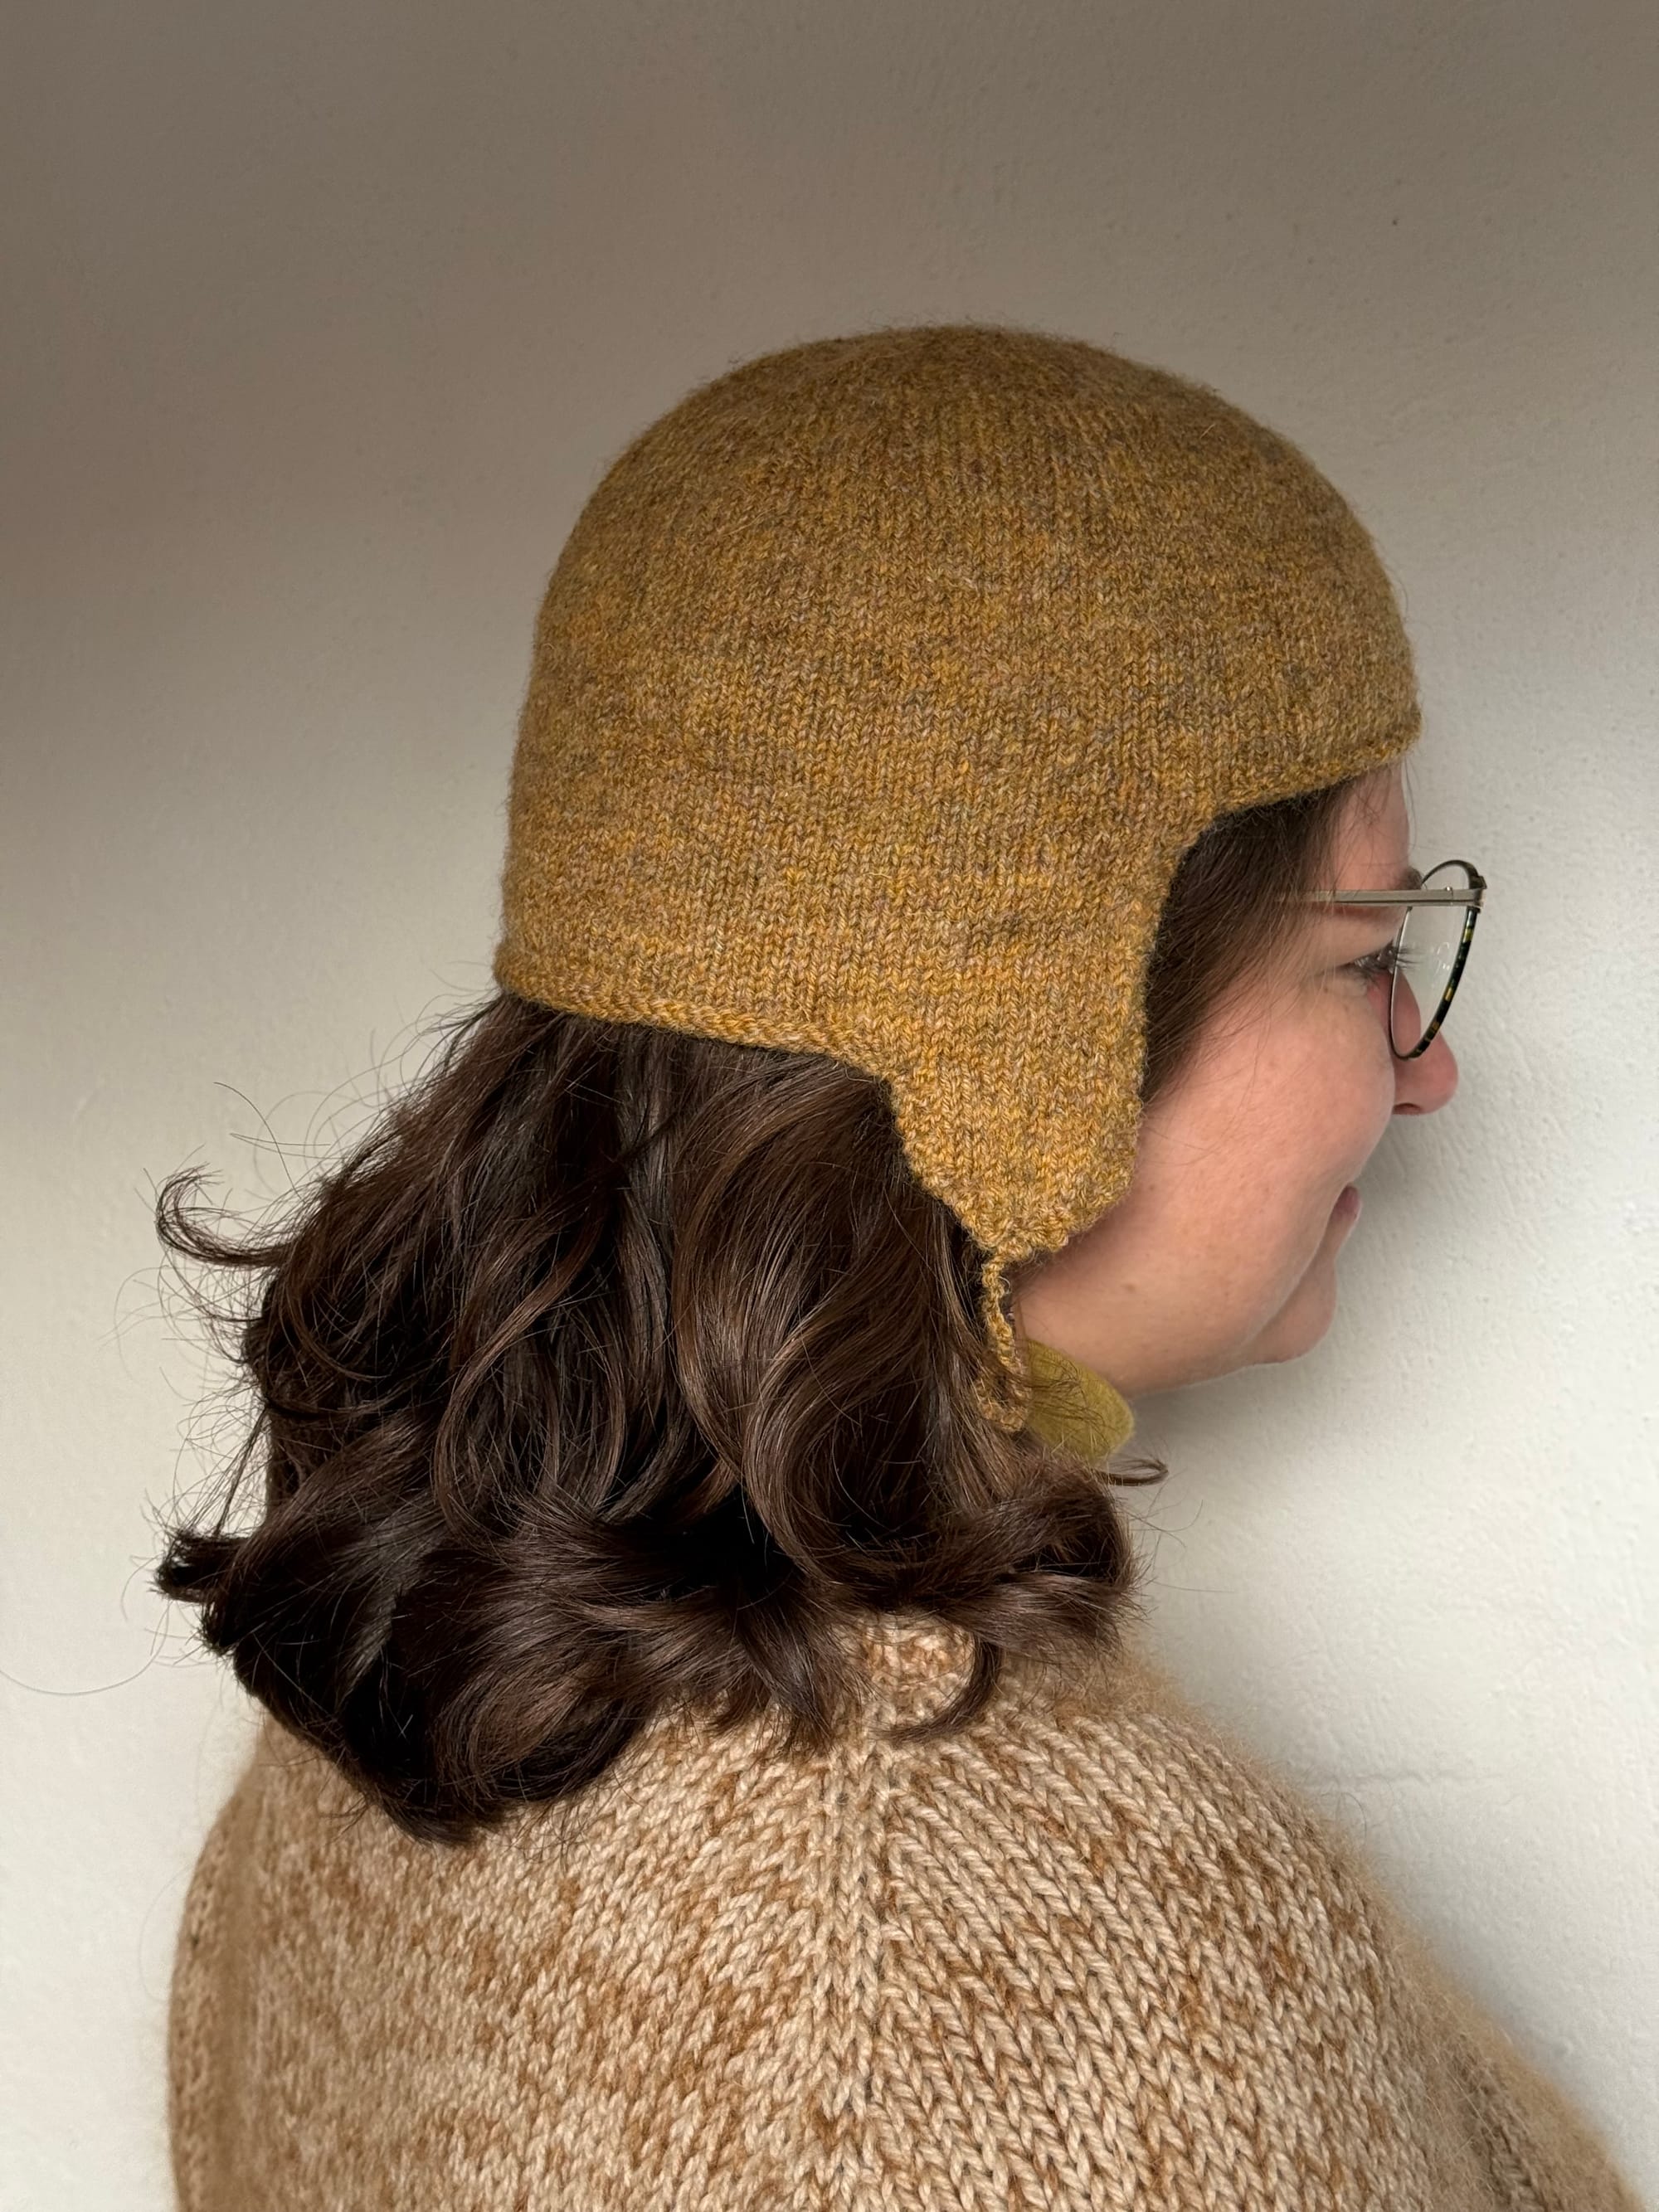
The coif took a few days to dry, but after that I was amazed at the difference in the way the cap lay on my mannequin's head. The edges are laying flat and are not curling up at the back. The shape of the crown has been smoothed out and you can't see any lumps from my increases or uneven knitting. And, you can see that the size of the coif has shrunk slightly, fitting more snuggly around the head. The overall length has also shortened, so it no longer covers the eyebrows or bunches up at the back of the neck.
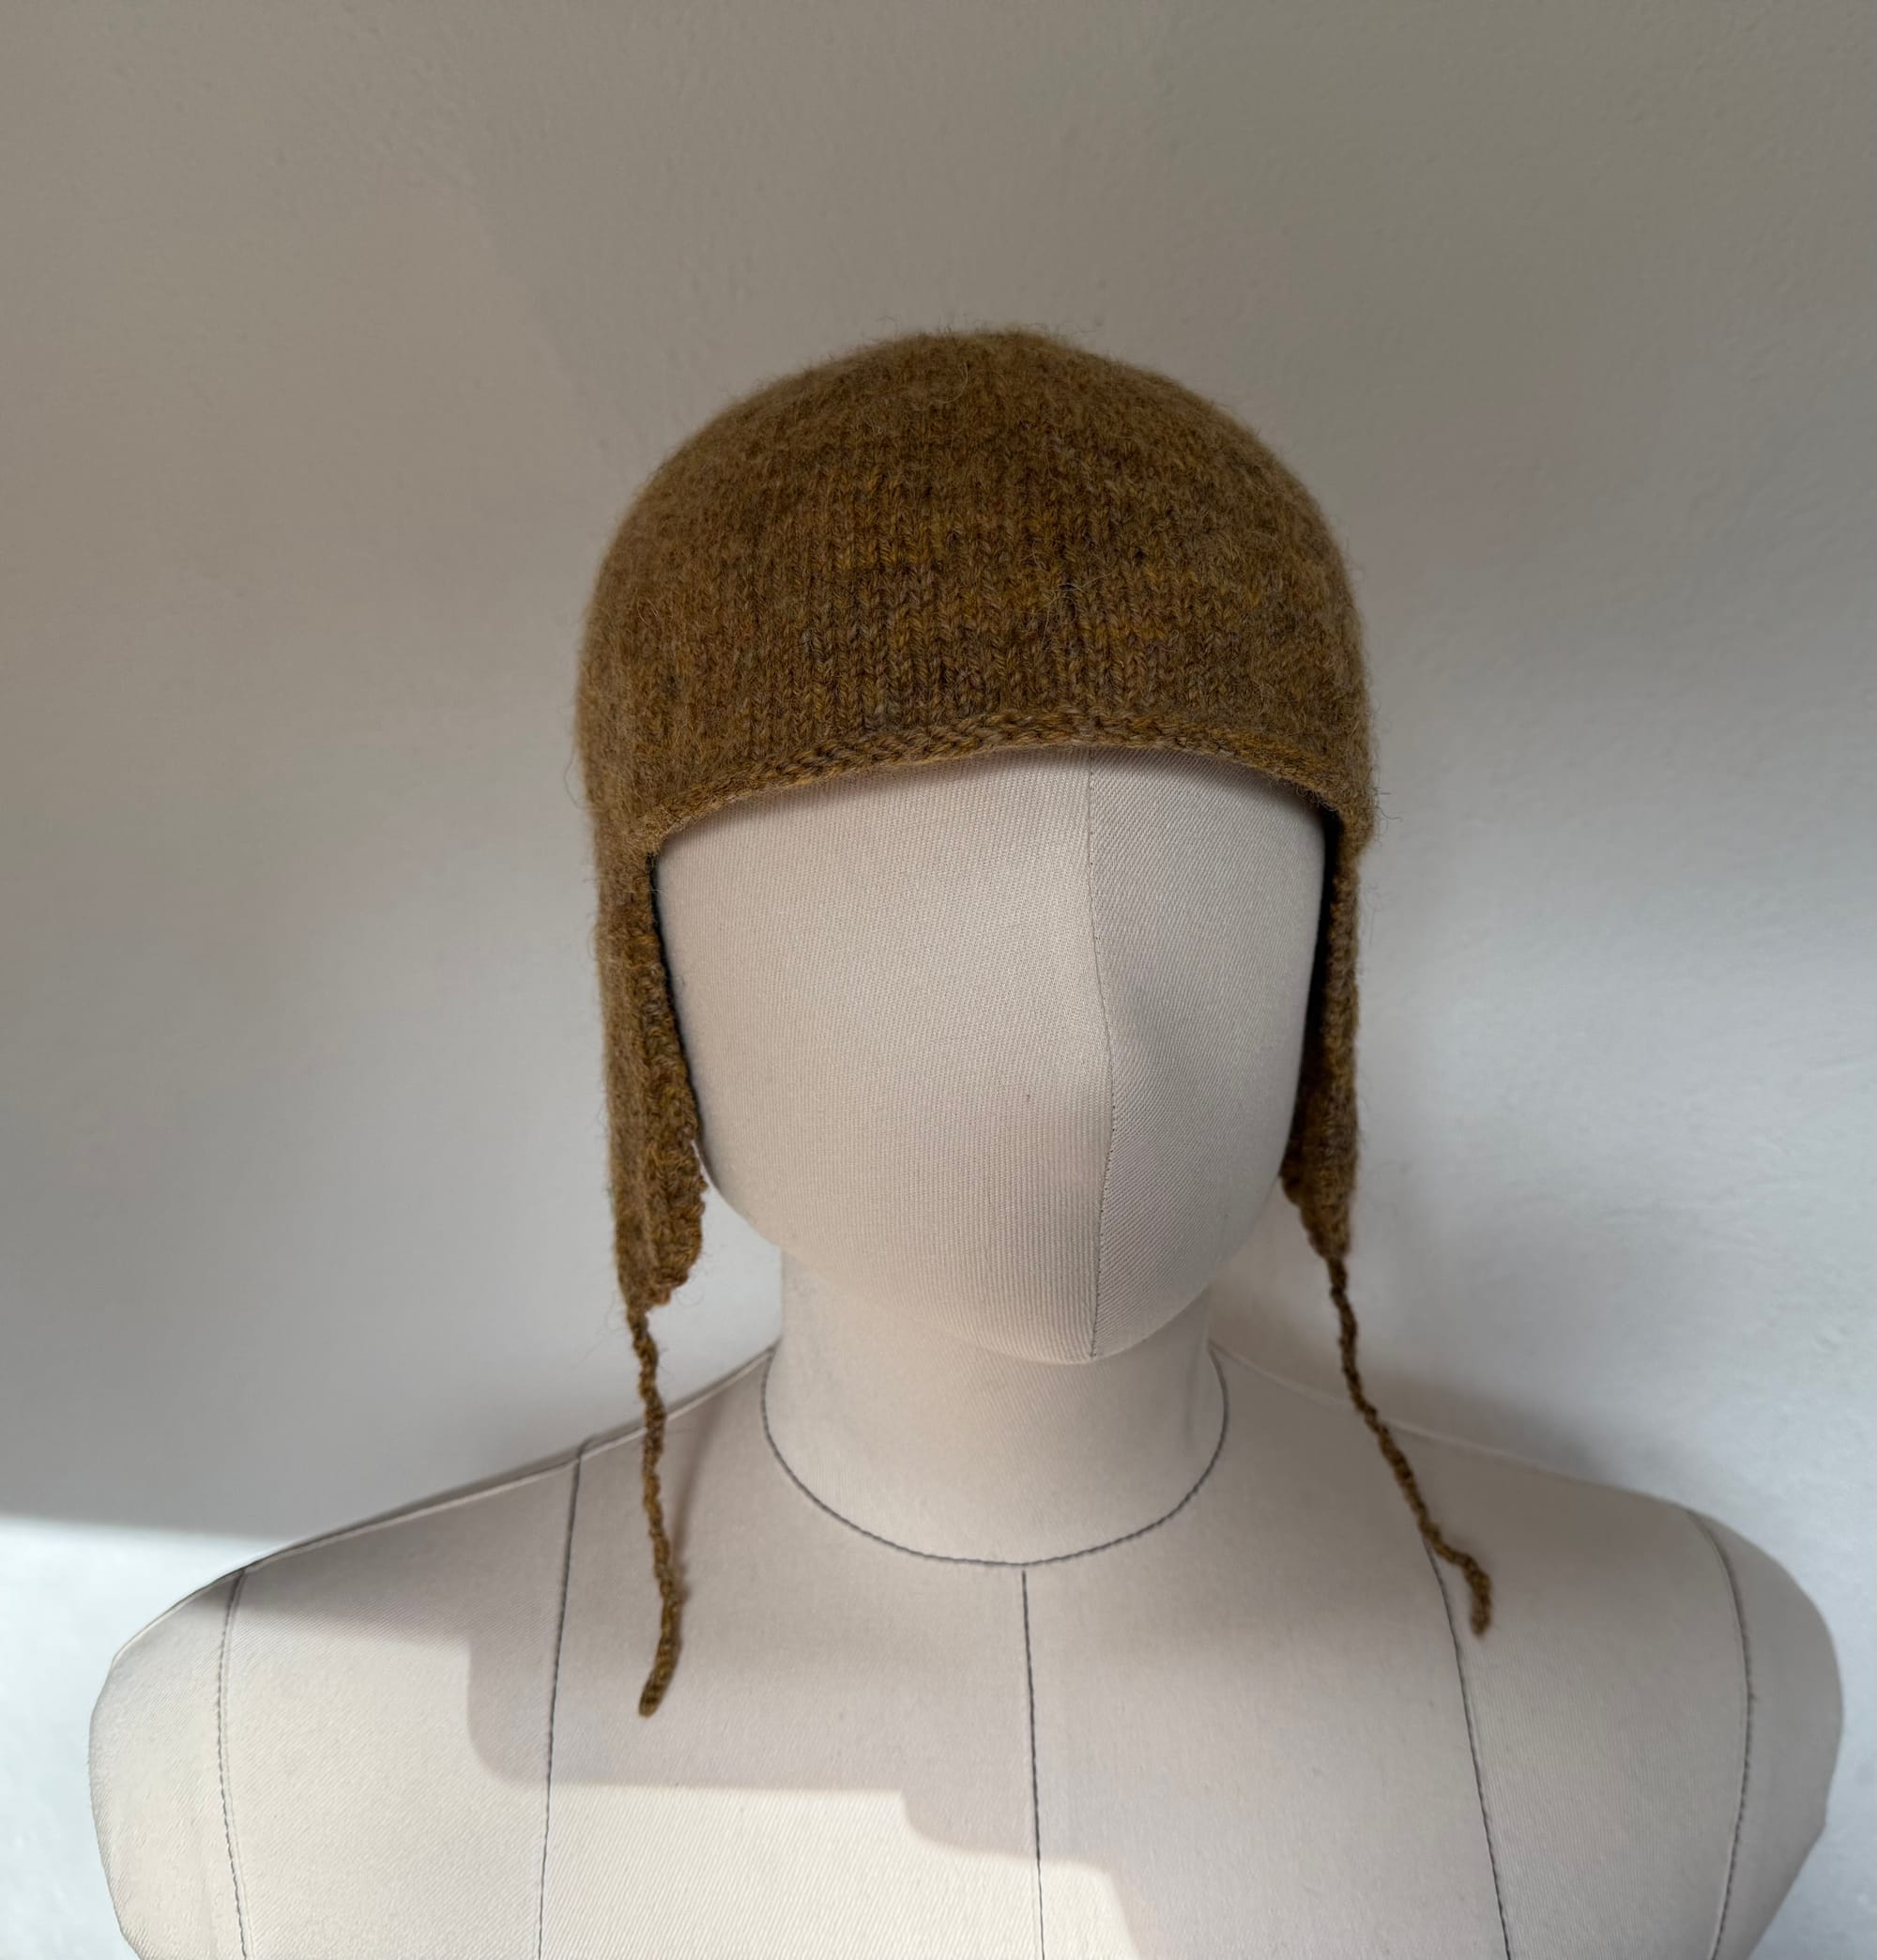

After fulling, steaming, and blocking.
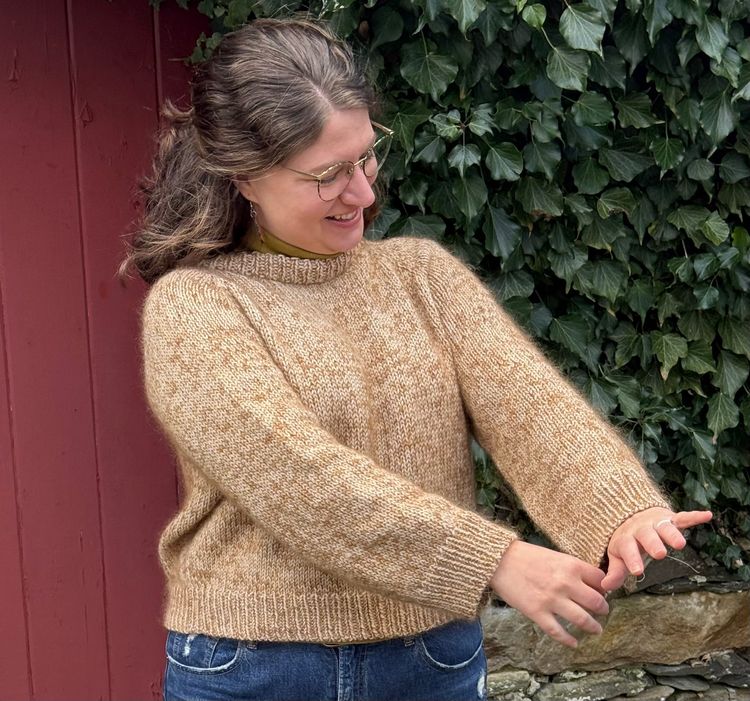
I'm looking forward to wearing this coif at an SCA event with my full garb. But in the meantime, enjoy these pictures of me wearing it over my modern clothes. This is really just a sneaky way to show you my knitted sweater again! 😄
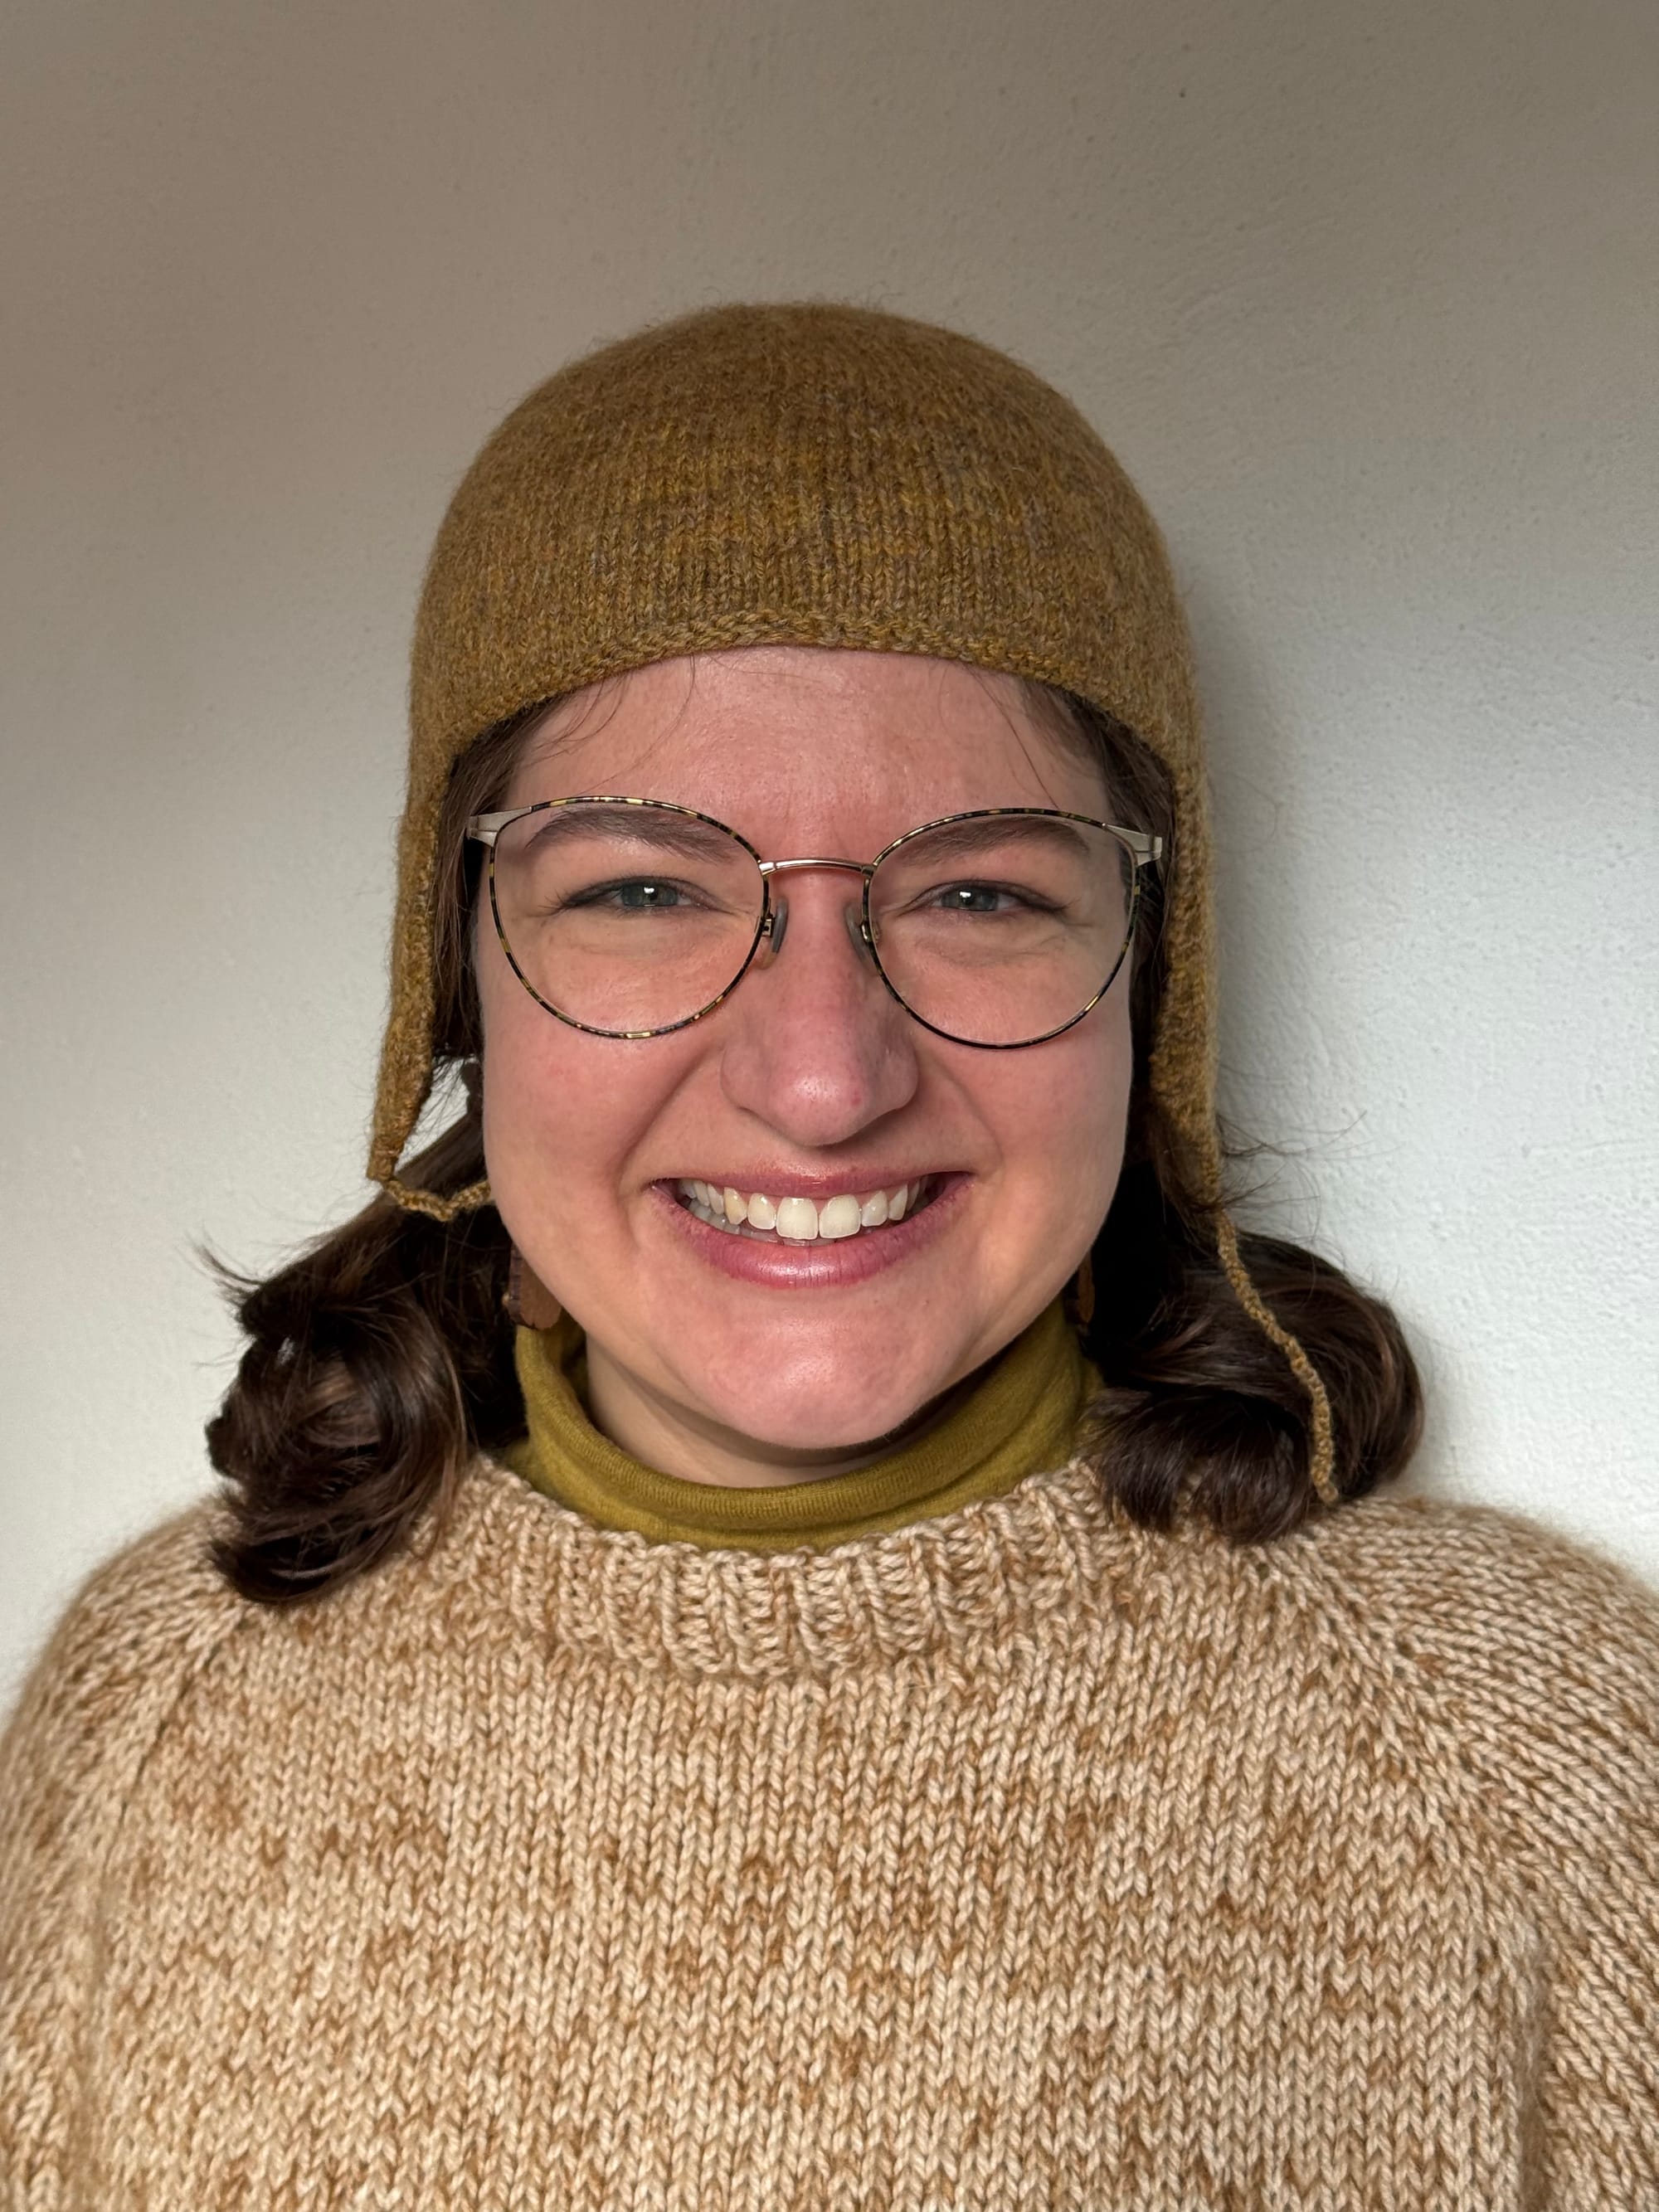
The finished coif cap!
Comments ()